


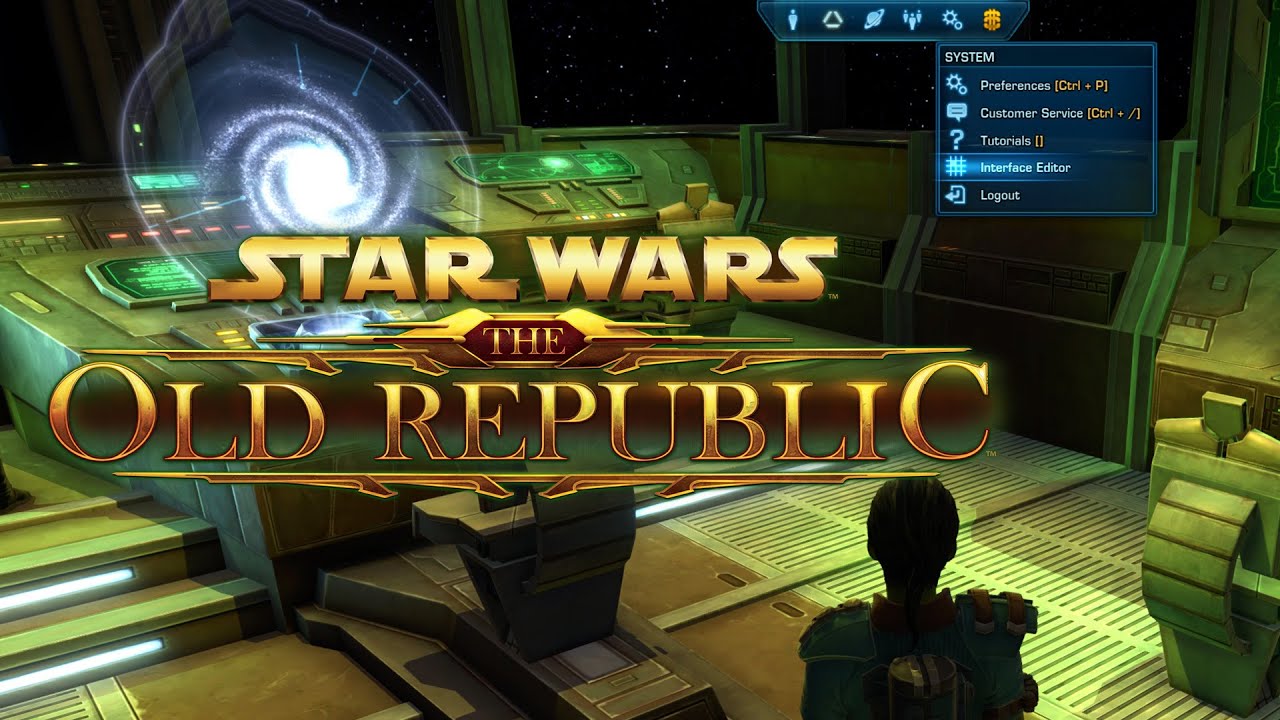
This is a short guide about my list of favorite settings that I think all players should enable that are not enabled by default to save time and frustration while playing Star Wars: The Old Republic!

Contents
- 1. Enable Auto-loot on Right-click
- 2. Enable Deselect Target upon Clicking on Terrain
- 3. Set Camera Max Distance to 100%
- 4. Set Global Camera Shake to 0%
- 5. Enable Background Audio
- 6. Turn Sound FX Volume Down to 25%
- 7. Turn on Subtitles
- 8. Allow Fullscreen (Windowed) to Tab Out
- 9. Set Your Graphics
- 10. Enable Allow Access to Same Class/Personal Phases
- 11. Auto-Ignore Guild Invites
- 12. Show Exploration Missions
- 13. Extended Quickbars
- 14. Lock Your Quickbars
- 15. Automatically close inventory
- Advanced Combat Settings
1. Enable Auto-loot on Right-click
There’s no automatic way to pick up your rewards off of the ground, but there is a setting you can turn on to make looting easier. The “Auto-loot on Right-click” setting in the Controls tab makes it so when you right-click an enemy, all items on that enemy go into your inventory, instead of you having to select them one by one.
2. Enable Deselect Target upon Clicking on Terrain
The “Deselect Target upon Clicking on Terrain” setting in the Controls tab makes it so if you have an enemy selected, then click on the ground, the enemy will become unselected. I find this very useful if I accidentally target an enemy, but want to un-target them so if I accidentally press any of my attack abilities, I will not accidentally attack them.
3. Set Camera Max Distance to 100%
The “Camera Max Distance” Slider in the Controls tab controls how far back you are able to zoom out with your camera. More camera range is usually always more useful for when you want to see more of your surroundings at once, because you can still zoom in and stay closer to your character until you need to zoom out. If you want to zoom out even more than 100%, you can check out this guide by Vulkk.
4. Set Global Camera Shake to 0%
You don’t necessarily need to turn this off – I just want you to know where this settings is if it starts driving you crazy later. There are some areas that will cause your camera to “shake” as if there is an earth quake – you can turn this off by setting the Global Camera Shake to 0% in the Controls tab. The most common place this ground shake happens is on Alderaan.

5. Enable Background Audio
The “Background Audio” Checkbox in the Sound tab will continue to play SWTOR’s sounds even if the game is minimized or in the background. Being able to tab out of the game to look something up is incredibly useful, and leaving the Background Audio on allows you to remain immersed with the beautiful sounds and music of the Old republic, receive a warning if you are being attacked, or hear notifications sounds if you are messaging a friend or waiting for the group finder to find you a match for group activities.
6. Turn Sound FX Volume Down to 25%
I’ve found that the Sound Effects volume in SWTOR is very high compared to the other sounds in the game especially when you are in combat – I often turn mine down to around 25% while leaving all the others up at 100% in the Sound tab.

7. Turn on Subtitles
If you are struggling to follow the story, or are hard of hearing I highly recommend turning on subtitles. The experience is less cinematic, but makes the conversations your character has visible.

8. Allow Fullscreen (Windowed) to Tab Out
As the game is so big, you may want to be able to easily tab out and look things up online, or be able to chat with your friends outside of the game while playing. Set the game to “Fullscreen (Windowed)” in the dropdown on the Graphics page so you don’t have to re-load the game every time you tab out. The only time you want to set your game to Fullscreen is if it is really struggling to run, and it would be better for you to look things up on your phone instead of tabbing out.
9. Set Your Graphics
If your game is stuttering or lagging while playing, there is a good chance you will need to turn down your graphics settings. The easiest way to do this is using the “Graphics Quality Preset” dropdown – if your game is really struggling, trying “Very Low”, as it will automatically turn off every extra setting it can once applied. I would also try just setting it to “Medium” – medium offers a really solid compromise between the highest and the lowest settings and it’s usually the setting I recommend players try running the game on.

10. Enable Allow Access to Same Class/Personal Phases
If you’ plan on ever joining another player for a mission, or have someone join you, you’ll want to check the checkbox called “Allow Access to Same Class/Personal Phases” in the Social settings. Even if you don’t plan to play with other people, this settings can be really important if you are trying to get help on a mission you are stuck on.
11. Auto-Ignore Guild Invites
If you’re a new player and not already in a guild, there’s a good chance players will randomly start inviting you to their guild to boost their guild’s numbers. I highly recommend declining and instead playing guild-less, or instead seeking out a guild that’ a good fit for you rather than the first one that happens to invite you. To stop receiving spam invites, you can check the “Auto-Ignore Guild Invites” setting in the Social settings. Just remember to turn this back off if you find a guild you like and are trying to get invited! There’s also a lot of other ignore options here you can play with.

12. Show Exploration Missions
If you’re the kind of player who likes to do every quest and see every story, I recommend turning on the “Show Exploration Missions” setting, as by default, many of the side stories are disabled by default so new players don’t get overwhelmed. To show these missions, you will need to open your map with the M key on your keyboard, and check the checkbox to Show Exploration Missions on the bottom left.

13. Extended Quickbars
In the game, free to play players get 3 quickbars, preferred players get 5, and subscribers get 6 quickbars. however, when you first start playing, no matter your status, only 2 will be showing by default, and you need to turn the rest on. The easiest way to do this is by pressing the very small icon of a cross with arrows on each end, it will be directly beside your character portrait on your quickbars at the bottom. From that menu, choose the “Extended Quickbars” option which will show all quickbars you have available automatically.
14. Lock Your Quickbars
By default, as you are playing, you can drag and drop your abilities on your quickbars to re-order them. However, if you aren’t carefully, you may wind up accidentally dragging them off your bars all-together while you are in a fight, which can be very frustrating. To prevent this from happening, you can “lock” your abilities in place by pressing the very tiny icon of a lock near your character portrait, on the left side of your bottom quickbars. You can click it again to unlock it if you wan to re-order your abilities.
15. Automatically close inventory

Advanced Combat Settings
Are you planning to jump into Operations on a regular basis? Love PvP and want to get better? There are a lot more settings you can turn on to make your experience smoother and have the interface tell you the things you need to know more more difficult combat and group combat. Here’s my list of settings I recommend everyone who plans to do difficult content turn on!
- Enable Focus Target
- Enable combat logging to file
- Show Detailed Item Tooltips
- Show Cooldown Text
You can learn more about all these settings in the Settings & Preferences Guide!
I also recommend really playing with your Interface Editor. Here’s some of my go-to options to turn on.
- Interface Editor: Enable Target of Target
- Interface Editor: Target Frame – Highlight Buffs
- Interface Editor: Target Frame – Sort Options Personal Buffs
- Interface Editor: Target Frame – Highlight Debuffs
- Interface Editor: Target Frame – Sort Options Personal Debuffs
- Really good tips for User Interface for Operations especially for healing from Mal
Here is also a really great video by Cease I recommend taking a look at for settings especially for movement in PvP.
 Questions or comments? Feel free to send me a message on Twitter
  Utility Bar Guide
 Accessibility
 Map Guide
 Colorblind Mode
 Gaming with Anxiety
 Deaf and Hard of Hearing Gaming
 Legally Blind, Visually Impaired or Low Vision Gaming

 Twitter @swtorista
 Reddit /u/swtorista
 Discord Swtorista#0153
 Email swtorista@gmail.com
 Youtube Swtorista
 Twitch Swtorista
 Patreon