


 How to Craft
 Choose a Crew Skill
 Armormech
 Armstech
 Artifice
 Biochem
 Cybertech
 Synthweaving

 Gathering Guide
 Rare Materials Guide
 White Materials Guide
 Jawa Junk
 Augments
 Medpacs, Stims and Adrenals
 Synthweaving Crafting Tree


 Crafted Decorations
 Crafted Mounts
 Crafted Dyes
 Crafted Crystals
 Events Calendar
 Galactic Seasons
 PvP Seasons
 Bounty Event
 Double XP Event
 Feast of Prosperity
 Gree Event
 Life Day
 Nightlife Event
 Pirate Incursion Event
 Rakghoul Event
 Spring Abundance Festival
 Swoop Event

 Jedi Knight
 Jedi Consular
 Trooper
 Smuggler
 Sith Warrior
 Sith Inquisitor
 Bounty Hunter
 Imperial Agent
 Bounty Hunter
 Imperial Agent
 Jedi Consular
 Jedi Knight
 Sith Inquisitor
 Sith Warrior
 Smuggler
 Trooper
 Legacy Gear
 Lightsabers
 Double-Bladed Lightsabers
 Vibroswords
 Double-Bladed Vibroswords
 Blaster Pistols
 Blaster Rifles
 Sniper Rifles
 Blaster Cannons
Ruins of Nul (sometimes known as Elom) is a Flashpoint in Star Wars: The Old Republic that you can run alone, with friends, or with other random players through the groupfinder.
Contents
Ruins of Nul

The team deployed by Task Force Nova to Elom has gone silent. The ruins of Darth Nul’s fortress are unpredictable, dangerous, and of particular interest to Darth Malgus—making the situation an urgent priority. Together with your allies, you must investigate the ancient Sith ruins that once belonged to Darth Nul. A strange shield is preventing you from landing your shuttle near the ruins. You’ll have to make the approach by climbing the mountainside on foot.
How to Start
The Ruins of Nul is a Flashpoint meant to be played as part of the Legacy of the Sith expansion storyline. You can encounter it later on naturally partway through the Legacy of the Sith expansion, replay it alone in Story mode, or play it outside of the story with a group in Story, Veteran or Master mode.

Use the tabs above for instructions for how to enter the flashpoint in the story line, and how to enter it in Solo (Story) mode, Veteran mode, and Master mode by faction. The instructions are exactly the same Republic and Imperial side.
- Story: Lvl 80+ (I think?)
- Solo: Lvl 80+ (I think?)
- Veteran: Lvl 15-80
- Veteran Groupfinder: Lvl 70-80
- Master Mode: Lvl 75-80 †
- Master Mode Groupfinder: Lvl 80

Story
![]()
![]()


Requirements: To play the Ruins of Nul Flashpoint in the story, and receive all the special cutscenes related to the Flashpoint in the story, you will need to be level 75+ and on the correct step of the Legacy of the Sith Expansion which is also a quest called Ruins of Nul. If you are below this level, or not on the correct quest step, you can not play the story quest for this Flashpoint.
![]()
Timeline: In the story, this Flashpoint takes place specifically as part of the Legacy of the Sith expansion, on the step called Ruins of Nul. It does not make much sense plot-wise to play outside of the story.

Bring a Friend?: You can NOT bring a friend of the Ruins of Nul Flashpoint that is part of the Legacy of the Sith storyline UNLESS that friend is on the exact same step quest Ruins of Nul as part of the Legacy of the Sith Expansion on the step Complete the “Ruins of Nul” Solo-Story Flashpoint in the Ruins of Nul quest.
If they have not done the Ruins of Nul storyline, they can join you in a group and you can follow the exact same steps together and do the Ruins of Nul quest with Tau Idair or Darth Rivix as long as they are level 75+ and meet the other quest storyline requirements to start. Then you can walk into Ruins of Nul together.
If they have already run the storyline or are ineligible to start the Ruins of Nul quest, they will NOT be able to walk into the Flashpoint behind you to help you.
Why can’t I get a friend to help? This is because this quest is a special one-time version of the Ruins of Nul Flashpoint called [SOLO-STORY] – it is not the same as the [STORY], [VETERAN] or [MASTER] version you would pick up from the terminal. It is a unique fourth mode designed to be run alone and has special one-time cutscenes related to the Legacy of the Sith expansion.
![]()
Directions to the Story Quest for Ruins of Nul: Ruins of Nul’s one-time story quest is built in to the post-Legacy of the Sith expansion storyline.

If you have not yet run through the Legacy of the Sith-related storylines, you can start it from the glowing blue terminal on your ship. To start this questline, you can start with the Ossus quest called Inflection Point at level 75+. You’ll be going through a lot of content – Ossus is like the prelude to the Legacy of the Sith expansion, then you have to run through the entire Legacy of the Sith expansion, then its flashpoint finale Objective Meridian, then the Echoes of Oblivion storyline, then finally you would get to the Ruins of Nul quest. Ideally, for the most story comprehension, you’d also have run all of the expansion stories that come before Ossus, but the game allows you to skip past them if you are level 75 – just be aware you can not go back and do them later in the story.
→ Ossus (Inflection Point quest)
→ Onslaught Expansion (Onderon & Mek-Sha)
→ Objective Meridian Flashpoint
→ Echoes of Oblivion
→ Spirit of Vengeance
→ Conflicting Priorities (short quest)
→ Secrets of the Enclave
→ Legacy of the Sith Expansion (Manaan)
→ Ruins of Nul
If you are on this step, you can use the Launch Mission button to get to Odessen quickly.

Once on Odessen you can follow the purple markers to your alliance base. Follow the quest markers to talk to Tau Idair or Darth Rivix – ignore the other quests in the area.
Once you get to the quest literally called Ruins of Nul, after you watch your cutscense, you’ll automatically be on the quest [SOLO-STORY] Flashpoint: Ruins of Nul, where you can walk over to the Flashpoint entrance and walk in – no need to use the quest terminal, as you should already be on the quest. Follow the purple markers to the elevator outside the base, and go to the Alliance Operations floor (up).

![]()
Story Progress: [STORY] Ruins of Nul alone will not progress your storyline – it is simply the repeatable solo version. To work on the overarching story, you also need to be on the quest Ruins of Nul on the step Complete the “Ruins of Nul” Solo-Story Flashpoint and then run the [SOLO-STORY] Flashpoint: Ruins of Nul quest.

Lost the quest? If you lost the Legacy of the Sith expansion quest called Ruins of Nul… there’s not really a specific way to pick it up, either it is in your quest log or it is not, and you should not be able to abandon the expansion quest chain. Keep in mind this story-based introductory quest is one-time-per-character. If you lost the ability to walk into the Flashpoint door, or lost the quest with the word Flashpoint in it, you can pick up the [SOLO-STORY] Flashpoint: Ruins of Nul quest from the glowing blue terminal outside the flashpoint’s entrance – you’ll only be able to see the [SOLO-STORY] version on the terminal if you are currently on the Complete the “Ruins of Nul” Solo-Story Flashpoint a step of the Ruins of Nul quest, otherwise only the other non-storyline modes will be visible.

Solo (Story) Instructions
![]()

You can also run this repeatable Flashpoint solo outside of the one-time story quest, at level 75+.

Activity Finder: The FASTEST and EASIEST way to get into the Ruins of Nul Flashpoint soo mode is with the Activity Finder. If you are level 75 or higher, click the icon of “three little people” on the bottom right of your screen which will open the Activity Finder Window.

Then choose the Solo tab in the Activity Finder.

On the solo tab, scroll down and find the listing for Ruins of Nul on the list under Flashpoints, select it, then click the green Travel button. This will take you right into the Flashpoint!

Bring a Friend: You are allowed to bring friends along for this Flashpoint, you do not have to do it alone even though it is considered soloable. Your friends must also be level 75+, be in a group with you, and then you can all use the Solo Tab of the Activity Finder to get into the Flashpoint, and it will put you together no matter where in the galaxy you started from.
![]()
There’s really no need to walk into the Flashpoint manually, but here are the instructions.
Manual Entry: To enter this Flashpoint manually, you must go to the Ruins of Nul’s Flashpoint entrance, which is located on the planet of Odessen, then take the elevator to the Alliance Operations level. Find the Ruins of Nul quest blue terminal and choose [STORY] from the options.
Step 1 – Get to Odessen, by flying there with your ship.

Step 2 – Take the elevator outside the base to the Alliance Operations level on the top floor. Look for the Ruins of Nul quest terminal.
Choose [STORY] mode to start the Flashpoint, then run on in the door.

![]()
Story Progress: [STORY] Ruins of Nul alone will not progress your storyline – it is simply the repeatable solo version. To work on the overarching story, you also need to be on the quest Ruins of Nul on the step Complete the “Ruins of Nul” Solo-Story Flashpoint and then run the [SOLO-STORY] Flashpoint: Ruins of Nul quest.
Veteran Instructions
![]()
![]()
Ruins of Nul also has a repeatable 4-player Veteran version. It is meant to be completed by a group with any type of Republic characters in it, you do not necessarily need a tank or healer to complete it. You will likely also have good luck with 2 players and 2 companions, or 3 players and 1 companion.
Group Finder: If you want to queue up and enter Ruins of Nul in veteran mode through the group finder, you will need to be level 70-80 and not currently on any Ruins of Nul Flashpoint quests or it won’t show up as an option in the group finder. If you are level 70-80, click the icon of “three little people” on the bottom right of your screen which will open the Activity Finder Window. Then choose the Group tab in the Activity Finder.
Filter: If you want to specifically run Ruins of Nul and not a random Flashpoint, make sure to choose Veteran Flashpoints, then click the Filter button the right and narrow your choices down to just Ruins of Nul before pressing Join Queue. Joining the queue will put you in line to be matched with random players to play Ruins of Nul with.
Groupfinder flashpoints do NOT show the cutscenes. To see the cutscenes related to this Flashpoint, you must enter it manually by walking in the door.
Bring a Friend in the Groupfinder: You can queue up with a group of 2, 3, or 4 players in the group finder. If you have a full group of 4, it will bring you straight to the Flashpoint with your full group. If you have 2 or 3 players in your group, the group finder will match you with other random players until you have a full group – but you’ll always be paired with your friends who started off in your group, and will not be split up.
![]()
Story: [VETERAN] Ruins of Nul will not progress your storyline – it is simply the repeatable group version. If you are a low level, this is the only version that will show up on the actual Flashpoint questgiver in front of the entrance door – so don’t be confused and accidentally enter the group version if you are a low level, as it is not meant to be completed alone.
![]()
Veteran Manual Entry: To enter this Flashpoint manually, you must go to the Ruins of Nul’s Flashpoint entrance, which is located on the planet of Odessen, then take the elevator to the Alliance Operations level. Find the Ruins of Nul quest blue terminal and choose [VETERAN] from the options. If you don’t see the Veteran version it means you are not yet eligible due to being below level 15.
Bring a Friend Manually: Veteran Mode Flashpoints are not meant to be completed alone, though highly-skilled, highly-geared, high-level players might be able to. To bring friends along for this Veteran Flashpoint, they’ll need to pick up the Veteran Mode quest from the blue terminal – or you can pick up the quest and share it with them, but they’ll still need to walk in the door manually. Characters walking in the door need to be level 15+.
Step 1 – Get to Odessen, by flying there with your ship.
Step 2 – Take the elevator outside the base to the Alliance Operations level on the top floor. Look for the Ruins of Nul quest terminal.
Choose [VETERAN] mode to start the Flashpoint, then run on in the door.

Master Instructions
![]()
![]()
Master Mode is the hardest version of Ruins of Nul. It is meant to be completed by a high-level high-skilled group at level 80. Most teams will want a Tank, Healer and two Damage characters.
Group Finder: If you want to queue up and enter Ruins of Nul in Master Mode through the group finder, you will need to be level 80 and not currently on any Ruins of Nul Flashpoint quests or it won’t show up as an option in the group finder. If you are level 80, click the icon of “three little people” on the bottom right of your screen which will open the Activity Finder Window. Then choose the Group tab in the Activity Finder.
Filter: If you want to specifically run Ruins of Nul and not a random Flashpoint, make sure to choose Master Flashpoints, then click the Filter button the right and narrow your choices down to just Ruins of Nul before pressing Join Queue. Joining the queue will put you in line to be matched with random players to play Ruins of Nul with.
Groupfinder flashpoints do NOT show the cutscenes. To see the cutscenes related to this Flashpoint, you must enter it manually by walking in the door.
Bring a Friend in the Groupfinder: You can queue up with a group of 2, 3, or 4 players in the group finder. If you have a full group of 4, it will bring you straight to the Flashpoint with your full group. If you have 2 or 3 players in your group, the group finder will match you with other random players until you have a full group – but you’ll always be paired with your friends who started off in your group, and will not be split up. Your friends all need to be level 80 too.
![]()
Story: [MASTER] Ruins of Nul will not progress your storyline – it is simply the repeatable difficult group version.
![]()
Manual Entry: To enter this Flashpoint manually, you must go to the Ruins of Nul’s Flashpoint entrance, which is located on the planet of Odessen, then take the elevator to the Alliance Operations level. Find the Ruins of Nul quest blue terminal and choose [MASTER] from the options.
Bring a Friend Manually: Master Mode Flashpoints are not meant to be completed alone, and are designed for level 80 players who are comfortable with their role and class. To bring friends along for this Master Flashpoint, they’ll need to pick up the Master Mode quest from the blue terminal – or you can pick up the quest and share it with them, but they’ll still need to walk in the door manually while you’re in a group. Level 75-80 characters can technically enter Master Mode flashpoints, but all the enemies are level 80, and they will die very quickly.
Step 1 – Get to Odessen, by flying there with your ship.
Step 2 – Take the elevator outside the base to the Alliance Operations level on the top floor. Look for the Ruins of Nul quest terminal.
Choose [MASTER] mode to start the Flashpoint, then run on in the door.

Bosses
This Flashpoint has three boss fights – the Apex Ranphyx, the Regnant Computer, and Darth Malgus, and the bonus boss.
In all modes you can use the medpacs scattered around the bosses. Run over them to heal yourself. Do not run over them if you do not need healing.

The following boss info is mainly for story and Veteran mode – Master Mode tactics are not covered in this guide.
Apex Ranphyx

The idea with this boss is that you want to step out of the red cones as they show up ( and don’t point them towards your team mates if the boss is on you.)

Every time you are in one when the boss’s attack finishes, you get a stack of bleeding.

But the maximum stacks you can get is 10… and 10 doesn’t hurt that much, so don’t worry about it too much unless you are dying.

The boss’s Harrowing Bellow attack will follow you, so if the boss is attacking you with it, try and stay still – but if the boss is not attacking you, get out of it.

Master Mode: The Master Mode version of the Ranphyx is about the same, it just hurts a lot more when you get hit by the red attacks.
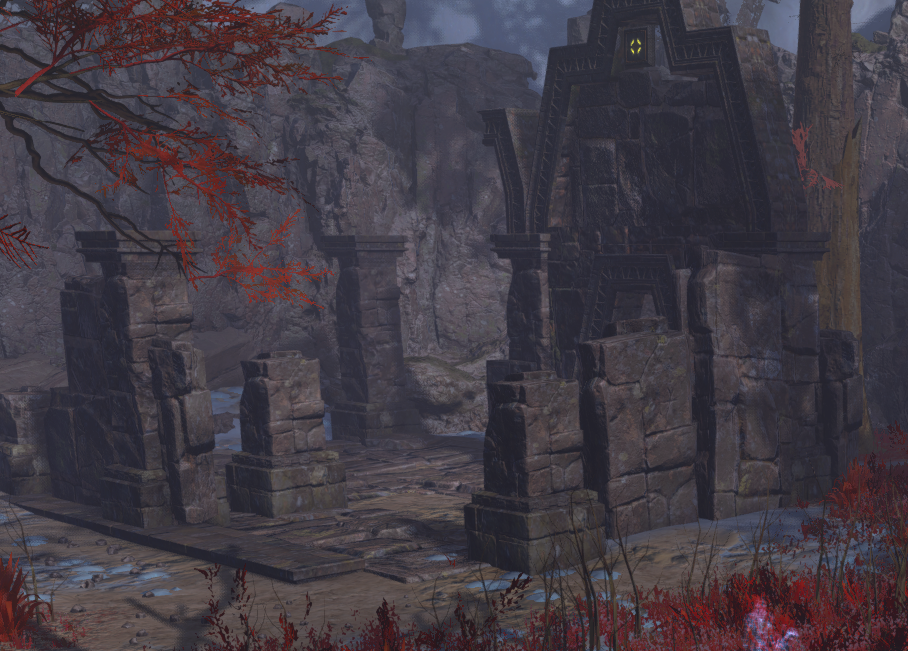
Keystone Door
After the first boss, do NOT take the route that looks like it leads directly to the next objective point of “Find a Way Forward”. Instead, take the the left path, or you will have to backtrack which is annoying.

It will then ask you to investigate the area for two keystones.
You are looking for a large glowing blue block on a wall in various ruins to right-click – they are not always in the same place each time you play the Flashpoint.

Most groups split up to look for the keystones.
Do not go into these ruins UNLESS you see a keystone – otherwise it summons enemies. Use your camera to look around the inside walls.
You can even avoid stepping into some of the ruins by positioning you camera so your character is on the back wall of the keystone, but right-clicking the blue keystone on the other side from the top-down (not through the wall).

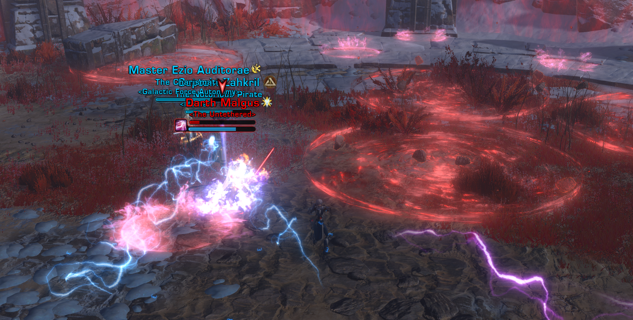
Boss 2 – Regnant Computer

To start the second boss, just shoot the large computer named Regnant with a basic attack.
Your goal is going to be to bring the floating Volatile Monitor droid over to the Primary Processor Core, the only core not shielded, and then to kill the Volatile Monitor near enough to the core that it explodes on the core. The easiest way to do this is to shoot the Volatile Monitor as soon as it appears, then run quickly over to the core and stand right beside it before you kill the Volatile Monitor. You need to do this four times in order – Primary, Secondary, Tertiary then Quaternary (first, second third, fourth).

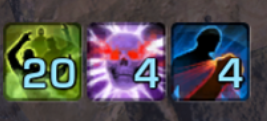
If you are playing with others, you may need to let them know to come near the core if they are running around scattered. If your companion keeps stealing the Volatile Monitors, you may need to put them on “Passive” mode by clicking the icon of a blue man in a shirt crossing his arms in your companion abilities, as you run towards the core. This will cause them to follow you closely and not attack or heal. When it is safe, and the core is dead, you can click the icon again to send them back into battle. They keybind for this ability is CONTROL+2 by default.

Avoid the thin red lines as much as possible.

Avoid the small red circles as much as possible.

Avoid the big red line as much as possible.

When you’ve destroyed all four cores, you can attack the Regnant on the wall directly. But be careful, it frequently does a big red line attack that you want to get out of as much as possible.

Don’t forget to right-click the glowing blue shield controls after the boss fight is finished to continue.

Master Mode: The Master Mode computer fight is actually on the harder side of Master Mode fights! Your team needs to work together to bring the floating droids to the correct cores, and to clean up the smaller enemies as they show up so you don’t get overwhelmed. I recommend clearing up all enemies before fighting the core at the end. There’s going to be a lot more red circles on the ground.
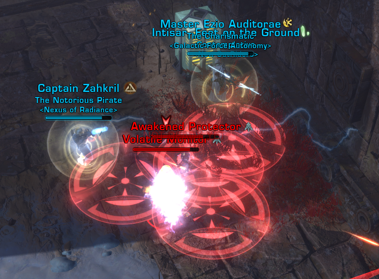
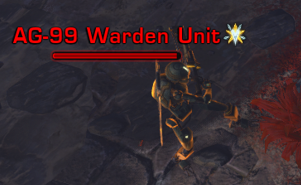
Bonus Boss – Warden Units

The Ruins of Nul bonus boss is available in all modes, Story, Veteran and Master.
To unlock the bonus boss, you must find the four strange obelisks from the bonus quest. These are marked on the map automatically and not hard to find.

The bonus boss is a rock0paper-scissors game, where each of them is vulnerable to one of the other droid’s attacks. When they become vulnerable, they will have a yellow arrow over their head, making them die faster.
You want the long yellow ling for AG-99 to hit the floating PR-33 to make it vulnerable.

You want the large yellow circle to hit the big ND-66 to make it vulnerable.

You want the small yellow circles to hit the man-like AG-99 to make it vulnerable.

The red cone doesn’t help take down any of the bosses, it’s just damage.

Master Mode: In Master Mode this fight is quite difficult. Not only do the bosses have more health and do more damage, but the Obelisk buffs also do a lot more damage to everyone in your group. Eventually the buffs spread to your whole group, so you’ll all be taking large stacks of damage over time, your healer will have their healing greatly reduced, and you’ll all do less damage. See the bonus quest section for more info about obelisk splitting.
Master Mode Bonus Boss Bug?: We also experienced an unexpected issue with the bonus bosses in Master Mode – the AG-99 man-like Warden Unit should take damage when hit with the small orange circles. However, for whatever reason, although the other two bosses worked as expected, he seemed broken and had to be killed slowly over time. We focused on killing the large droid and floating droid at roughly the same time using their special powers, then slowly whittled down the AG-99 unit – it was tedious, but completable.
Stairs

The stairs in the Ruins of Nul flashpoint can be surprisingly difficult.
My biggest advice is take your time – do NOT try and rush up the stairs. Kill enemies where you find them, don’t try to drag them ahead.

To move forward, right-click the glowing blue grapple hooks further up the path, they have a green circle around them.

Do your best to step out of as many red circles as possible. This gets quite difficult though – just do your best and try not to walk off the edge.

In a Group: The stairs fight is always so messy with other people, just do your best to stay together and kill enemies as they show up. If one person dies, just keep going, as when you reach the final checkpoint at the very very top of the final stairs, they will revive there instead.
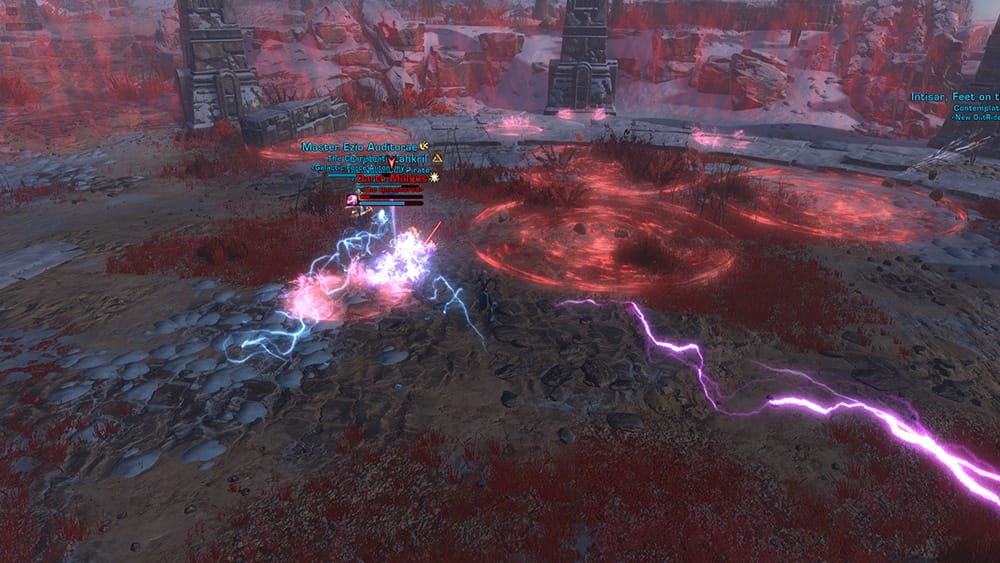
Darth Malgus

This is my least favorite flashpoint fight in the game! :)
Stay out of his red circle as much as possible.

Often during the fight he will start zooming around the map in a triangle with red triangle lines coming out of him. The idea is you don’t want to be hit by him.

I honestly never figured out how the mechanic was supposed to work, but almost every group I’ve ever been in just ignored the mechanic and came and stood safely by “the big rock” where they wouldn’t get hit by him until he was done his zooming.

Master Mode: Malgus has two big differences in the Master Mode – the first is a knock-back, which if it knocks you into the outer mist wall, will auto-kill you – so make sure your back is not facing to close to a wall any time he is not doing his triangle attack. Second, he has an attack called Coalescing Lightning that hurts a lot when the cast finishes – it looks likes a pink lightning icon, and you likely want to use a defensive cooldown to protect yourself from this attack.

Master Mode
Master Mode Ruins of Nul is almost exactly the same as Solo/Veteran Mode Ruins of Nul, except for these differences:
- The enemies are stronger and have more health
- The first boss is the same
- The second boss you really need to do the mechanics right and clear the smaller enemies
- The final Malgus fight has a knockback (be careful of the mist barrier!) and a strong Coalescing Lightning Attack
- The bonus boss is a lot harder and the obelisks matter more
Bonus Quest

The Ruins of Nul bonus quest and boss is available in all modes, Story, Veteran and Master. The pillars and bonus quest only shows up after you finish the second boss.
The bonus quest is called Devastation and Discovery and asks you to investigate 4 strange obelisks hidden around the map – they are glowing blue and you can right-click them. If you are not doing the bonus quest, leave them alone and don’t click them, as each one gives you a debuff.
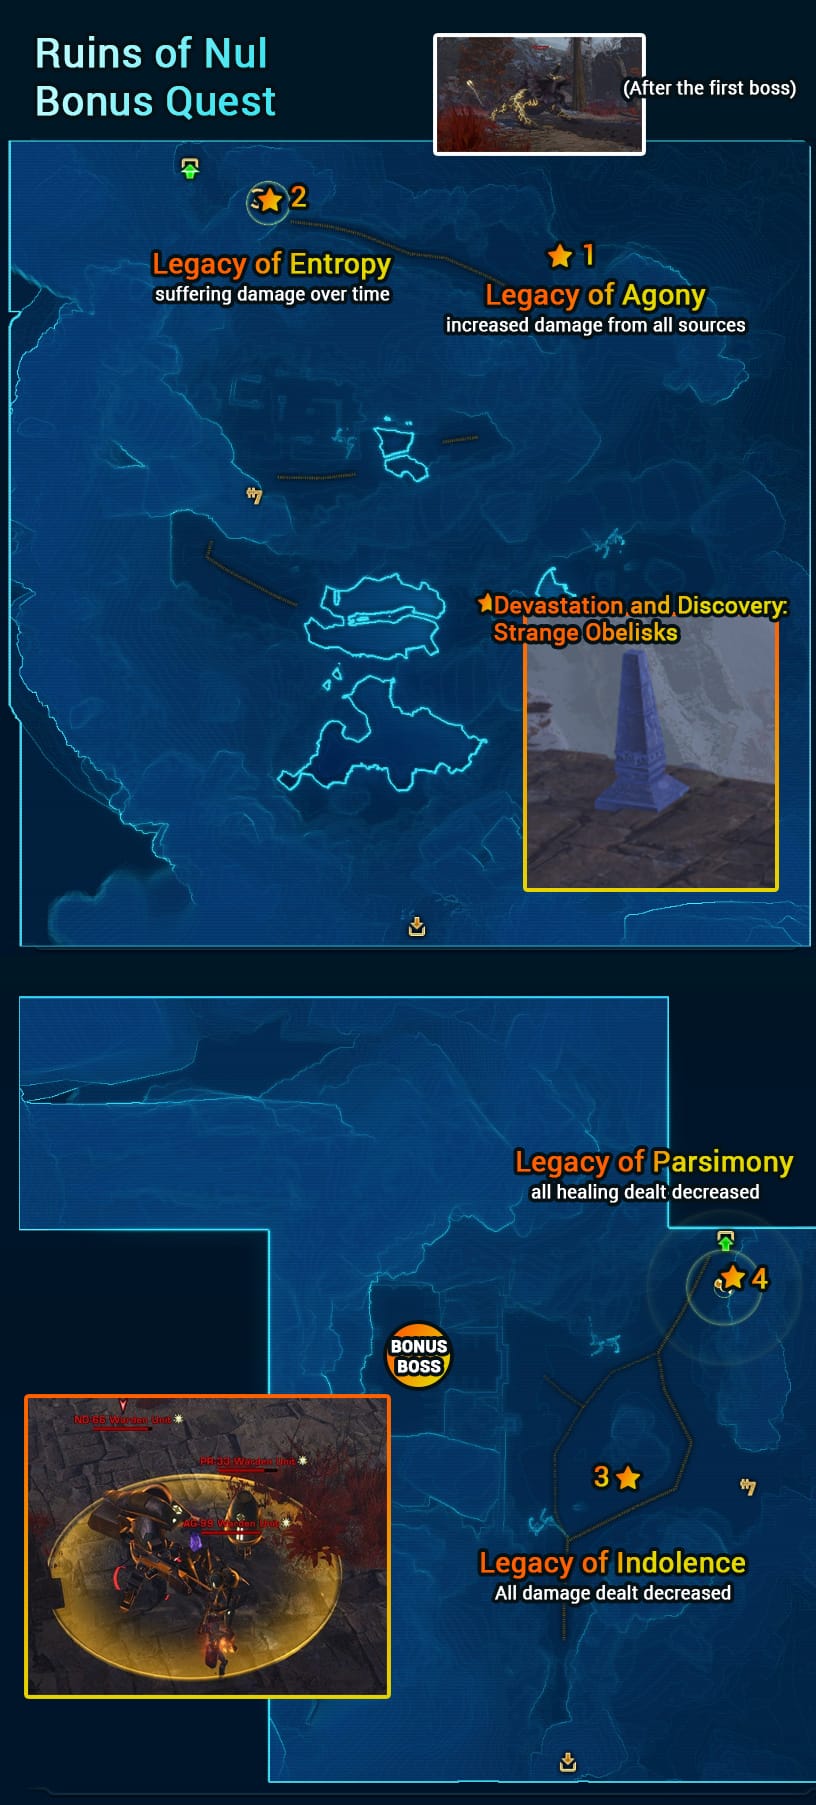
This will unlock the Warden Unit bonus bosses.
Master Mode: In Master Mode, you may want to divide up the obelisks.
- #1 – Legacy of Agony – Increased damage taken. The tank?
- #2 – Legacy of Entropy – Suffering damage over time. The tank?
- #3 – Legacy of Indolence – Decreases damage. The healer, since they don’t need to do damage.
- #4 – Legacy of Parsimony. Decreases healing done. A DPS.
Skips
What follows are a quick gallery of images depicting specific walking routes that may save you some time by avoiding enemies during the flashpoint. All of the following images are done without stealth or without a sleep dart/mind maze from a stealth character, so anyone can attempt them. If you fail to slip by unnoticed or see your team has attacked the enemies – always pull back from these routes and go back to help them defeat them! These may save time if everyone does them, but nothing makes a flashpoint slower than running ahead and not helping others to get out of combat again.
Solo Stealth: If you are playing Ruins of Nul alone and are on a Stealth character, or are in a full stealther group, you can skip many of the enemies, but not all of them. After the first set of stairs a quest objective will pop up to defend yourself, and you’ll have to fight those Ranphyx cat enemies. You must actually go and fight all four packs of Ranphyx marked on the map, but you can skip any others that do not burrow out of the ground.

The Agitated Ranphyx can also detect you in stealth.

The Retainer can also knock you out of stealth when it does its stealth scan.

Skip #1

Right at the start you can head up behind this tree and hop over the rocks on the left to skip exactly one pack of Ranphyx. That’s about it though – the rest of your path to the next two bosses are usually pretty narrow and aside from obvious dead-end paths, enemies will need to be fought without stealth and also like to do scripted ambushes along the path.
Skip #2

Not exactly a “Route” for you to follow, but when retrieving the keystones to open the path up, you can sometimes (depending on what wall the keystone spawned onto) avoid fighting it’s guardians by standing on the opposite side of the wall and clicking the object around the corner!
Skip #3

On the narrow path after the big computer boss, it’ll open up into a roundabout path that includes a path to the bonus boss or to continue the flashpoint with a large circle in the middle. This patrolling group of droids here will walk around in a circle. You could conceivably get around them without stealth if you get to this section at the right time. If they’re firmly in your way, just fight. Waiting for them to walk away will take longer.
Rewards
In addition to the usual rewards of XP, credits, gear and end-game currency, Ruins of Nul has the following rewards available – there’s a bunch of holo decorations.
Nul Ruins Activator

Nul Ruins Activator, an automatic reward for completing the repeatable solo-friendly [STORY] mode

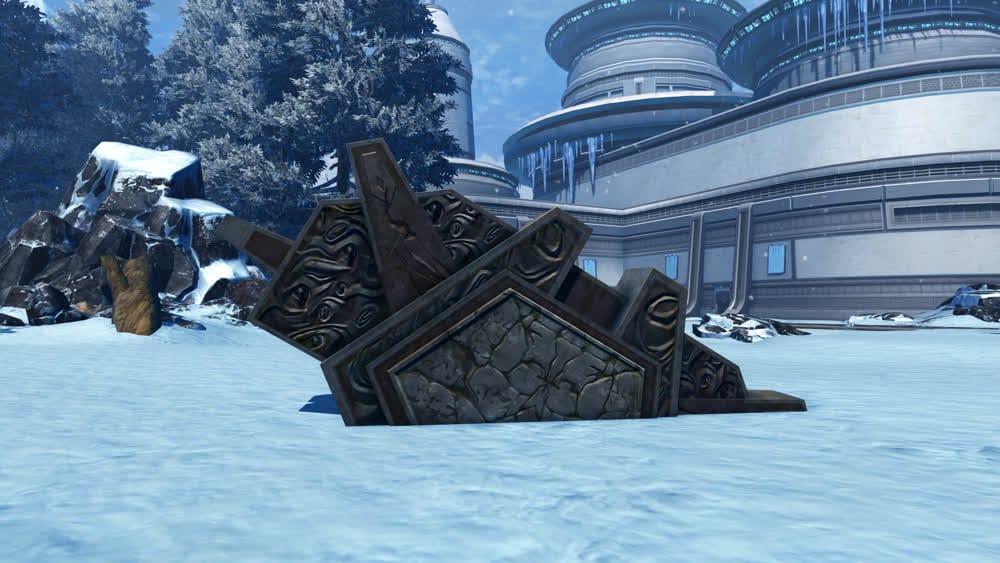
Nul Destroyed Column

Nul Destroyed Column, drops from final boss Darth Malgus in any mode, including Story
Nul Destroyed Pillar
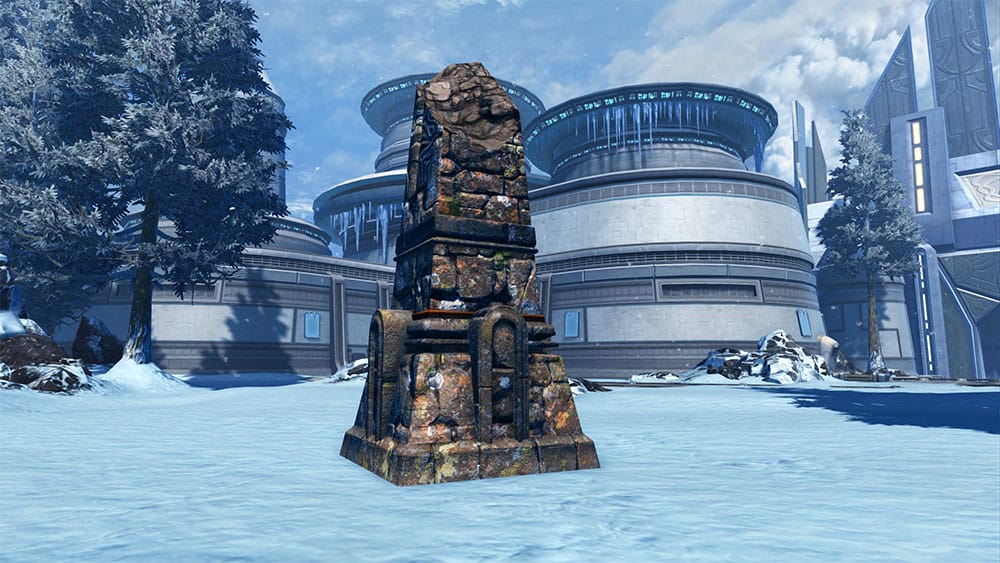
Nul Destroyed Pillar, drops from any boss in any mode, including Story
Nul Hidden Switch
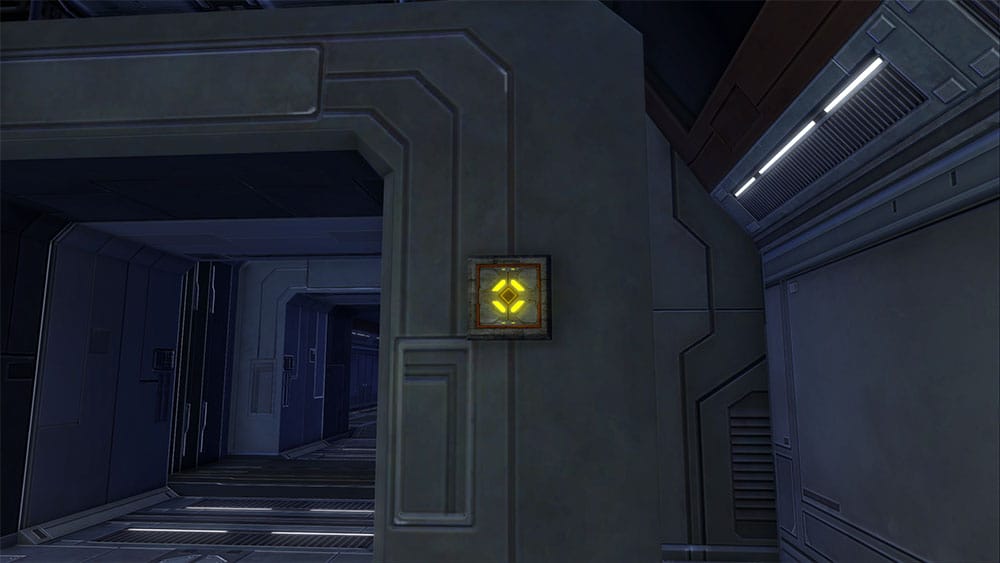
Nul Hidden Switch, drops from any normal enemy in any mode including Story
Nul Ruins Archway

Nul Ruins Archway, drops from Darth Malgus in any mode, including Story
Nul Statue of the
Defender

Nul Statue of the Defender, drops from Apex Ranphyx in any mode, including Story
Nul Wall Panel
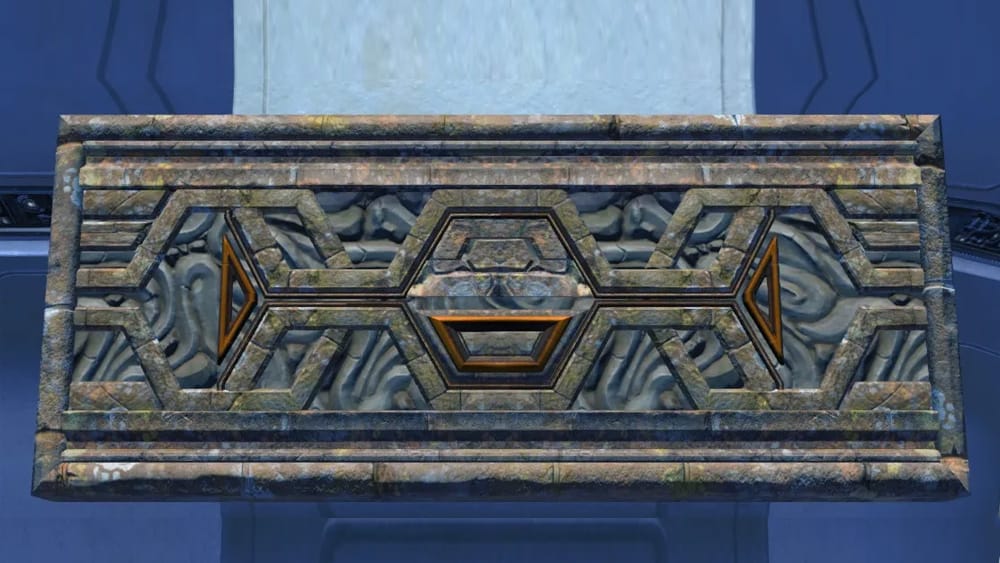
Nul Wall Panel, drops from Regnant in any mode, including Story
Obelisk of Nul
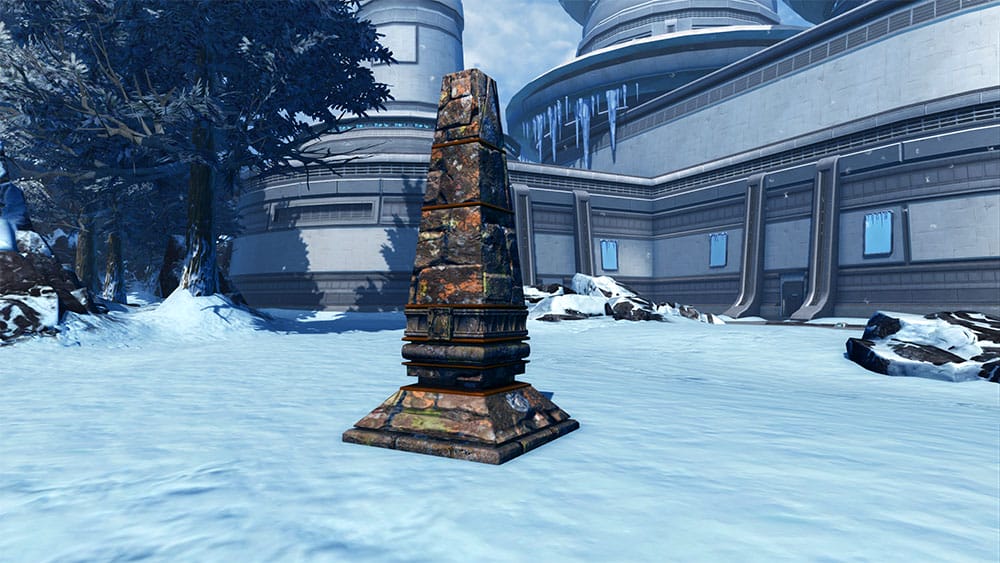
Obelisk of Nul, drops from any normal enemy in any mode, including Story
Warriors of Nul

Warriors of Nul, drops from Awakened Wardens bonus bosses, in any mode including Story
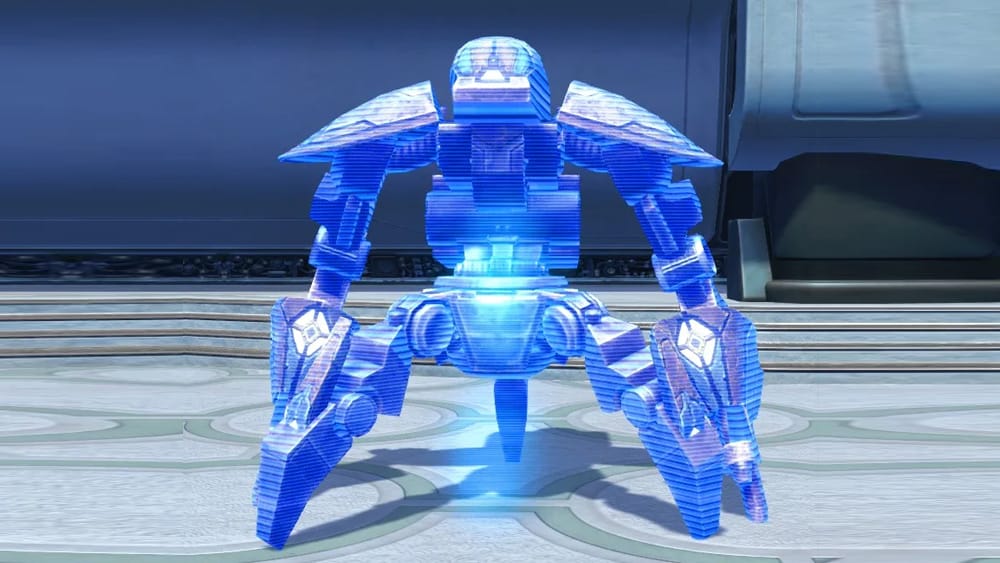
PR-33 Warden Unit Holo

PR-33 Warden Unit Holo, drops from Awakened Wardens bonus bosses
AG-66 Warden Unit Holo
AG-66 Warden Unit Holo, drop – I do not have any details on what types of enemies or bosses this decoration drops from specifically, or what modes it drops from. For the AG-66 holo, I had a very difficult time even finding someone with the decoration who could send in a screenshot and had to use a very old one from TOR Decorating.
AG-99 Warden Unit Holo

AG-99 Warden Unit Holo, drop from bonus boss
Apex Ranphyx Holo

Apex Ranphyx Holo, drops from Apex Ranphyx from any mode, including Story
Darth Malgus Holo (Ruins of
Nul)
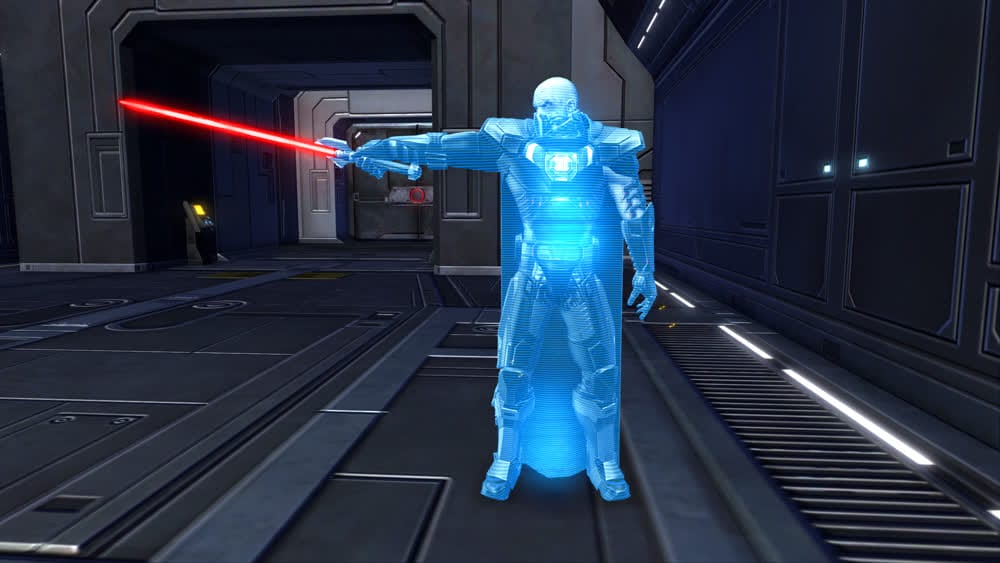
Darth Malgus Holo (Ruins of Nul), drop, likely from final boss Darth Malgus in any mode
Relic of Nul (Holocron)

Relic of Nul (Holocron), Complete the “Digging Deeper” Story Quest (Patch 7.1), not from the Flashpoint itself
Relic of Nul (Mural)
Relic of Nul (Mural), complete the “Digging Deeper” Story Quest (Patch 7.1), not from the Flashpoint itself
Relic of Nul (Pillar)

Relic of Nul (Pillar), Complete the “Digging Deeper” Story Quest (Patch 7.1), not from the Flashpoint itself
Objectives
- Observe Mission Briefing
- Ascend the Mountainside
- Defend Yourself Against Ranphyx Attacks
- Investigate the Area
- Defeat the Apex Ranphyx
- Examine the Obelisk
- Find a Way Forward
- Locate the First Keystone
- Locate the Second Keystone
- Use Keystones on the Door
- Defeat Regnant
- Use the Terminal to Disable the Shields
- Find a Way Inside
- Continue Up the Mountainside
- Defeat Republic Forces / Defeat Imperial Forces
- Reach the Summit
- Defeat the Republic Command Squad / Defeat the Imperial Command Squad
- Search the Temple of Darth Nul
- Defeat Darth Malgus
- Apprehend Darth Malgus
 Questions or comments? Feel free to send me a message on Twitter


 Discord
  Email swtorista@gmail.com
 Bluesky @swtorista.com
 Reddit /u/swtorista
 Twitch Swtorista
 Youtube
 Patreon
 Twitter @swtorista