


 How to Craft
 Choose a Crew Skill
 Armormech
 Armstech
 Artifice
 Biochem
 Cybertech
 Synthweaving

 Gathering Guide
 Rare Materials Guide
 White Materials Guide
 Jawa Junk
 Augments
 Medpacs, Stims and Adrenals
 Synthweaving Crafting Tree


 Crafted Decorations
 Crafted Mounts
 Crafted Dyes
 Crafted Crystals
 Events Calendar
 Galactic Seasons
 PvP Seasons
 Bounty Event
 Double XP Event
 Feast of Prosperity
 Gree Event
 Life Day
 Nightlife Event
 Pirate Incursion Event
 Rakghoul Event
 Spring Abundance Festival
 Swoop Event

 Jedi Knight
 Jedi Consular
 Trooper
 Smuggler
 Sith Warrior
 Sith Inquisitor
 Bounty Hunter
 Imperial Agent
 Bounty Hunter
 Imperial Agent
 Jedi Consular
 Jedi Knight
 Sith Inquisitor
 Sith Warrior
 Smuggler
 Trooper
 Legacy Gear
 Lightsabers
 Double-Bladed Lightsabers
 Vibroswords
 Double-Bladed Vibroswords
 Blaster Pistols
 Blaster Rifles
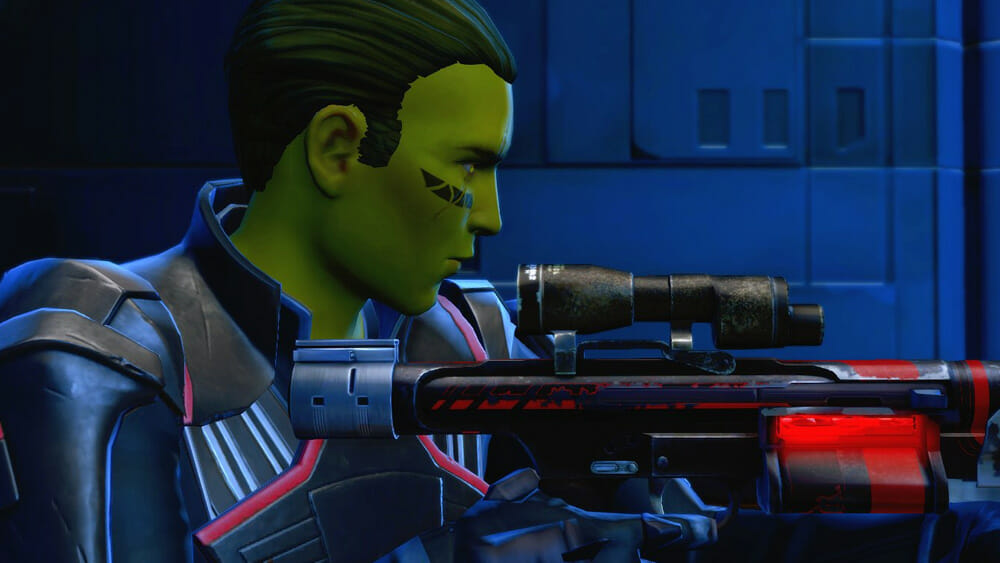
 Sniper Rifles
 Blaster Cannons
The Empire dominates scores of star systems across the galaxy, but not through the power of the dark side alone. Behind the scenes, the cunning Agents of Imperial Intelligence track down and eliminate the Empire’s enemies—from intractable Republic senators to traitorous Imperial Moffs to bloodthirsty rebels with Republic ties. Imperial Agents must master the arts of infiltration, seduction, and assassination to advance the Empire’s causes; they face the opposition of a terrified galaxy and the capriciousness of their own Sith overlords.

Imperial Intelligence cultivates a notoriously vast and efficient network of informants, enabling the Agent to navigate the galaxy’s political landscape with effortless suave. Naturally, the Agent’s allegiance to the Empire is without question, but great latitude exists for those so closely attuned to the Empire’s secret agendas—Agents often harbor their own mysterious motivations as well. Having pierced countless layers of intrigue, these spies know of conspiracies within conspiracies. Even close contacts find it hard to predict what an Imperial Agent will do until it’s done.

The most elite operative within Imperial Intelligence is the ‘Cipher’ Agent—recruited and trained to carry out the most dangerous and sensitive assignments the Empire has to offer. Whether working undercover or carrying out assignments in broad daylight, the Cipher races along the razor’s edge of disaster, using carefully orchestrated tactics that leave little room for error—the smallest slip-up can be catastrophic. Each successful mission, however, shifts the galactic landscape in the Empire’s favor, and the Agent plays a supremely critical role in securing Imperial domination.


 Arsenal is pretty simple to pick up the basics of with a guide
 Bodyguards are the most flexible type of healer, great for healing groups or single characters.
 Concussive Missile, knock an enemy out of the fight
 Stealth Scan, find hidden enemies (optional)
 Blazing Bolts, flashy blaster fire that changes color based on your weapon’s color crystal IMPERIAL


 Shield Tech is the simplest to learn of the three tanking styles
 Shoulder Cannon, fast mini missiles with an optional heal
 Grapple, pull an enemy to you
 Pyrotech definitely felt like one of the easiest classes to learn how to play the basics of for me so far with a guide! It’s pretty simple and rotates through key abilities. Even just pressing random buttons worked pretty good, though it didn’t do a ton of damage.
 Retractable Blade, guts the target with a vibroblade, dealing additional damage over time

 All three healer styles are not too hard to start healing with, just select a player and heal with a green ability
 Concealment is stabbing range, which means you must be very close to your enemy to attack, but you have a jump ability and roll to help you close the gap between you and your enemy
 This style is very mobile and you can easily run and jump around while fighting without any issues!
 Most abilities can simply be used, you only need to learn to activate a few of them
 Concealment is pretty easy to learn the basics of compared to other disciplines.
 Medicine focuses heavily on healing-over-time. Medicine excels at group healing.
 Recuperative Nanotech, heals your target and additional targets nearby
 Stealth, to sneak past enemies, the only healer with stealth available
 The Concealment style focuses on knifing enemies, big or small. It’s a fast and fluid discipline.


 Marksmanship has you take cover and not move. Cover makes Marksmanship a very difficult class for newer gamers to learn, as many fights require moving around – but you can ignore the cover mechanic while learning Marksmanship if you want as all but one ability can still be used out of cover.
 Marksmanship is the simplest of the three Sniper disciplines – using a very basic move set, you can get away with using only five abilities if you aren’t worried about doing max damage.
 Entrench, become immoveable
 Cover Pulse, knock everyone away from you while in cover


 Combat Medic is a healer discipline, which makes it harder to learn than a damage class for most new players
 Most players recommend to level as a damage discipline, then switch to healer when you are ready for group content
 Combat Medic has an easy to use free heal and all the abilities are clickable right away
 But it can be harder to learn to keep your energy up compared to other healing disciplines
 Gunnery is long-range, making it easier to hit moving targets compared to melee disciplines for new players
 Your main ability requires you stand still while you use it, like a turret, but you can choose to make it activate instantly
 Most abilities can simply be used, you don’t need to activate them in any way first
 Gunnery is pretty simple to pick up the basics of with a guide
 Assault Specialist is long-range, making it easier to hit moving targets compared to melee disciplines for new players.
 Combat Medics are the most flexible type of healer, great for healing groups or single characters.
 Med Shot, green beam of love heal, very visible and fun
 Kolto Bomb, giant green healing splat on the ground
 Echoing Deterrence, reflective super shield with a heal (optional)
 Propulsion Round, jump backwards quickly
 Concussion Charge, push enemies back
 Hold the Line, fast movement speed and immunity to knockbacks (optional)
 Cryo Grenade, short stun (optional)
 Assault Specialist is all about keeping your damage-over-time abilities on your enemy as they are about to run out, rather than button mashing them over and over, and getting free abilities by throwing a bomb then shooting it to blow it up.


 Shield Specialist is a tank style, which means it does less damage, but can stay alive more easily
 Most players recommend to level as a damage style, then switch to tank when you are ready for group content
 Vanguard tanking is my favorite Combat Style and main character!
 Plasmatech is very mobile and very easy to jump and move around with while playing.
 It is a short-range class, but you can use many of your abilities even if you are farther away, making it easy to hit enemies even if you are not very coordinated when it comes to making your way to your enemy.
 All of your abilities can just be used right away, you don’t need to activate them first in any way.
 Plasmatech is a DOT or damage-over-time class, which means you set things on fire – then let them burn over time. So to do big damage you need to learn to not simply set your enemy on fire over and over.
 Tactics is very mobile and very easy to jump and move around with while playing.
 All but one of your abilities can just be used right away, you don’t need to activate them first in any way.
 Tactics for me was not too hard to learn – it has a few more steps and things to watch for compared to Plasmatech, but wasn’t too bad!
 Taunts, causes enemies to focus on you
 Impact Charge, leap to an enemy
 Riot Gas, defensive gas cannister
 Plasmatech definitely felt like one of the easiest classes to learn how to play the basics of for me so far with a guide! It’s pretty simple and rotates through key abilities. Even just pressing random buttons worked pretty good, though it didn’t do a ton of damage.,


 Sawbones is a healer style, which makes it harder to learn than a damage class for most new players
 Most players recommend to level as a damage discipline, then switch to healer when you are ready for group content
 However Scoundrel Heals has a second resource to manage called Upper Hand, which makes it slightly trickier to start with
 Scrapper is punching range, which means you must be very close to your enemy to attack, but you have a jump ability and roll to help you close the gap between you and your enemy
 This style is very mobile and you can easily run and jump around while fighting without any issues!
 Most abilities can simply be used, you only need to learn to activate a few of them
 Scrapper is pretty easy to learn the basics of compared to other disciplines.
 Ruffian is a damage-over-time discipline which means you need to build up your attacks over time, layering them together, which makes it slightly harder to learn than burst discipline which do damage right away
 This style is very mobile and you can easily run and jump around while fighting without any issues!
 Most abilities can simply be used, you only need to learn to activate a few of them
 Kolto Waves, large group heal
 Slow-release Medpack, heals your target over time and can be used on any number of targets
 Smuggle, group stealth (optional)
 Dirty Kick, short stun (optional)
 Scamper, roll forwards quickly
 Trick Move, jump to an enemy (optional)
 Flash Grenade, group stun/distraction (optional)
 Surrender, drop all your money and lose enemies’ attention
 The Scrapper style focuses on punching enemies in the face, big or small. It’s a fast and fluid discipline.


 Sharpshooter is long range – if you can handle the cover mechanic, you can hit targets very, very far away compared to most classes which makes it easier to find targets to hit than short-range classes.
 I was originally intimidated by the number of abilities Sharpshooter had, but found it very easy and intuitive to play once I read a guide and it felt there was less to memorize than many other disciplines.
 Saboteur is long range – if you can handle the cover mechanic, you can hit targets very, very far away compared to most classes which makes it easier to find targets to hit than short-range classes.
 Dirty Fighting is long range – if you can handle the cover mechanic, you can hit targets very, very far away compared to most classes which makes it easier to find targets to hit than short-range classes.
 Sharpshooter focuses on long range pistol attacks, taking advantage of a free attack available after every main attack, and taking advantage of their large number of buffs.
 Hightail It, roll and go into cover
 Scrambling Shield, large group shield (optional)
 Bombing Run, your ship attacks for you (optional)
 Saboteur is all about shooting things, throwing grenades, and setting things on fire!
 Dirty Fighting focuses on making sure you have Vital Shot and Shrap Bomb debuffs on your current target before using Wounding Shots, a channeled ability that is your weakest attack on its own, but generating the biggest hits you can do if supported by your Damage over Time abilities at the right time.


 Yes
Yes


 No
No


 And finally thank you to Zahk who helped type up all the 1,000+ abilities in the game for each class so we could make the summaries and the basic class guides for each discipline, and helped with testing and formatting for this page!
 Discord
  Email swtorista@gmail.com
 Bluesky @swtorista.com
 Reddit /u/swtorista
 Twitch Swtorista
 Youtube
 Patreon
 Twitter @swtorista