


 How to Craft
 Choose a Crew Skill
 Armormech
 Armstech
 Artifice
 Biochem
 Cybertech
 Synthweaving

 Gathering Guide
 Rare Materials Guide
 White Materials Guide
 Jawa Junk
 Augments
 Medpacs, Stims and Adrenals
 Synthweaving Crafting Tree


 Crafted Decorations
 Crafted Mounts
 Crafted Dyes
 Crafted Crystals
 Events Calendar
 Galactic Seasons
 PvP Seasons
 Bounty Event
 Double XP Event
 Feast of Prosperity
 Gree Event
 Life Day
 Nightlife Event
 Pirate Incursion Event
 Rakghoul Event
 Spring Abundance Festival
 Swoop Event

 Jedi Knight
 Jedi Consular
 Trooper
 Smuggler
 Sith Warrior
 Sith Inquisitor
 Bounty Hunter
 Imperial Agent
 Bounty Hunter
 Imperial Agent
 Jedi Consular
 Jedi Knight
 Sith Inquisitor
 Sith Warrior
 Smuggler
 Trooper
 Legacy Gear
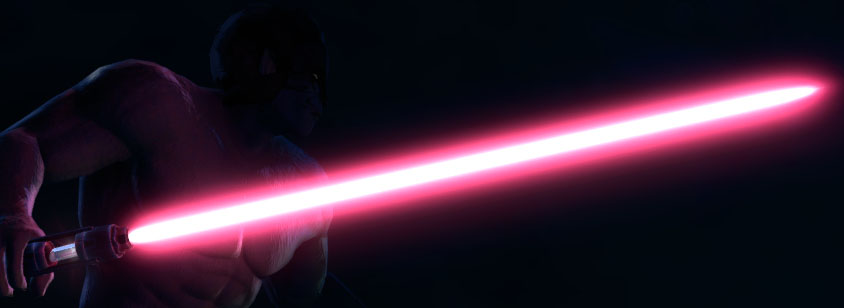
 Lightsabers
 Double-Bladed Lightsabers
 Vibroswords
 Double-Bladed Vibroswords
 Blaster Pistols
 Blaster Rifles
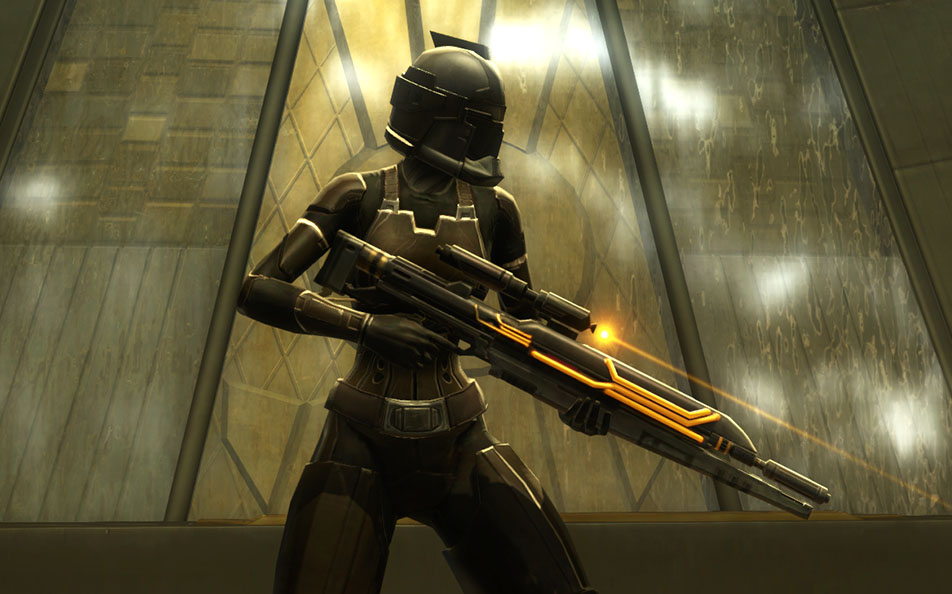
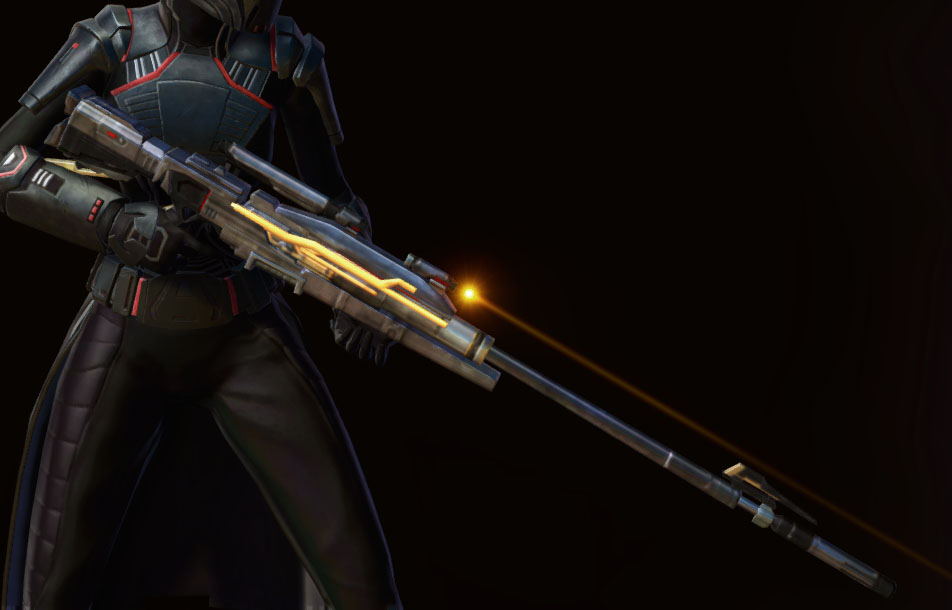
 Sniper Rifles
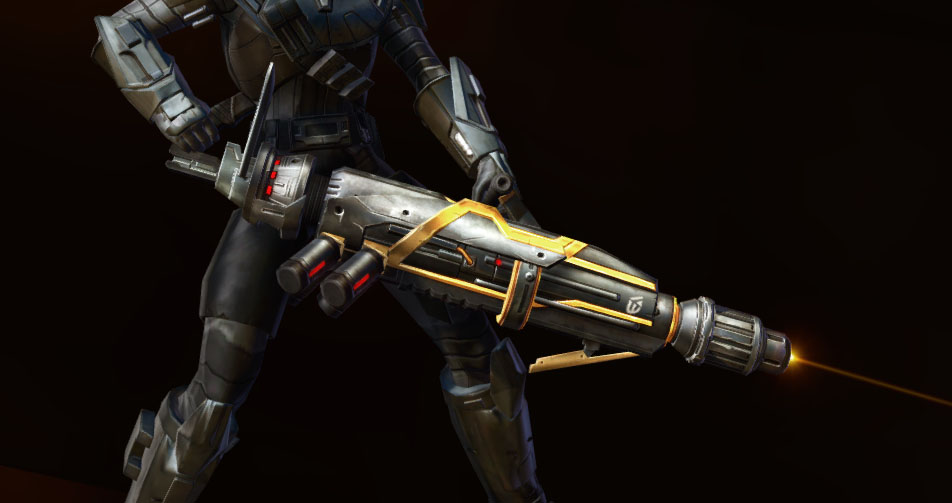
 Blaster Cannons
The Eternal Championship is a tournament where you face off against some of Zakuul’s finest contenders. The fights are pretty fun as they focus on different mechanics, and can help you practice playing your class solo and are a great way to prepare to enter end-game group content.
Update After 7.0 / 2025: The Eternal Championship seems significantly harder after the 7.0 update. You may wish to bring a friend along to help as even the beginning fights can be a struggle compared to previous expansions. If you are struggling you can also work on upgrading your gear to blue/purple versions with more tertiary stats.

Contents
- How to Start
- Eternal Championship Trophy Tokens
- Achievements
- Tips
- Round 1 – Arlaia Zayzen and her Two Droids
- Round 2 – Daruula Grah and his Trained Iknayids
- Round 3 – Gungus Boga and his Heralds of Zildrog
- Round 4 – Conraad Om’wurt and his pet Chompers the Undying
- Round 5 – Lanos and his Skytroopers
- Round 6 – The Breaktown Brawler, Ripper and King Crush
- Round 7 – Nocturno and Drake Raven
- Round 8 – Little Gut
- Round 9 – Doom Droid
- Round 10 – Zotar and Aftershock the Walker
- Rewards
- Sprint Champion Tips
How to Start
You can start the Eternal Championship once you have completed Chapter 9 of Knights of the Fallen Empire expansion at level 65 or higher. You can also recruit the Wookiee Bowdaar as a companion by proving your worth to him by completing all ten rounds of the Eternal Championship – to start the the quest to gain him, you’ll need to have completed the To Find a Findsman alliance alert, then start the Freedom Fight alliance alert from the Companions & Contacts menu which will lead you to Platform 6 where the fights take place. If you’re not worried about the alliance alert, you can fly straight to the planet of Zakuul as long as you’ve completed Chapter 9! Once there, you can start the short introductory quest by speaking to the questgiver, Dominaire. The easiest way to get to Platform 6 once you’re on Zakuul is to use the quick travel point, it’s available even if you haven’t explored Zakuul yet.
Eternal Championship Trophy Tokens
Successfully completing the later rounds of the tournament will also gain you some neat cosmetic prizes. After speaking to Dominaire, you’ll want to go to the quest terminal nearby and pick up all the weeklies and the [SOLO] quest. The [SOLO+] version allows you to bring friends with you in to the tournament, but you won’t be able to gain any of the weekly rewards if you are on the [SOLO+] versions instead of the pure [SOLO] version. To complete the weeklies and earn currency you can spend on rewards, you’ll need to complete rounds 5, 7 and 10.
BUG: There seems to be a bug that happens where you pick up the solo quest, and the weeklies, and you complete the whole tournament but don’t get credit for the weeklies. This seems to happen to me most when I bring a new character into the arena who hasn’t done the story quest before – I’ll go to the terminal, the quest will complete, but then I won’t get credit for the weeklies. To make sure it is working, the easiest way is to pick up the solo and weekly, abandon the solo and weekly, and then pick them all up again.
BUG WITH A FRIEND SOLO+: There may also be some strange bugs related to trying to complete the quests with a friend. Here is a message I received from another player “Greetings Swtorista my colleague and I have been able to fix the bug on Zakuul in the Eternal Championship: you have to accept the [SOLO+] mode and then go in, then the group partner must leave the group and the other can then accept the conversation in the arena… then the other invites the other player again… and can together defeat the opponents… so you can do this every 10 rounds through. This way you can also get the Wookiee because you have to play through the 10 rounds and at the end you get the Wookiee.”
Using the Eternal Championship Trophy tokens, you can buy cosmetic gear sets and weapons, holo decorations, some less common color crystals like Cyan, Purple and Magenta, and even a walker mount if you run it enough times. One of the armors is unique to the Eternal Championship, another is animated, the blasters and rifles have a laser animation and the lightsabers were definitely designed for a more civilized age.
If you’re trying to earn any of the token rewards, you’ll probably want to complete the Eternal Championship once a week while you have the Weekly quests in your quest log. The tokens are legacy-bound which means you can transfer them between all your characters on your server, so you could actually run the tournament multiple times a week for rewards as long as you do it on different characters.
Achievements
In addition to the rewards you can buy with tokens, there’s also some cool achievement rewards.
- If you defeat the first 5 rounds of Eternal Championship and you’ll earn The Mysterious Stranger title for your character
- If you defeat all 10 rounds solo or with a group, you’ll get the Master of Mayhem title
- If you defeat all 10 rounds of Eternal Championship solo you’ll gain the title of Eternal Champion
- If you manage to go through the entire tournament’s 10 rounds without dying, you’ll earn the Deathless Champion title
- If you’re starting to get good at the fights, you can earn the Sprint Champion title by running the Eternal Championship solo in under 15 mins from when you start it. See my info and tips at the end of this guide!
- If you really enjoy it, you can earn the Eternal Legend title by defeating all 10 rounds of he Eternal Championship solo on each of the 8 classes in the game. If you want to try this but don’t want to have to play all the 9 chapters to reach the point where you can start the Eternal Championship, you can skip ahead in the story by starting the Ossus storyline from your ship at level 70 or higher – just keep in mind this will auto-complete the Fallen Empire and Eternal Throne expansions as well as your class story if you haven’t completed it yet. You can then travel to Zakuul on your ship.
Tips
One important thing to note about the Eternal Championship is that unlike many other quests, you must complete it all in one go. If you log out the quest will reset and you’ll have to start again at round one – so make sure you have a good chunk of time available to play it before you start it, and if you’re on a laptop make sure it’s plugged in! The quest also resets if you walk out and don’t return within 15 minutes or so. In general, it’s best to complete it all at once if possible. If you’ve gotten partway through and need to leave, you can still collect credit for the rounds you’ve completed by using the terminal in the arena to exit the tournament. If you do this, the next time you enter the arena you will restart at round one.
One important thing you’ll want to know before going in is how to control your companion. When your companion is out, a series of abilities will show up beside their portrait, which is usually on the bottom left of your screen. Their first move is a command to attack – so if you want to send them to attack a specific enemy, you can click the enemy then click their attack move. If you want them stop attacking and to run back to you, their second ability will turn them passive – just make sure to click it again once you want them to attack again. These two abilities are also keybound to ctrl+1 and ctrl+2 by default if you want to access them even faster!
Around the arena there is also 4 healing kolto stations. You can only use each one once during the entire tournament, so it’s best to save them for the later rounds, especially the final round.
Most people run the Eternal Championship as a DPS character, but it’s completely possible to do it as a tank or a healer. I mostly run it on my tank! In the description I’ll also link some other guides I know of, so if my tactics aren’t working for your style of play, you can check out other players’ tips too.
Other Guides for more tactics:

Round 1 – Arlaia Zayzen and her Two Droids

This fight teaches you about dealing with additional enemies who are helping their leader. One of Arlaia’s droids is healing her, and the other is making her stronger. Instead of attacking her immediately, you’ll want to take care of her two droids first. If you’re losing health too fast, I recommend going after the Combat Unit droid first.
Round 2 – Daruula Grah and his Trained Iknayids
The second fight in the Eternal Championship teaches you to deal with mechanics while continuing to do damage to the main boss. Daruula will throw a red circle on you that moves as you walk around – after a few seconds, the red circle will turn yellow and drop on the ground where you were last standing. If his Iknayid bugs walk in to that yellow circle, it will do them damage, so as they run in to attack you you’ll want to drag them in to the yellow circle while staying out of it yourself. If your companion is dying, you’ll want to try and distract some of the Iknayids away from them either by taunting them if you have a taunt or attacking them to gain their attention and then go back to the main boss.
Update 7.0: You really want to get out of these circles, they can kill you really quickly.
Round 3 – Gungus Boga and his Heralds of Zildrog
This fight teaches you how to handle getting out of large damage areas of effect. During the fight, Gungus will grapple hook you into the middle of the arena and place down a large yellow circle on the ground. If you don’t run out of the circle fast enough, you’ll be hit with a lot of damage, so your priority will always be to run away as soon as you can. While you’re in the circle you will also be slowed, so if you have any abilities that make you run faster you should use those to save yourself some trouble. I assumed that my companion would take damage if they were also stuck in this circle, but although I took plenty of damage while inside it my companion seemed to be unhurt.
As the fight progresses, Gungus also adds red fire circles around the outside of his yellow circle – these will do you additional damage, so you’ll want to run out in the gaps between them. Gungus also has his Heralds of Zildrog with him. If you’re on a stronger character, you can ignore them completely and focus all your damage on Gungus. If you’re on a weaker character and you’re finding you die a lot, keep your main damage on Gungus but use your stuns and area-of-effect damage abilities to take care of the Heralds who are hurting you.
Round 4 – Conraad Om’wurt and his pet Chompers the Undying
The fourth fight teaches you about switching between multiple bosses. In this fight, you’ll want to start by focusing your damage on Chompers. Eventually Chompers will fall to the ground and make Conraad more vulnerable, and during that time you’ll want to switch to attacking Conraad while Chompers is take a nap. As soon as Chompers is back up, you’ll want to switch back to him and repeat the process of whittling away at Conraad’s health whenever Chompers is down. Throughout the fight. Chompers will put red acid circles on the ground which will damage you if you stand in them, so just side-step them whenever they land on you. Conraad will also put yellow circles on the ground which you’ll want to step out of immediately – these will stun you if you stay in them too long and are very annoying. Much like the previous fight, you can mostly ignore the smaller additional enemies, and only start damaging them once there’s too many around or keep them stunned while you focus on the bosses. Some of the smaller enemies can also heal Chompers, so if you see a green healing beam come out of them you can stun them to stop them healing Chompers.
Round 5 – Lanos and his Skytroopers
This fight teaches you to watch out for shields and multiple mechanics at once. Although you should focus as much as possible on doing damage to Lanos, you’ll want to watch out for three different things. The first is a set of two droids that have blue shields around them – these enemies will cause Lanos to become invincible, so you’ll want to stun them to break their shielding powers or attack them to get them out of the way. The second is a squadron of three skytroopers, which you simply need to fight so they don’t clog up the arena, and the third is the Unstable Skytroopers. This third type of enemy will focus a red laserbeam on your character, then place a red circle on the ground below you which will explode if you stay in it too long. There will be about four Unstable skytroopers in a row, so you’ll want to just keep moving the entire time they’ve got the red laser on you.
Round 6 – The Breaktown Brawler, Ripper and King Crush
This is the fight that gives many players trouble due to its heavy damage and unforgiving mechanics. The first thing to know about the Brawler fight is that if you damage an enemy outside of their pink circle, the damage you do will be reflected back at you, so never attack any of the three bosses unless you are in very close range. Another important thing to know is that if Crush and Rippers circle overlap, they’ll buff eachother and both start dealing out double damage. This affect only happens between the two monster enemies, and won’t occur if they overlap with the Brawler instead. The third mechanic you need to be aware of comes from the Breaktown Brawler himself: if he gets close enough to you, he’ll start placing a stacking purple debuff called Brawler Combo on you that causes more and more damage over time. In addition to these three difficult mechanics, all three bosses can also jump to you at any time making it very difficult to keep Crush and Ripper apart as well as making it difficult to avoid the Brawler’s stacking debuffs.
The most common tactic I’ve seen for this fight is to pick a monster, attack in, and once the other monster gets too close just run away until they separate, and do the same if the Brawler gets too close. While you’re away, you can spend a few seconds attacking the Brawler boss, but don’t stay near him too long due to the stacking debuff. During this fight you’ll want to make really good use of any speed buffs or leaps that you have to more easily move between bosses. You can gain a little more time on a monster if the Brawler is coming towards you by moving in a circle around the monster, so that the monster is between you and the Brawler as you continue attacking. If you do it right, most of the time the brawler will be close to you but will be just out of range to hit you.
There’s two ways you can approach the fight with your companion – you can either keep all the bosses away from them as best as possible, or you can deliberately have your companion attack one of them to keep them off you. If your companion dies too easily, you’ll need to try and keep all three bosses away from them, but if your companion can survive one attacking them it makes it a lot easier for you to take care of the others.
Another thing that can help is that both monsters can be stunned with any stuns that are not broken on damage. All classes have at least a single-target 4-second stun, and some even have a second multiple-enemy stun available. The monsters have two different ways of acting during the fight when they’re not attacking you – the first is being Frustrated, where they beat their chest and place a red circle on the ground and smash it. As far as I can tell, this red circle doesn’t do much damage, so it’s safe to stand in. The other action they take is to place a red circle on the ground near you – this means they will jump to that location soon. If you’re having trouble figuring out which one is going to jump, it’s the one kind of looking around and shaking its head. They usually do this at roughly the same time – one will be Frustrated and the other will be getting ready to jump, or will get ready soon. If you run away from the one that’s not beating its chest, the other one will eventually jump to you, creating some distance between them, and you can go attack the one that just smashed the ground for a while.
Another fun mechanic is that the Brawler becomes Untouchable sometimes, he’ll just stand there casting, and when the cast finishes he will punch in front of him. If he punches you, you’ll get knocked back. Here’s the fun part. If you position Crush or Ripper between you and the Brawler, he’ll punch his own monster and you won’t get knocked back.
I’ve seen other guides recommend attempting to focus on one of the monsters, but I had better luck jumping between all three depending on what monster was available. Although it made the fight take a lot longer, it meant I took a lot less damage by keeping them apart more often.
Update 7.0: In the recent expansion, this fight has a similar level of difficulty, but you take more damage and the monsters feel like they take longer to kill, so you need to stay on your toes for longer. I’ve been doing this fight lately using the method mentioned where you focus one monster at a time and doing lots of running away when I’m low health to give my companion time to heal me up.
Round 7 – Nocturno and Drake Raven
The seventh Eternal Championship fight is incredibly hectic, and teaches you to deal with many mechanics at once, including positioning enemies to your advantage and interrupting enemies.
Nocturno does a lot of damage, so your goal during the fight is to get hit by her as little as possible, so you’ll want to focus your damage first on Drake. During the fight, he’ll throw a stun grenade at you. While it’s a red circle, it will follow you around and then eventually drop to the ground as a stun grenade. You’ll know its dropped from you to the ground if you see a mine on the floor. If you’re not out of the circle by the time it turns blue, you will be stunned in place. You’ll want to position these stun circles between you and Nocturno, because if she walks through them, she will be stunned. When dropping these stun mines, you’ll want to walk just outside the edge of them so if Nocturno catches up to you, she’ll be just inside the stun mine’s radius once it turns from red to blue. Drake jumps around a lot, so you’ll have to keep positioning those stun mines even as he moves around.
During the fight, your companion will also be kidnapped by a group of enemies. You’ll want to rescue them as soon as possible by interrupting or stunning the larger droid that is casting an ability on your companion. You don’t need to worry about the other droids, as they will explode as soon as you defeat the big one. These droids can only be damaged if you are within their pink circle, just like the last fight. When going to attack the droids, I often struggled to juggle the interruptions and stuns on the droid, attacking it, and dealing with the stun grenades Drake was throwing at me. To handle this, I keybound my interrupt and stuns to keys I knew would be easy to press, and then whenever Drake threw a stun grenade at me, I would step only a few steps away and drop it nearby so I could quickly go back to dealing with the abductor droid.
If you accidentally kill Nocturno first, Drake will become enraged and heal to full, do more damage, and the droids that come out will also become enraged, so you will always want to kill Drake first. Once Drake dies, you’ll actually be able to loot his body and pick up the utility belt he was using which will grant you some new abilities. One will deploy a stun mine in the location of your choice, one will jetpack you around the room, the third is a stun and the last one will summon the droids that kidnap your companion, so don’t use that skill. Using the stuns, finish up and defeat Nocturno!
Round 8 – Little Gut
This fight teaches you to position yourself to always be away from damaging effects. While you’ll be fighting just Little Gut the Rancor in this round, his handler will throw down large traps into the arena that take up a quarter or more of the room. Little Gut enjoys picking you up and throwing you over his shoulder, so you’ll want to make sure his back is to a wall or open area of the arena and his back isn’t to one of those traps. Little Gut also has a red circle and red rectangle you’ll want to get out of to avoid damage. During the fight, an apprentice handler will show up. you’ll want to focus on killing and interrupting him, as he’ll try and buff and heal the rancor.
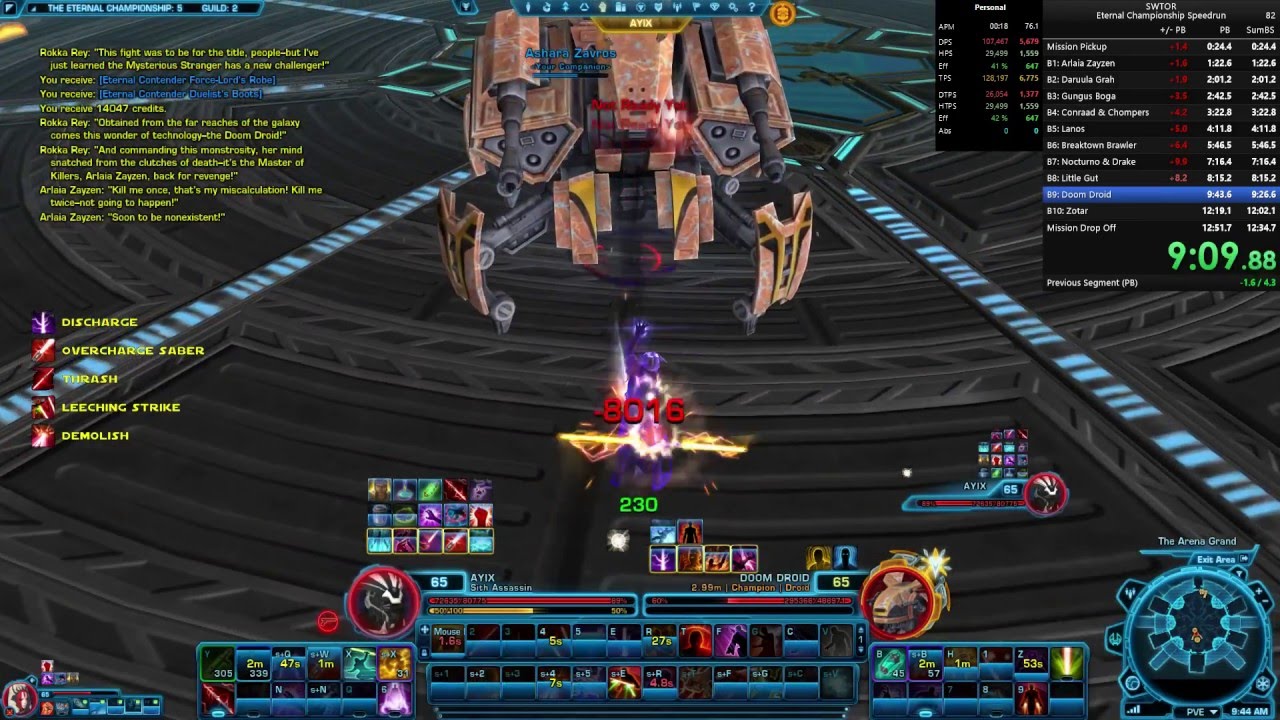
Round 9 – Doom Droid
This fight teaches you how to stay out of many types of damage on the ground, and deal with mechanics that can auto-kill you.
The Doom Droid has multiple different types of effects it puts on the ground – yellow circles that you want to keep moving away from, a red laser you should make sure you get out of and not have it pointed towards your companion, and a little serving droid that explodes in a red circle.
During this fight, the Doom Droid will summon four electrical droids in the center of the room. When this happens you will need to kill all four droids as quickly as possible, because if you take too long, you will automatically lose the fight. If you’re not good at dishing out damage or you’re on a tank or a healer, this may be a bit of a challenge. You’ll need to hone down on which of your abilities do the most damage, and make good use directing your companion to attack.
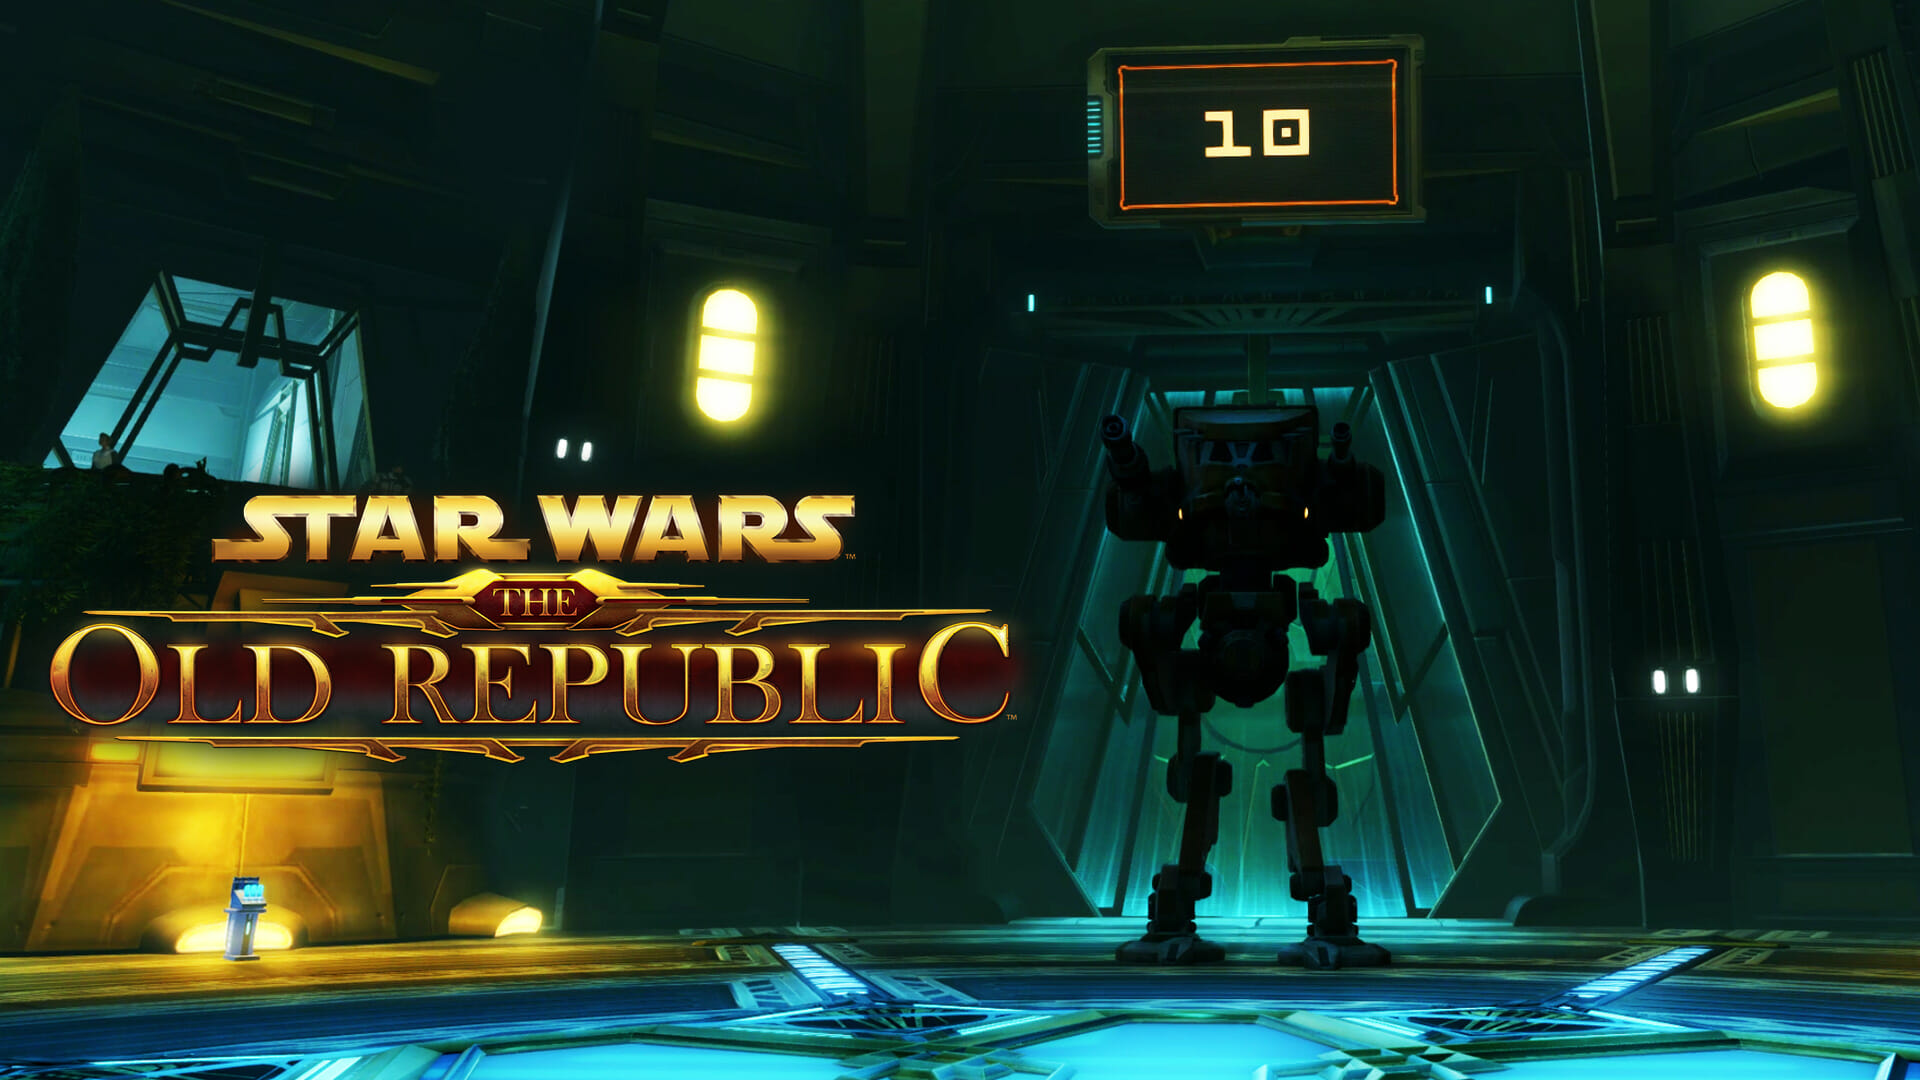
Round 10 – Zotar and Aftershock the Walker
This fight is the final round and has plenty of mechanics to watch out for. The biggest one to keep in mind is the probes that are deployed during the fight. Instead of attacking them directly, you should be focusing on the boss and helping them destroy eachother. There’s two ways to destroy them. The first is to stand directly between two, and they will aim their red laser beams at eachother and destroy eachother. The other option is to destroy them by standing on them when the walker does its yellow circle missile attack, which will also destroy them. Be careful with the yellow circle attack, as it can also destroy the medpacs around the room, which you will need later in the fight.
The droid will eventually start Focusing on you with an extremely powerful attack that will cause your character to make a lot of noise and looks like a thin laser beam between the boss and your character. The goal during this part of the fight is simply to survive by all means possible. If you didn’t destroy the kolto tank by accident, you can use one per laserbeam. You’ll also want to make use of any defensive abilities you have, any utility skills that give you more healing or defense, Heroic Moment which heals you when activated, the Unity legacy ability that increase your defense by 50% for a short time, medpacs and shield adrenals.
Once Zotar shows up, the walker will start healing itself, so you want to do as much damage to Zotar during this time as possible. You can stun him to keep him from knocking you over, allowing you to do more damage. While attacking him yourself, you’ll also want to command your companion to attack. Make sure to stay within melee range of Zotar, otherwise he gives a stacking debuff.
In the final phase, Zotar will quarantine you in the middle of the ring and place painful electricity fields around the rest of the arena. During this part of the fight, interrupt and stun Zotar as much as possible to keep him from activate his walker which will bombard your tiny middle area if it’s allowed to function. Stay within melee range, and do your best to avoid the circles the walker puts down.
Update 7.0: This fight is a similar level of difficulty but a lot more damage goes out. You may want to especially save your Heroic moment for the very very end where you can keep him stunned for a little longer in the central circle
Rewards

There is a ton of rewards related to the Eternal Championship! All rewards cost Eternal Championship Trophies, a type of currency you can earn from the later rounds of the Eternal Championship if you have successfully picked up the weekly quests. You can see how many tokens you have in the Currency tab of your inventory. You can spend these tokens at the vendors located near the entrance to the Eternal Championship, in the Platform Nine cantina on Zakuul.

Mount
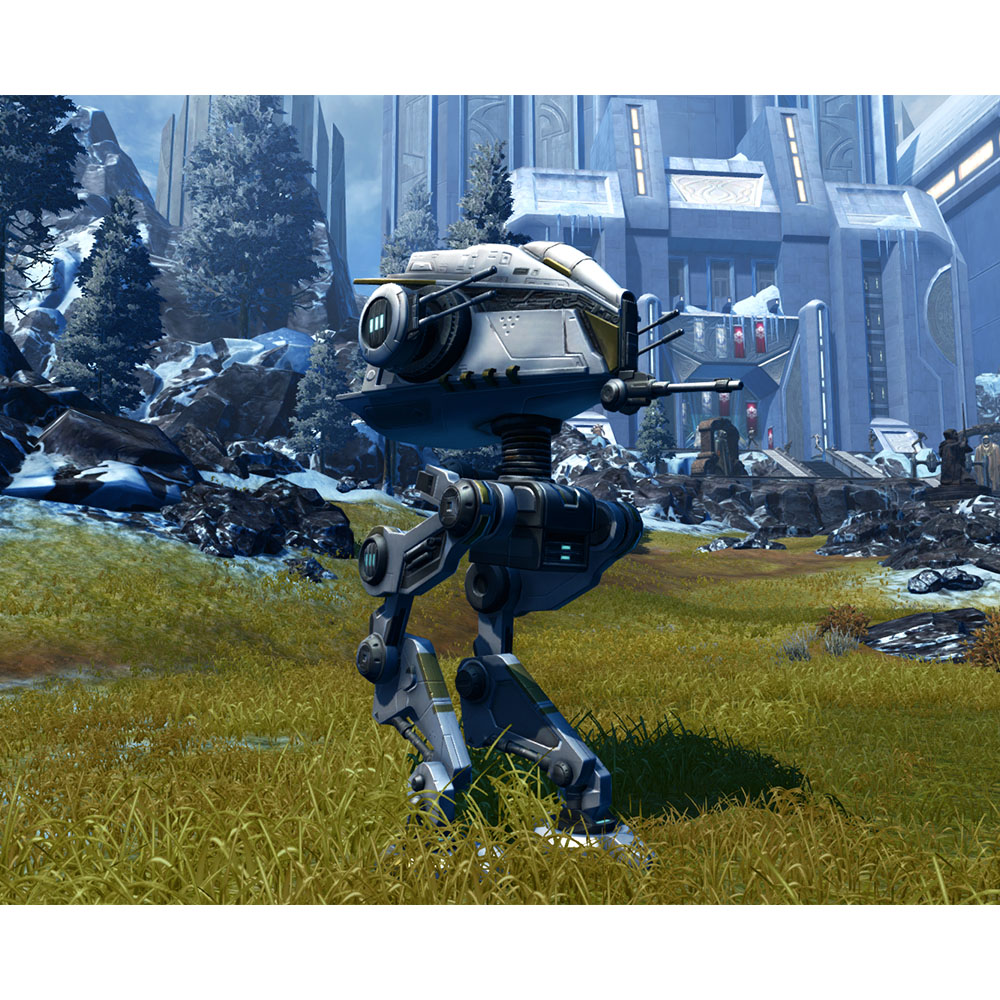
The Eternal Empire Recon Walker is a large Walker Reputation speeder that can be found in Star Wars: The Old Republic. It costs 48 Eternal Championship Trophies. Players have also reported that this mount can drop from a Heroic Star Fortress Exarch as a rare drop. You can buy it from the Piij vendor.
Crystals
Costs 2 Eternal Championship Trophies
+41 Endurance
+41 Power
+41 Crit
Artifact Authorization: Yes
Costs 2 Eternal Championship Trophies
+41 Endurance
+41 Power
+41 Crit
Artifact Authorization: Yes
Costs 2 Eternal Championship Trophies
+41 Endurance
+41 Power
+41 Crit
Artifact Authorization: Yes
Armors
Eternal Champion’s Armor Set

You can buy this cosmetic armor from the Piij vendor.
- Head: 3 Eternal Championship Trophies
- Chest: 3 Eternal Championship Trophies
- Legs: 3 Eternal Championship Trophies
- Boots: 3 Eternal Championship Trophies
- Gloves: 3 Eternal Championship Trophies
- Belt: 1 Eternal Championship Trophies
- Bracers: 1 Eternal Championship Trophies
Eternal Battler Boltblaster / Demolisher / Med-Tech / Eternal Conqueror Boltblaster / Demolisher / Med-Tech

This armor set requires level 65 to wear. These armors were meant to be some ok level 65 gear, but can also be worn cosmetically in the Outfitter. You can buy them from one of the three droids in the Eternal Championship vendor area.
- Head: 6 Eternal Championship Trophies
- Chest: 6 Eternal Championship Trophies
- Legs: 6 Eternal Championship Trophies
- Boots: 6 Eternal Championship Trophies
- Gloves: 6 Eternal Championship Trophies
- Belt: 6 Eternal Championship Trophies
- Bracers: 6 Eternal Championship Trophies
Eternal Battler Duelist / Force-Healer / Force-Lord / Eternal Conqueror Duelist / Force-Healer / Force-Lord

This armor set requires level 65 to wear. These armors were meant to be some ok level 65 gear, but can also be worn cosmetically in the Outfitter. You can buy them from one of the three droids in the Eternal Championship vendor area.
- Head: 6 Eternal Championship Trophies
- Chest: 6 Eternal Championship Trophies
- Legs: 6 Eternal Championship Trophies
- Boots: 6 Eternal Championship Trophies
- Gloves: 6 Eternal Championship Trophies
- Belt: 6 Eternal Championship Trophies
- Bracers: 6 Eternal Championship Trophies
Eternal Battler Pummeler / Bulwark / Eternal Conqueror Pummeler / Bulwark

This armor set requires level 65 to wear. These armors were meant to be some ok level 65 gear, but can also be worn cosmetically in the Outfitter. You can buy them from one of the three droids in the Eternal Championship vendor area.
- Head: 6 Eternal Championship Trophies
- Chest: 6 Eternal Championship Trophies
- Legs: 6 Eternal Championship Trophies
- Boots: 6 Eternal Championship Trophies
- Gloves: 6 Eternal Championship Trophies
- Belt: 6 Eternal Championship Trophies
- Bracers: 6 Eternal Championship Trophies
Eternal Battler Targeter / Mender / Eternal Conqueror Targeter / Mender

This armor set requires level 65 to wear. These armors were meant to be some ok level 65 gear, but can also be worn cosmetically in the Outfitter. You can buy them from one of the three droids in the Eternal Championship vendor area.
- Head: 6 Eternal Championship Trophies
- Chest: 6 Eternal Championship Trophies
- Legs: 6 Eternal Championship Trophies
- Boots: 6 Eternal Championship Trophies
- Gloves: 6 Eternal Championship Trophies
- Belt: 6 Eternal Championship Trophies
- Bracers: 6 Eternal Championship Trophies
Eternal Brawler Boltblaster’s / Demolisher’s / Med-Tech’s

This armor set requires level 65 to wear. These armors were meant to be some ok level 65 gear, but can also be worn cosmetically in the Outfitter. You can buy them from one of the three droids in the Eternal Championship vendor area.
- Head: 2 Eternal Championship Trophies
- Chest: 2 Eternal Championship Trophies
- Legs: 2 Eternal Championship Trophies
- Boots: 2 Eternal Championship Trophies
- Gloves: 2 Eternal Championship Trophies
- Belt: 2 Eternal Championship Trophies
- Bracers: 2 Eternal Championship Trophies
Eternal Brawler Duelist’s / Force-Lord’s / Force-Healer’s

This armor set requires level 65 to wear. These armors were meant to be some ok level 65 gear, but can also be worn cosmetically in the Outfitter. You can buy them from one of the three droids in the Eternal Championship vendor area.
- Head: 2 Eternal Championship Trophies
- Chest: 2 Eternal Championship Trophies
- Legs: 2 Eternal Championship Trophies
- Boots: 2 Eternal Championship Trophies
- Gloves: 2 Eternal Championship Trophies
- Belt: 2 Eternal Championship Trophies
- Bracers: 2 Eternal Championship Trophies
Eternal Brawler Pummeler’s / Bulwark’s

This armor set requires level 65 to wear. These armors were meant to be some ok level 65 gear, but can also be worn cosmetically in the Outfitter. You can buy them from one of the three droids in the Eternal Championship vendor area.
- Head: 2 Eternal Championship Trophies
- Chest: 2 Eternal Championship Trophies
- Legs: 2 Eternal Championship Trophies
- Boots: 2 Eternal Championship Trophies
- Gloves: 2 Eternal Championship Trophies
- Belt: 2 Eternal Championship Trophies
- Bracers: 2 Eternal Championship Trophies
Eternal Brawler Targeter’s / Mender’s

This armor set requires level 65 to wear. These armors were meant to be some ok level 65 gear, but can also be worn cosmetically in the Outfitter. You can buy them from one of the three droids in the Eternal Championship vendor area.
- Head: 2 Eternal Championship Trophies
- Chest: 2 Eternal Championship Trophies
- Legs: 2 Eternal Championship Trophies
- Boots: 2 Eternal Championship Trophies
- Gloves: 2 Eternal Championship Trophies
- Belt: 2 Eternal Championship Trophies
- Bracers: 2 Eternal Championship Trophies
Weapons
All the weapons from Eternal Championship can be purchased from Piij.
6 Eternal Championship Trophies

6 Eternal Championship Trophies
Eternal Champion’s Blaster Rifle
6 Eternal Championship Trophies

6 Eternal Championship Trophies

6 Eternal Championship Trophies
Eternal Champion’s Sniper Rifle
6 Eternal Championship Trophies
Decorations
All the decorations from Eternal Championship can be purchased from Piij.

After Shock Holo
Costs: 6 Eternal Champion Trophies
Arlaia Zayzen Holo
Costs: 2 Eternal Champion Trophies
Breaktown Brawler Thades Gorkultok Holo
Costs: 2 Eternal Champion Trophies

Chompers the Undying Holo
Costs: 4 Eternal Champion Trophies

Combat Unit AZ-02 Holo
Costs: 2 Eternal Champion Trophies

Conraad Om’wurt Holo
Costs: 2 Eternal Champion Trophies

Daruula Grah Holo
Costs: 2 Eternal Champion Trophies

Doom Droid Holo
Costs: 6 Eternal Champion Trophies

Drake Raven Holo
Costs: 2 Eternal Champion Trophies
Eternal Champion Zotar Holo
Costs: 2 Eternal Champion Trophies

Gungus Boga Holo
Costs: 4 Eternal Champion Trophies

Herald of Zildrog Holo
Costs: 2 Eternal Champion Trophies

King Crush Holo
Costs: 4 Eternal Champion Trophies

Lanos Holo
Costs: 2 Eternal Champion Trophies

Little Gut Holo
Costs: 6 Eternal Champion Trophies

Medical Unit AZ-01 Holo
Costs: 2 Eternal Champion Trophies

Mister Ripper Holo
Costs: 4 Eternal Champion Trophies

Nocturno Holo
Costs: 2 Eternal Champion Trophies

Ronum Minkus Holo
Costs: 2 Eternal Champion Trophies

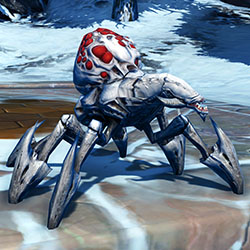
Trained Iknayid Holo
Costs: 2 Eternal Champion Trophies
Random Drops
Some items can not be bought with tokens, and instead are uncommon drops from the Eternal championship bosses.
The Cybernetic Rancor is a randomly dropped mount from the Eternal Championship bosses. It seems it can drop from both the Solo version andthe SOLO+ version with friends.

The Iknayid is a randomly dropped pet from the Eternal Championship bosses. It seems it can drop from both the Solo version andthe SOLO+ version with friends.
Eternal Contender Boltblaster / Demolisher / Med-Tech

Pieces of this armor set randomly drop from the boss enemies in the Eternal Championship if you are on a character with the Vanguard / Powertech / Commando / Mercenary Combat Style when you enter the instance.
Eternal Contender Force-Lord / Force-Healer / Duelist

Pieces of this armor set randomly drop from the boss enemies in the Eternal Championship if you are on a character with the Sage / Sorcerer / Assassin / Shadow Combat Style when you enter the instance.
Eternal Contender Pummeler / Bulwark

Pieces of this armor set randomly drop from the boss enemies in the Eternal Championship if you are on a character with the Sentinel / Marauder/ Juggernaught / Guardian Combat Style when you enter the instance.
Eternal Contender Targeter / Mender

Pieces of this armor set randomly drop from the boss enemies in the Eternal Championship if you are on a character with the Operative / Scoundrel / Sniper / Gunslinger Combat Style when you enter the instance.
Sprint Champion Tips
Speed Running the Eternal Championship to get the 15-minute timer achievement for Sprint Champion is a difficult task! You likely want to gear up before going in. I went in as a DPS in basic 320 gear, the lowest gear you can have that is still level 80 gear, and Eternal Championship was doable but there was no way I could have gotten Sprint Champion. Upgrading your gear, especially to blues and purples will give you more tertiary stats, which will allow you to do more damage even though you are scaled down from level 80. You will still take a lot of damage though.
- UPDATE 7.0: Sprint Champion is likely still possible in 7.0 but the difficulty level is definitely higher. In some fights where I could previously run with a damage character and damage companion I am now getting my butt kicked.
- Update After 7.5: It’s still quite hard. Here’s a wonderful post by another player who completed it in 7.5

Info
- Timer seems to start as soon as you load in the purple door, though it is hard to tell. There are many different accounts. It may start when you pick up the quest. If so, lower graphics for faster loading.
- The time where the announcer talks within this time, the announcer talks for over six minutes of the timer’s time.
- Don’t stop to heal or loot after a fight. Instead run to the terminal and start the next fight. You can heal and change companion roles during the announcer phase before the next fight starts.
- The timing is VERY tight.
- Your companion is often dumb and switches to attacking the wrong target. You can manually choose their target if they stray.
- Use Rocket Boost to get back to the terminal!
- If you die, rebuff. May need to rebuff after rocket boots if you use.
- Spacebar and press 2 to get through the cutscenes faster.
- Turn your companion’s ability to stun on and off as needed by right-clicking the green dot on their stun ability.
Preparation
- Stim
- Adrenals
- Medpacs
- Level 50 Companion
- DPS companion except rounds 6 and maybe 7
- Basic Augments
- Will likely want to keybind most abilities over clicking
- Be aware of all stuns and movement abilities you have available
- Be aware of DPS rotation
- Use Heroic moment and heroic moment abilities
- Use Unity
- Keybind the ‘attack’ keybind for your companion
‘Extra Boosts’
- You could buy really great augments for an extra crit boost, though you shouldn’t need it.
- Some companions are technically stronger than others. If you have them, try Shae Vizla or Altuur. In general a companion that wields two weapons is best example Vette or Ranos.
- Presence buffs – companions, human unlock, datacrons, Chilled Corellian Cocktail
- Maybe use a shield adrenal instead of DPS
Swtorista’s Run July 2021 (before 7.0, not after)
My time was 14:33. I decided to run it on a #SWTOR Concealment Operative. The biggest challenge for me was dealing with The Breaktown Brawler, Ripper and King Crush. Really needed to keep them seperated. I wasn't fast at it but kept a cool head and pushed thru. pic.twitter.com/sjwkiHkNtR
— Swtorista (@swtorista) July 27, 2021
Speed Round 1 – Arlaia Zayzen and her Two Droids
- Use an Adrenal lasting 15s for faster kills
- Kill the med droid then the other droid fast, no DOTS
- Try – Might be a good time to use Heroic Moment right away, hitting the med droid with Orbital Strike and then the Flamethrower move, then attacking Arlaia, then leaving at about ten percent.
Speed Round 2 – Daruula Grah and his Trained Iknayids
- Only kill the main guy, ignore adds and circles
- Make sure companion is attacking main guy
- Ideally kill him before he spawns the Iknayid in the back.
Speed Round 3 – Gungus Boga and his Heralds of Zildrog
- Just kill Gungus, ignore Herald
- Goal is to kill him before he summons fire circles
Speed Round 4 – Conraad Om’wurt and his pet Chompers the Undying
- Send companion after Conraad while you kill chompers
- Kill chompers then Conrad
- Stay out of conrad’s dumb circle
- Try – If Heroic moment is still up use orbital strike again before fight starts
Speed Round 5 – Lanos and his Skytroopers
- Be ready to use stun(s) and interrupts quickly after you start fight to break Lano’s shield, ignore the stunners as they explode after Lanos dies
- Be ready to kill the adds that spawned after Lanos dies
Speed Round 6 – The Breaktown Brawler, Ripper and King Crush
- This one is the hardest one.
- Switch companion to heal before fight.
- Possibly ignore big guy and take down monster’s first.
- Set companion to attack one, and me to attack one, use Unity to keep companion alive.
- Cooldowns for this! Medpac, unity, shields.
- Run around in circles putting kintant between you and brawler.
- Try – if you are slow and the brawler becomes immune at the end, run away and put companion on passive.
Speed Round 7 – Nocturno and Drake Raven
- Kill Drake first
- Be positioning circles while killing Drake
- Be ready to pick up belt when Drake dies.
- Melee DPS seems at huge disadvantage due to running around the room.
- Try – Heroic Moment might be available.
- Ideally kill Drake before he summons droids that stun companion.
Speed Round 8 – Little Gut
- [[Little Guy is annoying]]
- Saw a tip to kill the handler first.
- Tell companion specifically to attack rancor.
- Stay out of cirle its really bad.
- Try – second heroic moment round might be up.
Speed Round 9 – Doom Droid
- Faster you kill the Doom Droid the more mechanics you skip
- Goal is to kill droid before the charge up move as it is a minute and a half.
- Might be good point for Heroic moment?
- RANGED companion
- Don’t let companion get hit with yellow
- Should kill it right around when the droids show up then kill them last
Speed Round 10 – Zotar and Aftershock the Walker
- Important to pay attention to switch between Zotar and Walker, and for your companion to switch.
- Cooldown for laser.
- Stun Zotar when he goes in the center circle.
- If the walker prepares to stand and isn’t ready yet after Zotar dies, put companion on passive and run to the door! Leave as soon as it changes color.
Amazing video by player Aeyix showing off their timed run and narrating the whole thing! The guide is from 2016 but is still very, very relevant! Definitely worth the watch.
 Questions or comments? Feel free to send me a message on Twitter


 Discord
  Email swtorista@gmail.com
 Bluesky @swtorista.com
 Reddit /u/swtorista
 Twitch Swtorista
 Youtube
 Patreon
 Twitter @swtorista