


 How to Craft
 Choose a Crew Skill
 Armormech
 Armstech
 Artifice
 Biochem
 Cybertech
 Synthweaving

 Gathering Guide
 Rare Materials Guide
 White Materials Guide
 Jawa Junk
 Augments
 Medpacs, Stims and Adrenals
 Synthweaving Crafting Tree


 Crafted Decorations
 Crafted Mounts
 Crafted Dyes
 Crafted Crystals
 Events Calendar
 Galactic Seasons
 PvP Seasons
 Bounty Event
 Double XP Event
 Feast of Prosperity
 Gree Event
 Life Day
 Nightlife Event
 Pirate Incursion Event
 Rakghoul Event
 Spring Abundance Festival
 Swoop Event

 Jedi Knight
 Jedi Consular
 Trooper
 Smuggler
 Sith Warrior
 Sith Inquisitor
 Bounty Hunter
 Imperial Agent
 Bounty Hunter
 Imperial Agent
 Jedi Consular
 Jedi Knight
 Sith Inquisitor
 Sith Warrior
 Smuggler
 Trooper
 Legacy Gear
 Lightsabers
 Double-Bladed Lightsabers
 Vibroswords
 Double-Bladed Vibroswords
 Blaster Pistols
 Blaster Rifles
 Sniper Rifles
 Blaster Cannons
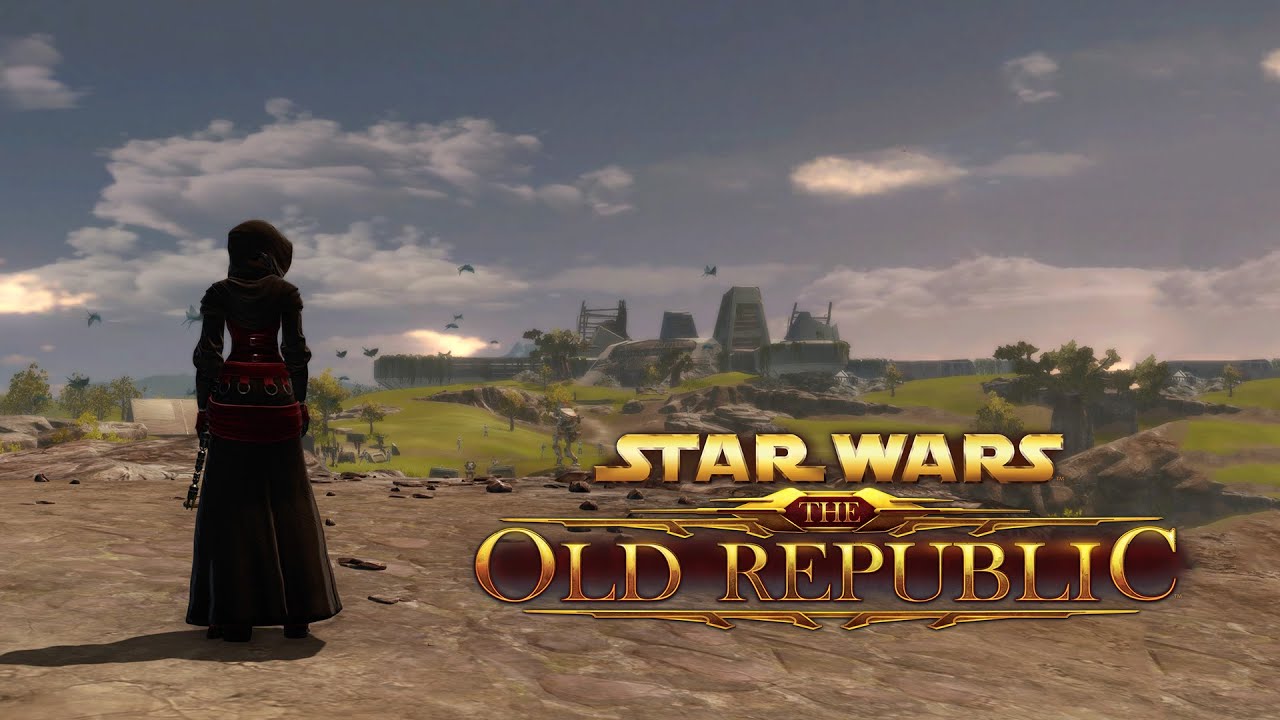
Secrets of the Enclave is a Flashpoint in Star Wars: The Old Republic that you can run alone, with friends, or with other random players through the groupfinder.
Contents
Secrets of the Enclave
Following his disappearance at the battle of the Meridian Complex, no one has seen or heard from the commanding Sith Lord, Darth Malgus, until now… Master Gnost-Dural, representing Task Force Nova, has proposed a plan: accompany Arn Peralun, who’s studied the Jedi Enclave on Dantooine, on a covert mission to investigate what Malgus was doing in the ruins. You’ve encountered an unexpected obstacle—Imperial forces have also learned of Malgus’s appearance on Dantooine and have surrounded the enclave ruins.
How to Start
Secrets of the Enclave is a Flashpoint meant to be played as part of the Onslaught expansion storyline. You can encounter it early on naturally partway through he Onslaught expansion, replay it alone in Story mode, or play it outside of the story with a group in Story, Veteran or Master mode.

Use the tabs above for instructions for how to enter the flashpoint in the story line, and how to enter it in Solo (Story) mode, Veteran mode, and Master mode by faction. The instructions are exactly the same Republic and Imperial side.
- Story: Lvl 75+
- Solo: Lvl 75+
- Veteran: Lvl 15-80
- Veteran Groupfinder: Lvl 70-80
- Master Mode: Lvl 75-80 †
- Master Mode Groupfinder: Lvl 80

Story
![]()
![]()


Requirements: To play the Secrets of the Enclave Flashpoint in the story, and receive all the special cutscenes related to the Flashpoint in the story, you will need to be level 75+ and on the correct step of the Onslaught Expansion which is also a quest called Secrets of the Enclave. If you are below this level, or not on the correct quest step, you can not play the story quest for this Flashpoint.
![]()
Timeline: In the story, this Flashpoint takes place specifically as part of the Onslaught expansion, on the step called Secrets of the Enclave. It does not make much sense plot-wise to play outside of the story.

Bring a Friend?: You can NOT bring a friend of the Secrets of the Enclave Flashpoint that is part of the Onslaught storyline UNLESS that friend is on the exact same step quest Secrets of the Enclave as part of the Onslaught Expansion on the step Complete the “Secrets of the Enclave” Solo-Story Flashpoint in the Secrets of the Enclave quest.
If they have not done the Secrets of the Enclave storyline, they can join you in a group and you can follow the exact same steps together and do the Secrets of the Enclave quest with Lana as long as they are level 75+ and meet the other quest storyline requirements to start. Then you can walk into Secrets of the Enclave together.
If they have already run the storyline or are ineligible to start the Secrets of the Enclave quest, they will NOT be able to walk into the Flashpoint behind you to help you.
Why can’t I get a friend to help? This is because this quest is a special one-time version of the Secrets of the Enclave Flashpoint called [SOLO-STORY] – it is not the same as the [STORY], [VETERAN] or [MASTER] version you would pick up from the terminal. It is a unique fourth mode designed to be run alone and has special one-time cutscenes related to the Onslaught expansion.
![]()
Directions to the Story Quest for Secrets of the Enclave: Secrets of the Enclave’s one-time story quest is built in to the post-Onslaught expansion storyline.

If you have not yet run through the Onslaught-related storylines, you can start it from the glowing blue terminal on your ship. To start this questline, you can start with the Ossus quest called Inflection Point at level 75+. You’ll be going through a lot of content – Ossus is like the prelude to the Onslaught expansion, then you have to run through the entire Onslaught expansion, then its flashpoint finale Objective Meridian, then the Echoes of Oblivion storyline, then finally you would get to the Secrets of the Enclave quest. Ideally, for the most story comprehension, you’d also have run all of the expansion stories that come before Ossus, but the game allows you to skip past them if you are level 75 – just be aware you can not go back and do them later in the story.
→ Ossus (Inflection Point quest)
→ Onslaught Expansion (Onderon & Mek-Sha)
→ Objective Meridian Flashpoint
→ Echoes of Oblivion
→ Spirit of Vengeance
→ Conflicting Priorities (short quest)
→ Secrets of the Enclave
If you are on this step, you can use the Launch Mission button to get to Odessen quickly.

Once on Odessen you can follow the purple markers to your alliance base. Follow the quest markers to talk to Hylo Visz – ignore the other quests in the area.
Once you get to the quest literally called Secrets of the Enclave, after you watch your cutscense, you’ll automatically be on the quest [SOLO-STORY] Flashpoint: Secrets of the Enclave, where you can walk over to the Flashpoint entrance and walk in – no need to use the quest terminal, as you should already be on the quest. Follow the purple markers to the elevator outside the base, and go to the Alliance Operations floor (up).

![]()
Story Progress: [STORY] Secrets of the Enclave alone will not progress your storyline – it is simply the repeatable solo version. To work on the overarching story, you also need to be on the quest Secrets of the Enclave on the step Complete the “Secrets of the Enclave” Solo-Story Flashpoint and then run the [SOLO-STORY] Flashpoint: Secrets of the Enclave quest.

Lost the quest? If you lost the Onslaught expansion quest called Secrets of the Enclave… there’s not really a specific way to pick it up, either it is in your quest log or it is not, and you should not be able to abandon the expansion quest chain. Keep in mind this story-based introductory quest is one-time-per-character. If you lost the ability to walk into the Flashpoint door, or lost the quest with the word Flashpoint in it, you can pick up the [SOLO-STORY] Flashpoint: Secrets of the Enclave quest from the glowing blue terminal outside the flashpoint’s entrance – you’ll only be able to see the [SOLO-STORY] version on the terminal if you are currently on the Complete the “Secrets of the Enclave” Solo-Story Flashpoint a step of the Secrets of the Enclave quest, otherwise only the other non-storyline modes will be visible.

Solo (Story) Instructions
![]()

You can also run this repeatable Flashpoint solo outside of the one-time story quest, at level 75+.

Activity Finder: The FASTEST and EASIEST way to get into the Secrets of the Enclave Flashpoint soo mode is with the Activity Finder. If you are level 75 or higher, click the icon of “three little people” on the bottom right of your screen which will open the Activity Finder Window.

Then choose the Solo tab in the Activity Finder.

On the solo tab, scroll down and find the listing for Secrets of the Enclave on the list under Flashpoints, select it, then click the green Travel button. This will take you right into the Flashpoint!

Bring a Friend: You are allowed to bring friends along for this Flashpoint, you do not have to do it alone even though it is considered soloable. Your friends must also be level 75+, be in a group with you, and then you can all use the Solo Tab of the Activity Finder to get into the Flashpoint, and it will put you together no matter where in the galaxy you started from.
![]()
There’s really no need to walk into the Flashpoint manually, but here are the instructions.
Manual Entry: To enter this Flashpoint manually, you must go to the Secrets of the Enclave’s Flashpoint entrance, which is located on the planet of Odessen, then take the elevator to the Alliance Operations level. Find the Secrets of the Enclave quest blue terminal and choose [STORY] from the options.
Step 1 – Get to Odessen, by flying there with your ship.

Step 2 – Take the elevator outside the base to the Alliance Operations level on the top floor. Look for the Secrets of the Enclave quest terminal.
Choose [STORY] mode to start the Flashpoint, then run on in the door.
![]()
Story Progress: [STORY] Secrets of the Enclave alone will not progress your storyline – it is simply the repeatable solo version. To work on the overarching story, you also need to be on the quest Secrets of the Enclave on the step Complete the “Secrets of the Enclave” Solo-Story Flashpoint and then run the [SOLO-STORY] Flashpoint: Secrets of the Enclave quest.
Veteran Instructions
![]()
![]()
Secrets of the Enclave also has a repeatable 4-player Veteran version. It is meant to be completed by a group with any type of Republic characters in it, you do not necessarily need a tank or healer to complete it. You will likely also have good luck with 2 players and 2 companions, or 3 players and 1 companion.
Group Finder: If you want to queue up and enter Secrets of the Enclave in veteran mode through the group finder, you will need to be level 70-80 and not currently on any Secrets of the Enclave Flashpoint quests or it won’t show up as an option in the group finder. If you are level 70-80, click the icon of “three little people” on the bottom right of your screen which will open the Activity Finder Window. Then choose the Group tab in the Activity Finder.
Filter: If you want to specifically run Secrets of the Enclave and not a random Flashpoint, make sure to choose Veteran Flashpoints, then click the Filter button the right and narrow your choices down to just Secrets of the Enclave before pressing Join Queue. Joining the queue will put you in line to be matched with random players to play Secrets of the Enclave with.
Groupfinder flashpoints do NOT show the cutscenes. To see the cutscenes related to this Flashpoint, you must enter it manually by walking in the door.
Bring a Friend in the Groupfinder: You can queue up with a group of 2, 3, or 4 players in the group finder. If you have a full group of 4, it will bring you straight to the Flashpoint with your full group. If you have 2 or 3 players in your group, the group finder will match you with other random players until you have a full group – but you’ll always be paired with your friends who started off in your group, and will not be split up.
![]()
Story: [VETERAN] Secrets of the Enclave will not progress your storyline – it is simply the repeatable group version. If you are a low level, this is the only version that will show up on the actual Flashpoint questgiver in front of the entrance door – so don’t be confused and accidentally enter the group version if you are a low level, as it is not meant to be completed alone.
![]()
Veteran Manual Entry: To enter this Flashpoint manually, you must go to the Secrets of the Enclave’s Flashpoint entrance, which is located on the planet of Odessen, then take the elevator to the Alliance Operations level. Find the Secrets of the Enclave quest blue terminal and choose [VETERAN] from the options. If you don’t see the Veteran version it means you are not yet eligible due to being below level 15.
Bring a Friend Manually: Veteran Mode Flashpoints are not meant to be completed alone, though highly-skilled, highly-geared, high-level players might be able to. To bring friends along for this Veteran Flashpoint, they’ll need to pick up the Veteran Mode quest from the blue terminal – or you can pick up the quest and share it with them, but they’ll still need to walk in the door manually. Characters walking in the door need to be level 15+.
Step 1 – Get to Odessen, by flying there with your ship.
Step 2 – Take the elevator outside the base to the Alliance Operations level on the top floor. Look for the Secrets of the Enclave quest terminal.
Choose [VETERAN] mode to start the Flashpoint, then run on in the door.
Master Instructions
![]()
![]()
Master Mode is the hardest version of Secrets of the Enclave. It is meant to be completed by a high-level high-skilled group at level 80. Most teams will want a Tank, Healer and two Damage characters.
Group Finder: If you want to queue up and enter Secrets of the Enclave in Master Mode through the group finder, you will need to be level 80 and not currently on any Secrets of the Enclave Flashpoint quests or it won’t show up as an option in the group finder. If you are level 80, click the icon of “three little people” on the bottom right of your screen which will open the Activity Finder Window. Then choose the Group tab in the Activity Finder.
Filter: If you want to specifically run Secrets of the Enclave and not a random Flashpoint, make sure to choose Master Flashpoints, then click the Filter button the right and narrow your choices down to just Secrets of the Enclave before pressing Join Queue. Joining the queue will put you in line to be matched with random players to play Secrets of the Enclave with.
Groupfinder flashpoints do NOT show the cutscenes. To see the cutscenes related to this Flashpoint, you must enter it manually by walking in the door.
Bring a Friend in the Groupfinder: You can queue up with a group of 2, 3, or 4 players in the group finder. If you have a full group of 4, it will bring you straight to the Flashpoint with your full group. If you have 2 or 3 players in your group, the group finder will match you with other random players until you have a full group – but you’ll always be paired with your friends who started off in your group, and will not be split up. Your friends all need to be level 80 too.
![]()
Story: [MASTER] Secrets of the Enclave will not progress your storyline – it is simply the repeatable difficult group version.
![]()
Manual Entry: To enter this Flashpoint manually, you must go to the Secrets of the Enclave’s Flashpoint entrance, which is located on the planet of Odessen, then take the elevator to the Alliance Operations level. Find the Secrets of the Enclave quest blue terminal and choose [MASTER] from the options.
Bring a Friend Manually: Master Mode Flashpoints are not meant to be completed alone, and are designed for level 80 players who are comfortable with their role and class. To bring friends along for this Master Flashpoint, they’ll need to pick up the Master Mode quest from the blue terminal – or you can pick up the quest and share it with them, but they’ll still need to walk in the door manually while you’re in a group. Level 75-80 characters can technically enter Master Mode flashpoints, but all the enemies are level 80, and they will die very quickly.
Step 1 – Get to Odessen, by flying there with your ship.
Step 2 – Take the elevator outside the base to the Alliance Operations level on the top floor. Look for the Secrets of the Enclave quest terminal.
Choose [MASTER] mode to start the Flashpoint, then run on in the door.
Bosses
This Flashpoint has three boss fights – Graul, the Republic Squad / Imperial Squad, the final boss Leeha Narezz / Colonel Barden Golah, and the onus boss Monstrous Terentatek.
In all modes you can use the medpacs scattered around the bosses. Walk over them to heal yourself. Do not walk over them if you do not need them.

The following boss info is mainly for story and Veteran mode – Master Mode tactics are not covered in this guide.
Boss 1 – Graul

Step out of his red triangle as much as possible.

Stay out of the growing red circles on the ground as much as possible.

When the horror of the swarm overwhelms you, your character will start running away. You can’t make them stop running but you can control their direction with your mouse. Try and avoid the red stuff.

The swarmers can hurt you even in story mode, so when you see them, try and take them down first.

When you are done the fight, don’t forget to right-click the glowing blue Disturbed Rubble.

Boss 2 – Republic Squad / Imperial Squad

Imperial side, you’ll be fighting Captain Meinar, Lieutenant Osonu and Sergeant Corrik – most groups focus first on the Grenadier, which is the Lieutenant Osonu.
Republic side, you’ll be fighting Lord Ziliss, Captain Doga, Sergeant Kodo – most groups focus first on the Grenadier, which is the Sergeant Kodo, Imperial Ordnance Specialist.
If you get a big red circle on you, move it away from your companion or your group.

Master Mode: In Master Mode, the bosses will put up a blue shield around themselves and become immune. Work on attacking a different target when that happens. They don’t have an enrage, so focus on killing them one at a time apart from the shield.

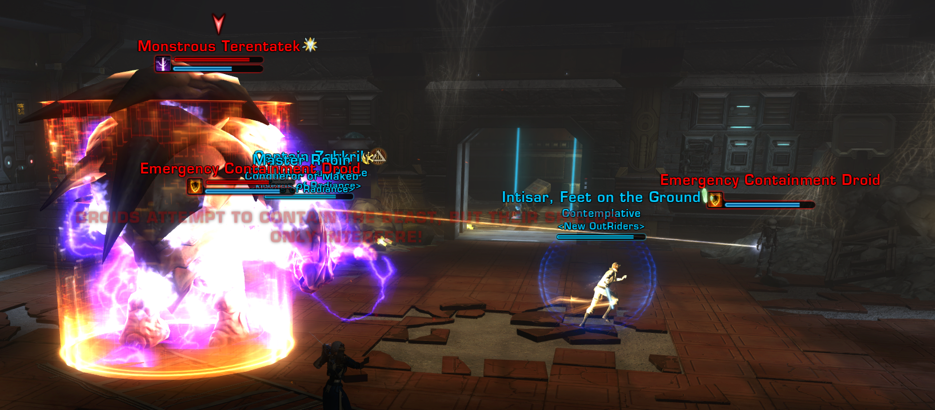
Bonus Boss – Monstrous Terentatek

To unlock the bonus boss, you must complete the bonus quest called Containment Protocol Xesh, which has you destroy three terminals in the temple lower level – they will be marked on the map. You destroy them by clicking them to summon a droid, then killing the droid very close to the terminal. If you don’t do the bonus, the boss will be behind a locked door you can’t access.

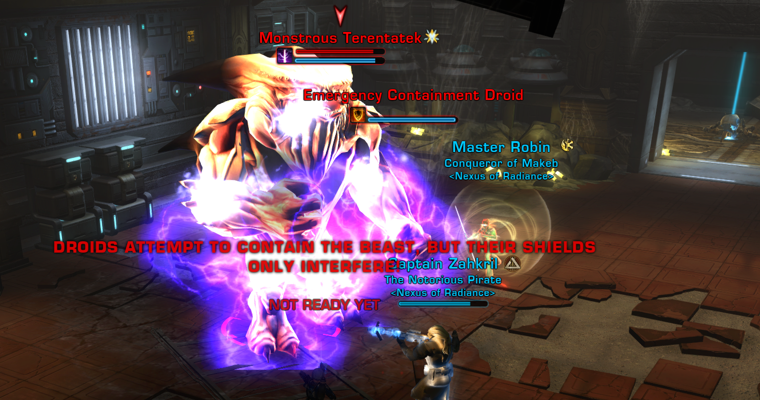
When the bonus boss Terentatek glows purple, and red text shows up on the screen, bring him over to the glowing blue towers. When he is close, right-click them to pacify him. You can bring him over to either of the towers early to get ready.

He also has lots of knockbacks and throws.

Master Mode: In Master Mode, this boss is quite different. There is no glowing blue towers, and instead there are some droids that show up. When they show up, kill them quickly, and then as soon as they die interrupt the boss – the droids are making him uninterruptable until they die. If you are slow you interrupt the boss after the droids die, he does a lot of damage – in our group, we assigned the tank to stay on the boss and interrupt him as soon as the droids were gone.
You’ll know the droids have spawned when you see big red text pop up on the screen.

Boss 3 – Leeha Narezz / Colonel Barden Golah

On Imperial side you fight Leeha Narezz, and Republic side you fight Colonel Barden Golah, but they have the same mechanics.
Step out of the red triangle as much as possible.

Step out of the big red circles as much as possible.

When the large droid shows up, focus on killing it first. It zaps you with a yellow beam, and the longer it is alive, the more it reduces your defensive armor and makes you weaker.

The little droids explode when they reach a player, step out of their small red circles as much as possible.

At the end of the fight, when the boss is low on health, he will start making a very large red circle that takes up the entire map. DO NOT TRY TO RUN OUT OF THE GIANT CIRCLE. Your goal is just to kill him as quickly as possible.

Master Mode: In Master Mode, extra droids will show up – your team might choose to fight them first to keep damage down.

Master Mode: If you are struggling with the final circle of red killing you before you can kill the boss, you can try breaking his circle cast by having everyone in your group run behind the tree.
Master Mode
Master Mode Secrets of the Enclave is almost exactly the same as Solo / Veteran Secrets of the Enclave, except for these differences:
- The enemies are stronger and have more health
- The first boss is about the same
- The second boss trios will put up a blue shield around themselves and become immune, swap enemies
- The bonus boss is very different – instead of towers, droids show kill them quickly, and then as soon as they die interrupt the boss
- Final boss, extra droids will show up to kill.
Bonus Quests
The Secrets of the Enclave bonus quest is called Containment Protocol Xesh and is available in all modes, Story, Veteran and Master, which has you destroy three terminals in the temple lower level – they will be marked on the map. You destroy them by clicking them to summon a droid, then killing the droid very close to the terminal. If you don’t do the bonus, the boss will be behind a locked door you can’t access. This will give you access to the bonus boss Terentatek.
- Disable High-Security Terminal Aurek (#1)
- Disable High-Security Terminal Besh (#2)
- Disable High-Security Terminal Cresh (#3)
- Enter the Containment Cell (north of second boss)
- Defeat the Monstrous Terentatek (Bonus Boss)
Stealth – This Flashpoint is pretty stealth friendly, except for the actual objectives – you will need to unstealth at the beginning for the enemy patrols and the scout camps, all marked on the in-game map with triangles or finding the patrols that ae physically walking around the paths. Once you reach the caves, unfortunately enemies will pop out of the ground.
Achievements
The Dantooine Flashpoint as a ton of fun hidden secrets and secret achievements. In addition to all the usual kill x enemies or kill each boss x times, there’s also these secret and silly unique achievements.

Thought I Could Make It

Take a leap of faith and see if it pays off. (Hidden Achievement) – Jump in the hole in the temple after the cave boss.

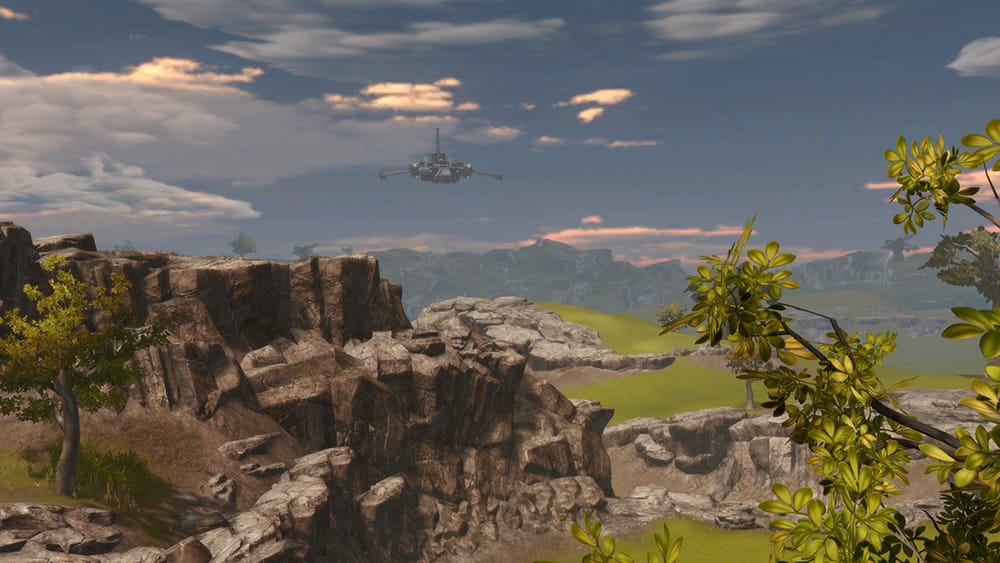
Admiring the View

Take a moment to appreciate the beauty on Dantooine. (Hidden Achievement) – Stand near the edge of the cliff at the beginning of the Flashpoint for a few seconds and ‘enjoy the view’.
Secrets of the Past
Find four relics in the “Secrets of the Enclave” Flashpoint. These relics are SUPER well hidden and almost impossible to find. They are very small, half-buried in the grass or dirt, and don’t glow blue until you hover over them. You will not be able to see the ones you have already found in your legacy.

Found First Relic: A tiny datapad near Yarvok’s Little Buddies’ lake, buried in the grass.

Found Second Relic: The easiest relic to find, a tablet near the northern part of the southern lake. I forgot to take a screenshot of this one.

Found Third Relic: A tiny datapad in the second collapsed temple tunnels, buried in the dirt.

Found Fourth Relic: A tiny droid arm right before the tunnel leading to the final fight, beside a tree in the dirt in the large courtyard where you gather explosives.


Kath Hound Compassion

Show the native creatures that you care for their plight – Befriend a Kath Hound by releasing it by right-clicking the panel on its cage in the third camp area. The panel does not glow blue or look clickable by default.
Little Buddies’ Buddy

Buddy Yarvok’s poor little buddies crash-landed on Dantooine. They must be hungry… Feed Yarvok’s Buddies x3 (Hidden Achievement)
This is a very difficult achievement. The idea is that there are three crates hidden in semi-randomized locations around the map that contain food that goes bad in a matter of seconds… so you need to pick it up a race it to Yarvok’s little buddies in the center of the map. The trick is that the timer is very short and any delay will cause you to fail, the buddies each only like a specific food, and if you fail at any of the three you need to reset the entire Flashpoint to re-try. You also have to do this three times for each buddy! It does reward you with a fairly rare title, the Friend to Beasts legacy title.

The first thing you will need to do is clear almost every enemy off of the first map. If any enemies try to fight you while you are trying to run your achievement, you will be delayed and fail your timer.
![]() Galma Fruit: This crimson fruit smells somewhat like a sweaty bantha – located near the ship where you start, eaten by Fuzzy.
Galma Fruit: This crimson fruit smells somewhat like a sweaty bantha – located near the ship where you start, eaten by Fuzzy.
![]() Honeystix: Lightly battered, sweet, and sticky – located near the second camp, for Yug.
Honeystix: Lightly battered, sweet, and sticky – located near the second camp, for Yug.
![]() Bormu Cutlet: A prime cut of the very best bormu credits can buy – for Cronchy.
Bormu Cutlet: A prime cut of the very best bormu credits can buy – for Cronchy.
You must give the correct food to the correct buddy by picking up the food from the box, running quickly to the buddies in the center of the map, and right-clicking the food dish in front of the right creature.

There are three different areas where the food is, and each area has a specific food… but the box itself will be in a random location within three different points of the area. The good news is it’s not a rush to find the box – you only have to rush to bring it to the buddies.
Galma Fruit for Fuzzy / Near Ship
- Under the ship you fly in on
- Behind a big tree surrounded by Xuvvas
- Behind a different big tree heading towards the path
Honeystix for Yug / Near Second Camp
- Behind the tent
- On a cliff near a big tree
- Off the edge of the cliff partway down the little mountain (not shown)
Bormu Cutlet for Cronchy / Near Third Camp
- In the tent
- Behind a big tree near the tent
- Across from the camp across the lake near some small trees
If you fail, I found it only properly reset the boxes when I exited, then right-clicked my portrait, chose Additional Commands -> Phase -> Reset All Active Flashpoints. Abandoning the quest and re-picking it up didn’t work.

Tips
- Clear out every enemy first.
- Be aware which food area belongs to which creature so you feed the right one.
- Mount up as soon as you pick up the food.
- The ‘Razor’s Kickstart’ tactical from the swoop event can be useful to go faster
- The Improved Mounting legacy perk can help you mount up faster, and the speed booster legacy perk too
- Apparently if you have Phase Walk (an ability) it can be a bit finicky but allow you to teleport with the food
Good luck! This achievement seems like it’s one of the more difficult ones in the game, especially because you have to start over from scratch if you fail by even half a second!
Skips
What follows are a quick gallery of images depicting specific walking routes that may save you some time by avoiding enemies during the flashpoint. All of the following images are done without stealth or without a sleep dart/mind maze from a stealth character, so anyone can attempt them. If you fail to slip by unnoticed or see your team has attacked the enemies – always pull back from these routes and go back to help them defeat them! These may save time if everyone does them, but nothing makes a flashpoint slower than running ahead and not helping others to get out of combat again.
Solo Stealth: If you are playing Secrets of the Enclave alone and are on a Stealth character, this Flashpoint is very awkward for stealthing – you have to fight a lot of enemies outside for the objectives, and lot of enemies in the caves knock you out of stealth.
Enclave Approach Rote
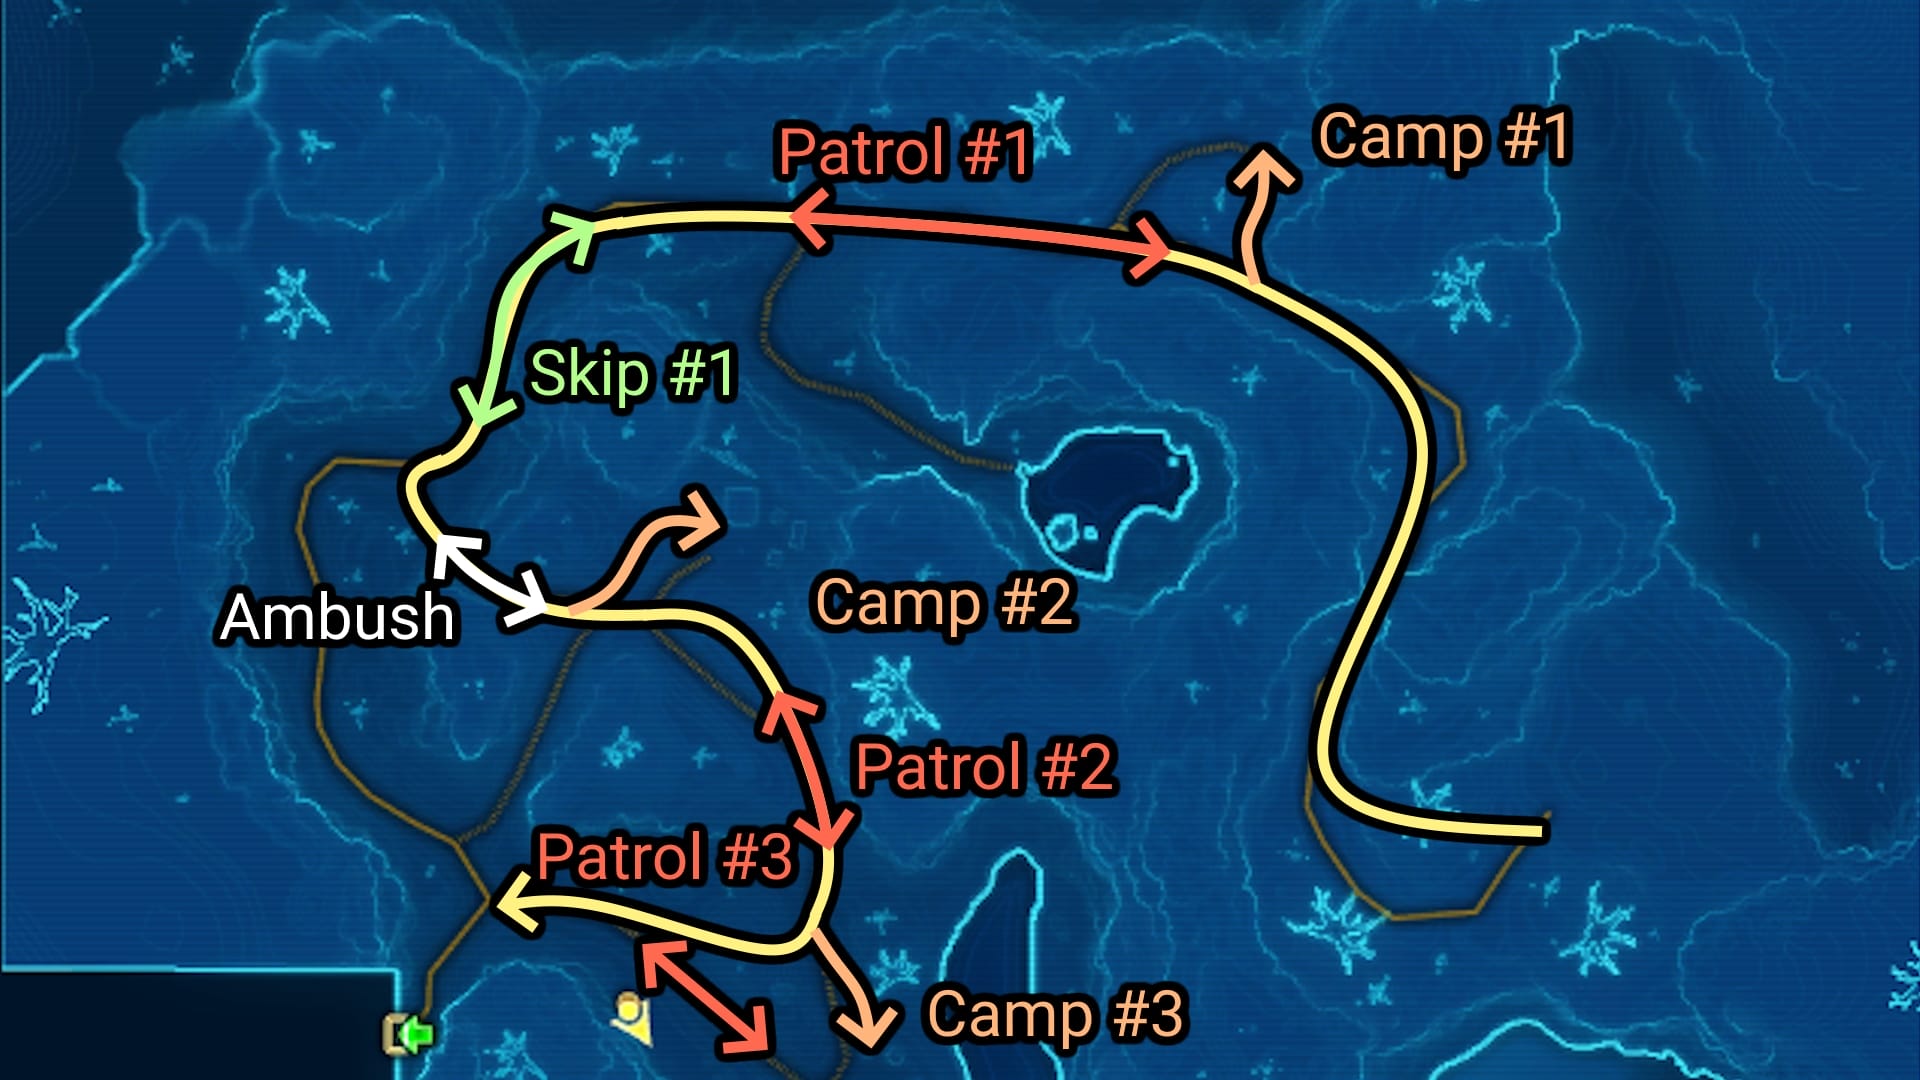
Just leaving a quick map here of the recommended path you should take to limit fighting extra enemies in the beginning, outdoor section of the flashpoint. By sticking to the yellow arrow and breaking off on the orange ones to reach camps, you should fight 3 patrols and 3 camps for mission-credit to advance without having to fight anything extra (except for the one scripted ambush at the white marker. sorry.) In green is skip #1 below.
Skip #1

As shown in the Approach map, stick left on these rocks to get around some kath hounds that won’t do anything to further your troop patrols and camps defeated objective.
Skip #2

Unfortunately once you’re in the cave, due to cramped narrow hallways, scripted ambushes, and droids that can’t be mesmerized, there’s practically no skips remotely possible for the rest of the flashpoint. As one final fun note though, you can avoid combat with one of the last groups of enemies before the last boss (when your objective becomes collecting explosives to clear a blockage) by running behind the forklift-like machine and clicking the explosive while hidden on the other side. You need to move straight out and then away once done though, as they can see you through the gap in the fork.
Rewards
In addition to the usual rewards of XP, credits, gear and end-game currency, Secrets of the Enclave has the following rewards available as random drops.
Friend to Beasts legacy title – Little Buddies’ Buddy achievement
Archives Power Storage Unit
Archives Power Storage Unit, likely drops from bosses only, Master Leeha Narezz seems most common including Story mode
Archives Table with Benches
Archives Table with Benches, drop, likely from bosses only including Story mode
Archives Table with Chairs
Archives Table with Chairs, drop, likely from bosses only including Story mode
Broken Archivist Chandelier
Broken Archivist Chandelier, drop, likely from bosses
Captain Meinar Holo

Captain Meinar Holo, drop, likely from boss Captain Meinar on Imperial side
Colonel Barden Golah Holo
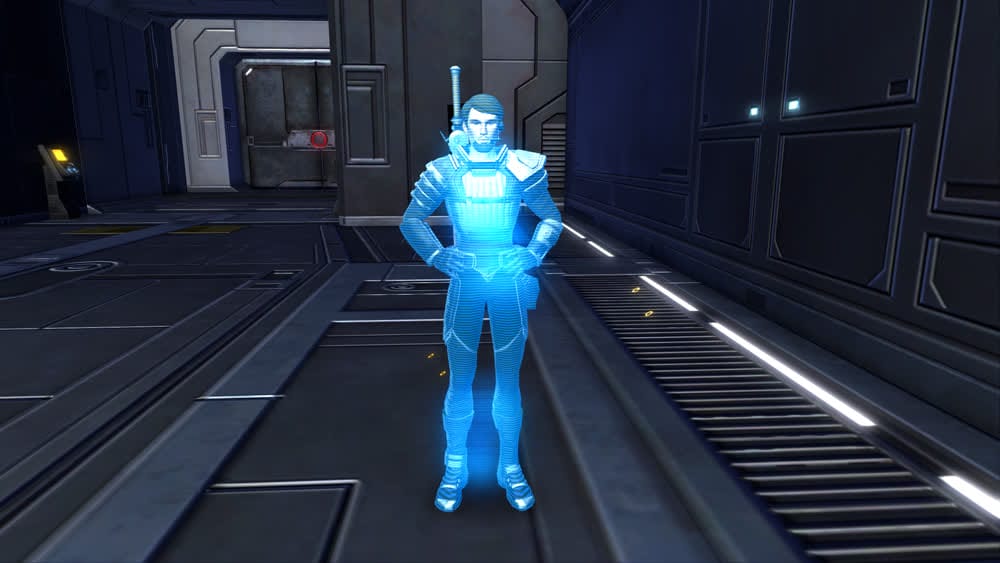
Colonel Barden Golah Holo, drop, likely from boss Colonel Barden Golah on Republic side
Dantooine Debris Pile
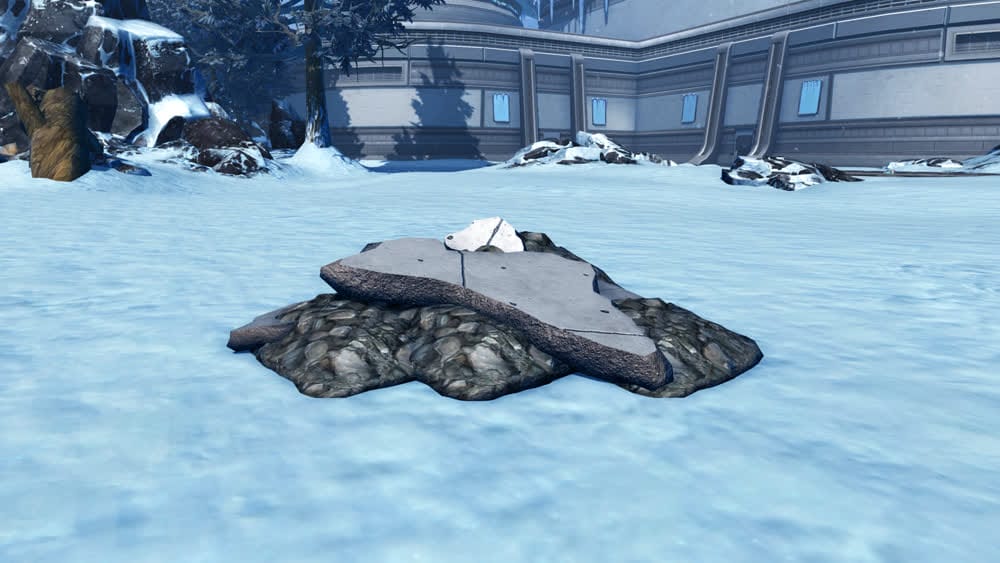
Dantooine Debris Pile, drops from Monstrous Terentatek bonus boss from any mode, including Story
Dantooine Rubble Pile

Dantooine Rubble Pile, drops from Graul boss from any mode, including Story
Dantooine Small Rock

Dantooine Small Rock, drops from Colonel Barden Golah Imperial-side and possibly Leeha Narezz Republic-side
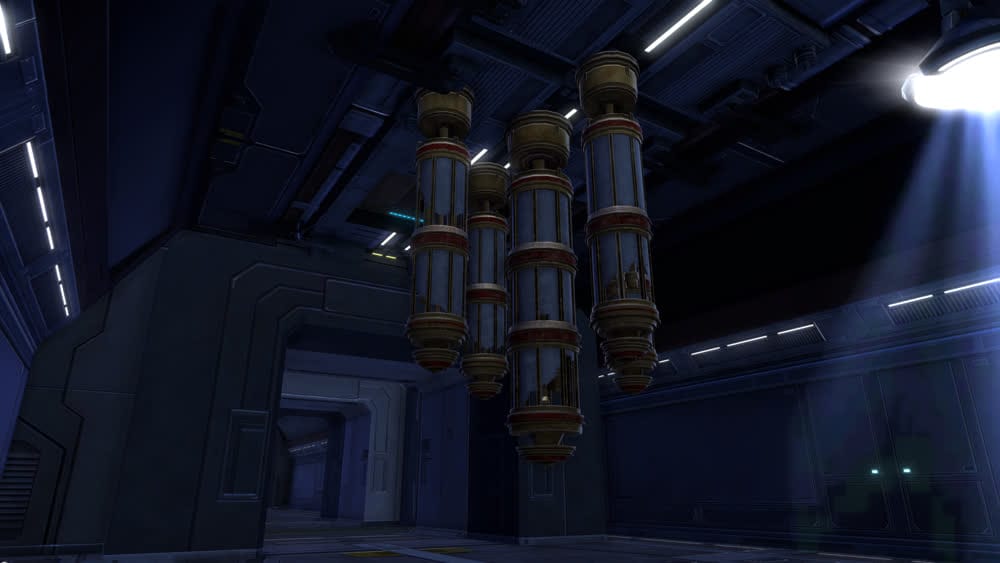
Enclave Brass Four-Way Column

Enclave Brass Four-Way Column, drop from any boss on any mode, including story
Enclave Brass Three-Way Column
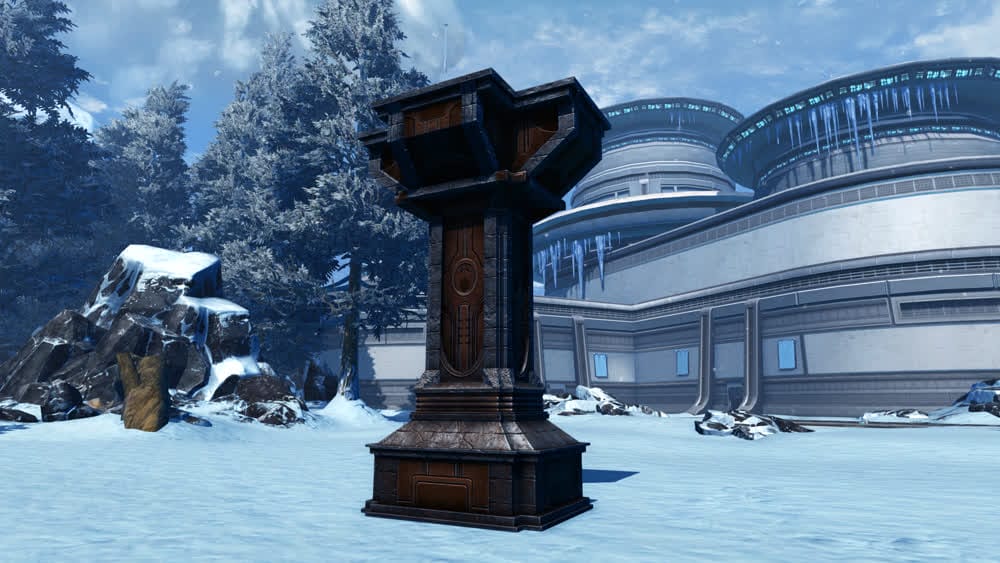
Enclave Brass Three-Way Column, drop from any boss on any mode, including story
Enclave Brass Two-Way Column
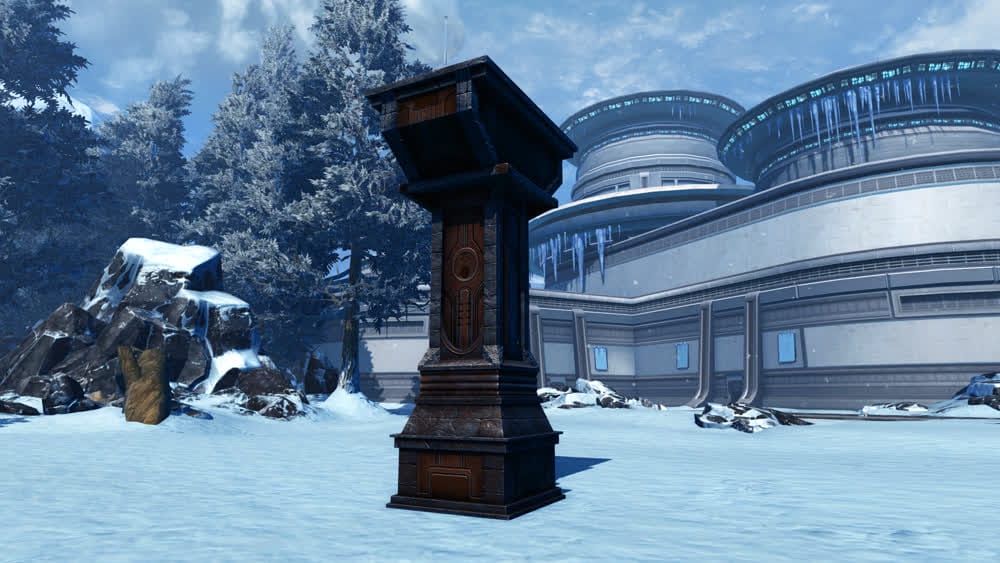
Enclave Brass Two-Way Column, drop from any boss on any mode, including story
Enclave Gold Four-Way Column
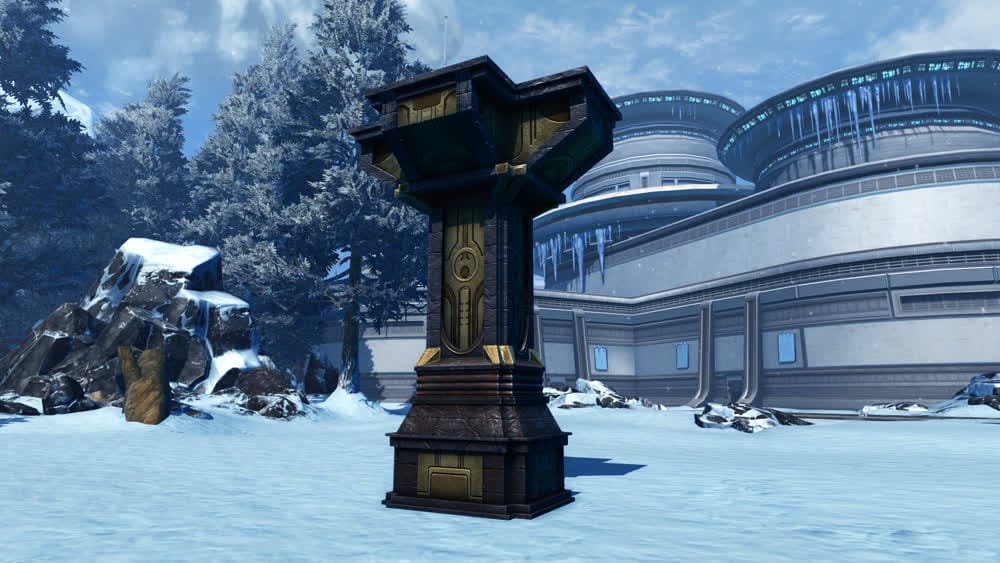
Enclave Gold Four-Way Column, drop from any boss on any mode, including story
Enclave Gold Three-Way Column
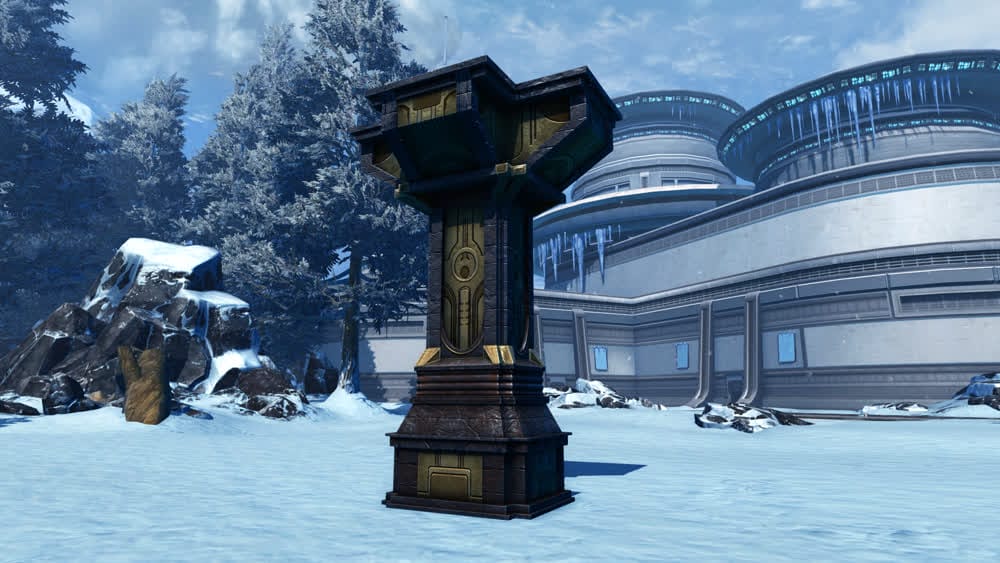
Enclave Gold Three-Way Column, drop from any boss on any mode, including story
Enclave Gold Two-Way Column
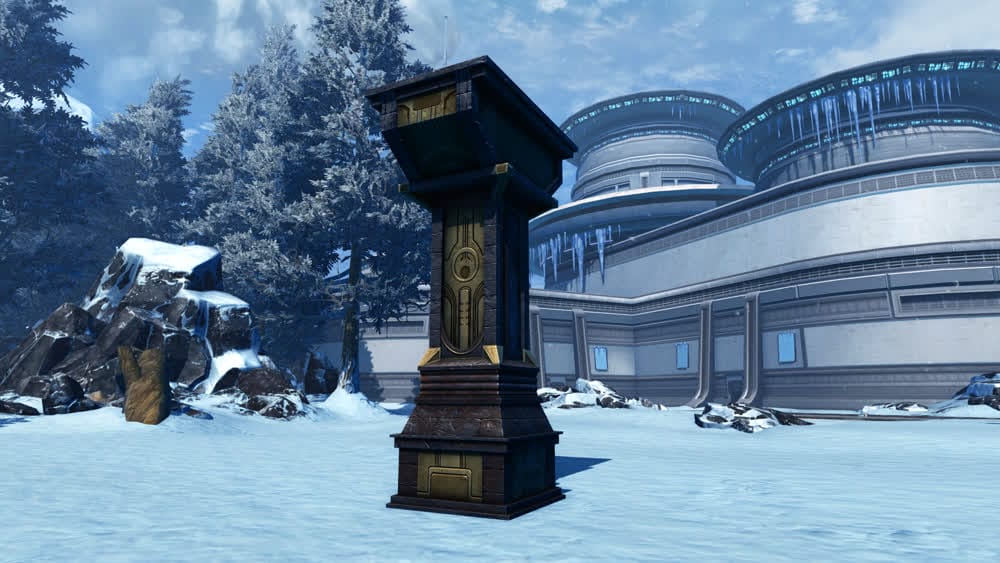
Enclave Gold Two-Way Column, drop from any boss on any mode, including story
Graul Holo

Graul Holo, drops from Graul boss in any mode, including Story
Lord Ziliss Holo

Lord Ziliss Holo, drops from Lord Ziliss in any mode, including Story, but ONLY on a Republic character
Master Leeha Narezz Holo

Master Leeha Narezz Holo, drops from any boss in any mode, including Story, on either faction
Rusted Wall Grate

Rusted Wall Grate, likely drops from any boss, in any mode, including Story
Terentatek Holo

Terentatek Holo, drops from the Monstrous Terentatek in any mode, including Story
Tree of the Archivist
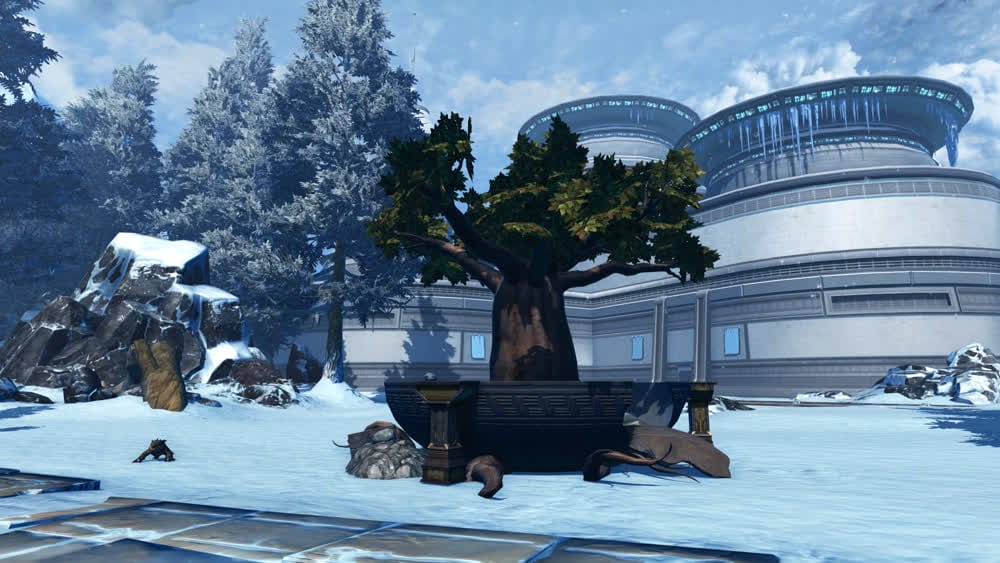
Tree of the Archivist, drops from Monstrous Terentatek bonus boss in any mode, including Story
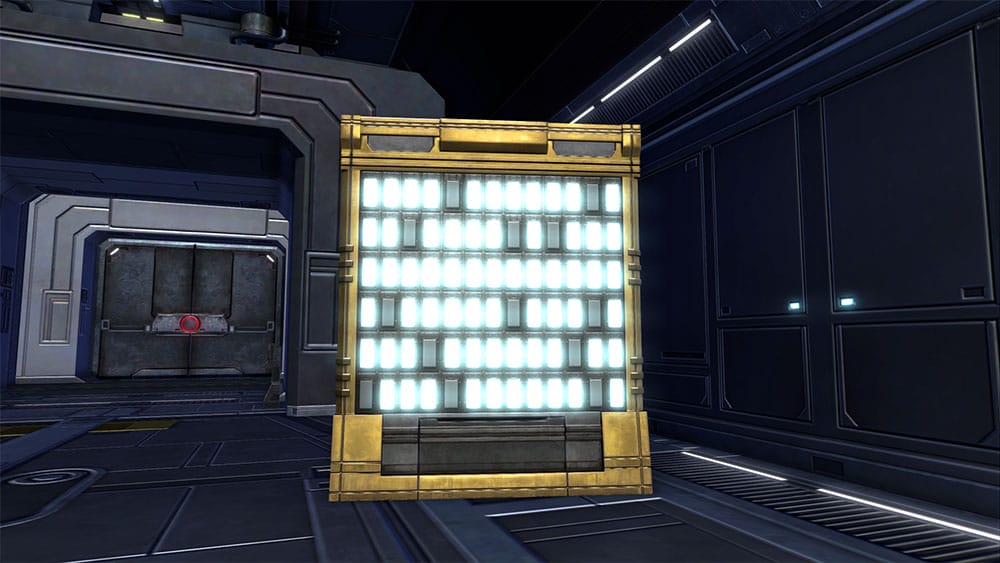
Weapon Crates

This Flashpoint does have some bonus weapons – one in each of the three camps on the first map. Right-click the striped glowing blue boxes for a free fun weapon to use. It will show up as a temporary ability on your temporary ability bar. One is a large firey grenade you place on the ground, the other is a freezing cryo grenade. These are just for fun and not required for anything.

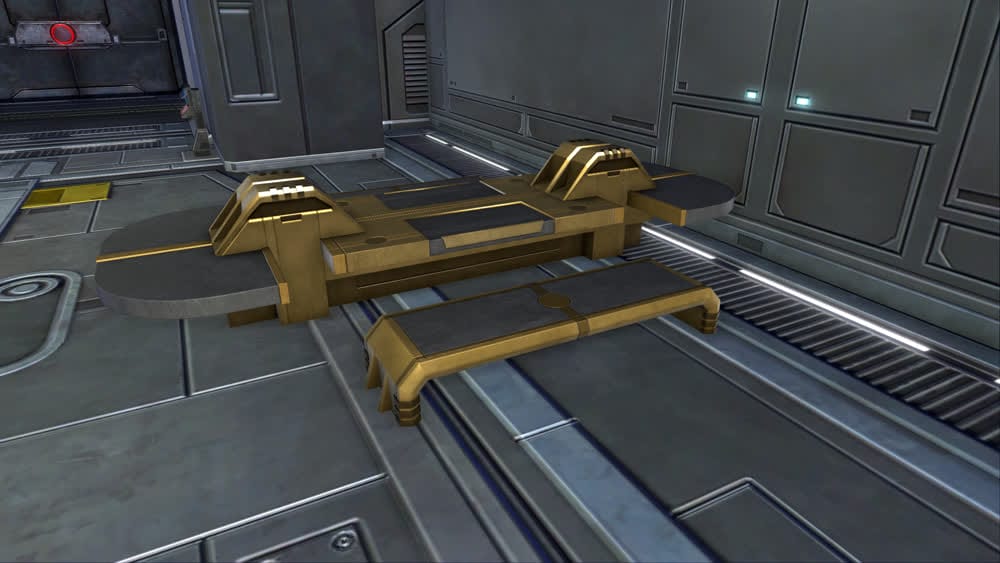
 Cryo Grenade: Hurl a grenade that releases a supercondensed blast of CryoBan, damaging and freezing enemies in a small area.
 Thermal Destroyer: The second most powerful and feared explosive in the galaxy, the Thermal Destroyer’s detonation sears enemies with high-intensity flames as they’re knocked back by its concussive wave.
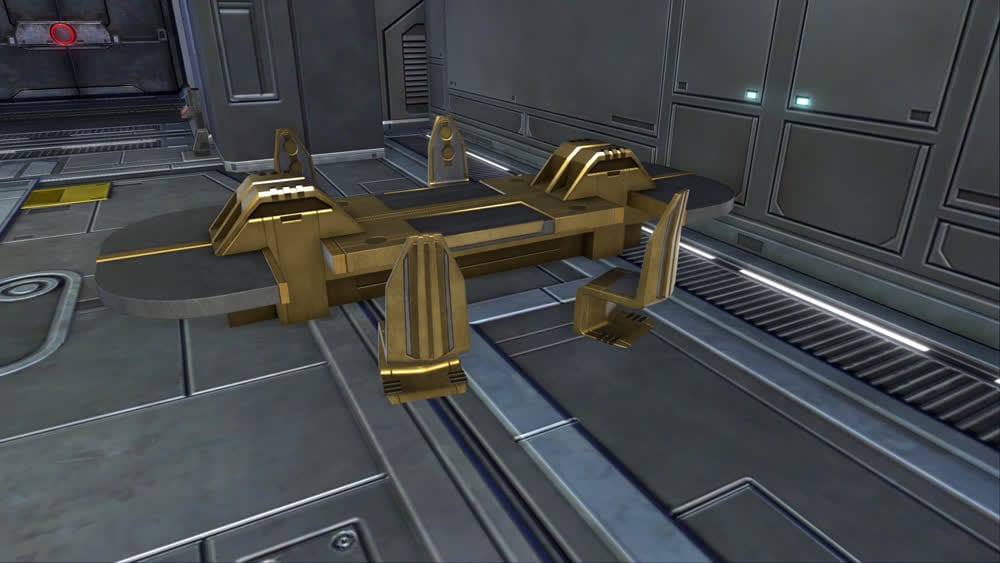
 Electro-Launcher: A rocket that discharges an unstable electrical blast on impact, electrocuting nearby enemies as the force flings them away and briefly stuns them.
Objectives
- Search for an Entrance to the Ruins
- Defeat the Ambush
- Defeat Enemy Scout Camps
- Defeat Enemy Patrols
- Search for an Entrance to the Ruins
- Defeat the Creature in the Tunnels
- Search the Area
- Enter the Enclave Ruins
- Search the Enclave Ruins
- Defeat the Republic Squad / Defeat the Imperial Squad
- Question the Republic Squad Leader / Question Lord Ziliss
- Search for Signs of Malgus
- Salvage Explosive Materials
- Clear the Collapse
- Search for Signs of Malgus
- Defeat Master Narezz / Defeat Colonel Golah
- Confront Master Narezz / Confront Colonel Golah
Lore
Darth Malgus – who has been missing since the assault on the Meridien Complex Shipyard – has been spotted on the pastoral world of Dantooine.

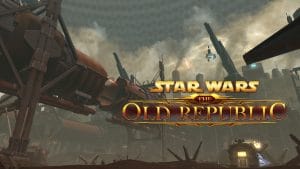
Imperial Story Video:
Text transcripts of the conversations related to Secrets of the Enclave:
Mails Related to this Flashpoint:
 Questions or comments? Feel free to send me a message on Twitter


 Discord
  Email swtorista@gmail.com
 Bluesky @swtorista.com
 Reddit /u/swtorista
 Twitch Swtorista
 Youtube
 Patreon
 Twitter @swtorista