





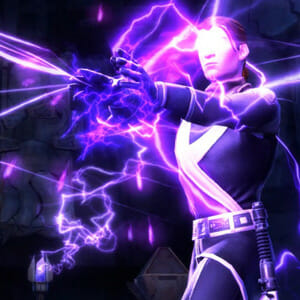
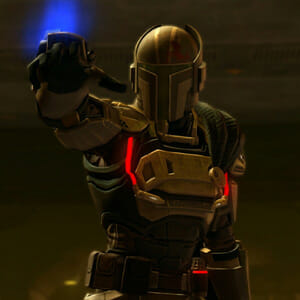








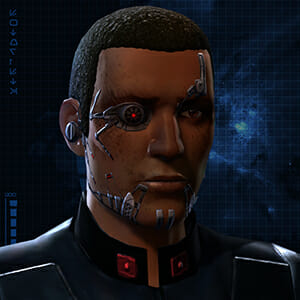







SWTOR Imperial Agent Classic Venture Guide

The Imperial Agent Classic Venture in Star Wars: The Old Republic is a fun, challenging, long-term way of playing the game and exploring all its facets while levelling up a brand new Imperial Agent from level 1 on Hutta, all the way up to level 50 on Ilum. You’ll be expected to fight, explore, gear up, and hunt down unique foes, all while taking extra damage during fights and levelling up at a pace that’s more in line with levelling up at the launch of the game. This mode also introduces a bunch of new special items you’ll pick up off of glowing golden enemies that will give you special boosts or temporary challenges as you play in Classic mode, and of course has unique rewards just for the Imperial Agent.

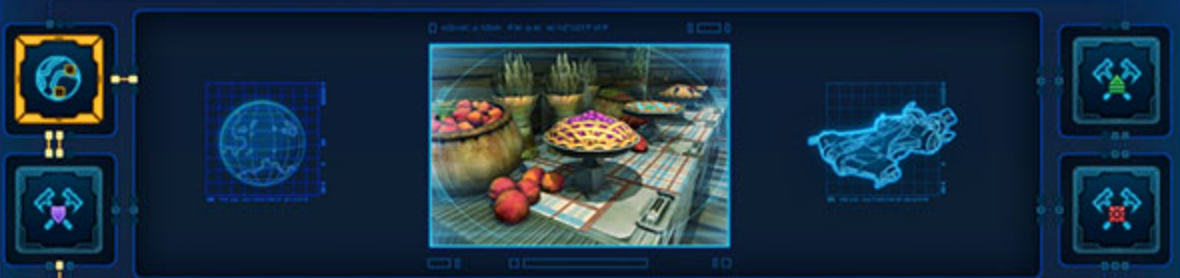
All of this information is from the Public Test Server. There is a good chance much of it may change before the Classic Ventures system is released in 8.0 which the developers are aiming to release at the end of 2026! Many of the screenshots are also from the unfinished Public Test Server – you can see many unfinished graphics, labels, and objectives there. My favorite is the pie image placeholders.

How to Start
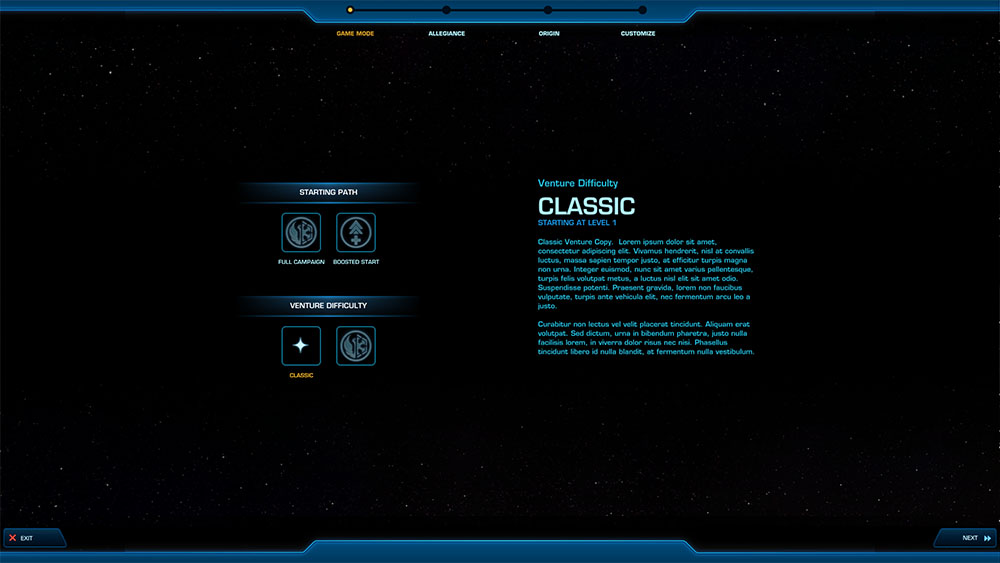
To start a new Classic Venture, choose Classic when you go to create a character (rather than the Full Campaign, which is what you would pick for a normal new character.)
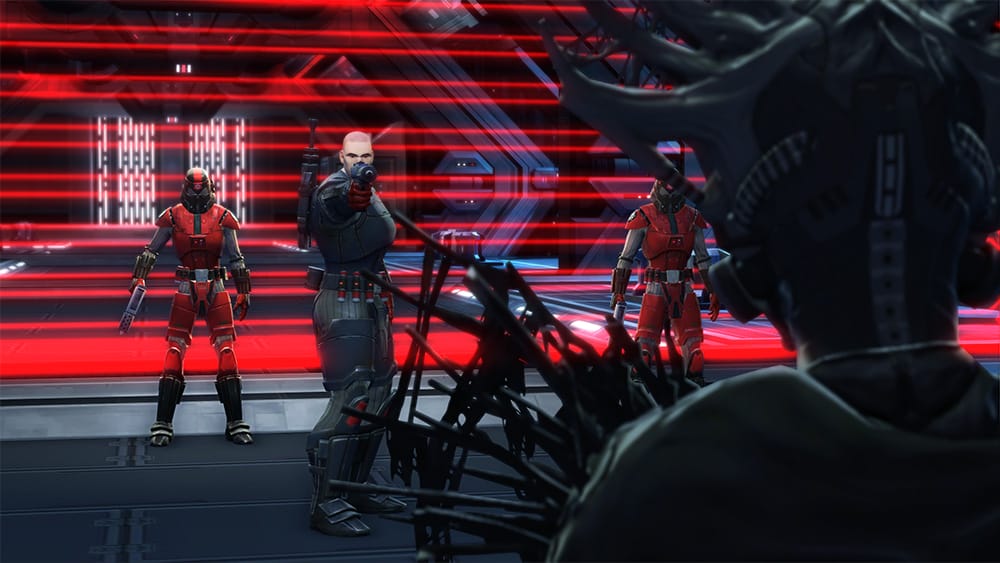
Ventures are only available to subscribers, and that includes the Imperial Agent Classic Venture. Free-to-play players will not be able to start venture characters, and preferred players will not be able to continue playing any venture characters they have made until they re-subscribe.

Choose a Combat Style
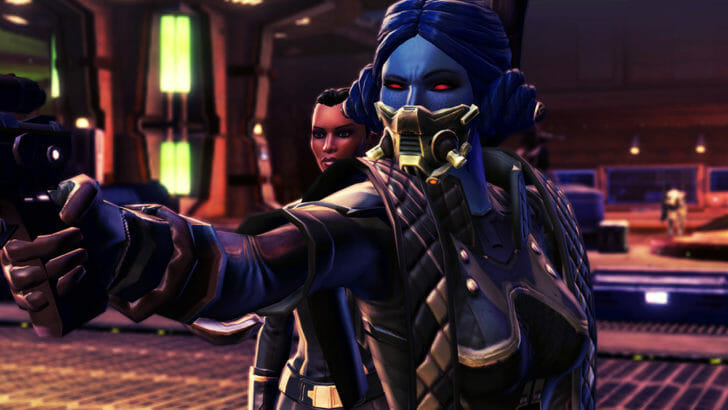
When you go to create a Classic Venture Imperial Agent, you will notice that you only have two options for your Combat Style – the Operative or the Sniper. In the normal game, you have a lot more options, but these were the two options available at the launch of the game, and during a Classic Venture, you’ll only be able to pick between these two styles. This means you can not play an Imperial Agent as a Vanguard, Commando, Scoundrel, Gunslinger, Mercenary or Powertech while playing a classic venture.

Operative

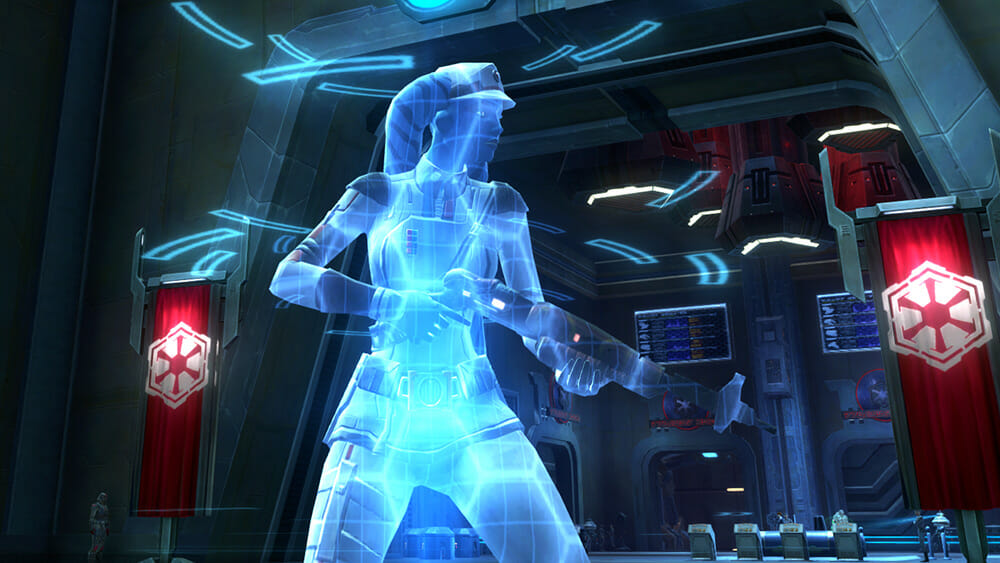
Whether ambushing enemies from stealth or using advanced medical technology to keep colleagues in the fight, Operatives do whatever it takes to advance the agenda of the Empire.

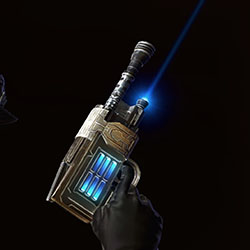
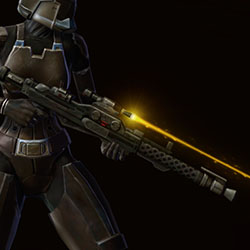
The Operative wields a blaster rifle, and can switch between three different Disciplines: Medicine, Concealment, and Lethality. The Operative acts as a Damage or Healer role in combat.

Medicine

As an accomplished practitioner of the medical arts, the Medicine Operative servers as the preservative backbone of any combat team. Deploying a full complement of sophisticated gadgets to dispense healing kolto and reparative nanotech clouds to one or more targets, the Medicine Operative ensures their allies remain fit for fighting.

Concealment

Striking from the shadows, the Concealment Operative surprises the enemy with a flurry of calculated attacks designed to Stun and debilitate. Then, before the fight gets out of hand, the Concealment Operative can return to a position of stealth, biding their time until the time to strike reveals itself again.

Lethality

The Lethality Operative firmly believes the one true gift that keeps giving is poison. Dispensing potent toxins using a variety of methods, the Lethality Operative’s attacks take a toll over time, corroding the enemy from within until all that’s left is a withered husk that only thinks it still has a chance.

  • Role: Healer
  • Weapon: Blaster Rifle
  • Distance: Long Range
  • Mirror: Scoundrel – Sawbones
  • Role: Damage
  • Type: Burst Damage
  • Weapon: Blaster Rifle
  • Distance: Melee Range
  • Mirror: Scoundrel – Scrapper
  • Role: Damage
  • Type: Damage Over Time
  • Weapon: Blaster Rifle
  • Distance: Short Range
  • Mirror: Scoundrel – Ruffian
+ Read More
+ Read More
+ Read More

Medicine for New Players

  • Medicine is a healer style, which makes it harder to learn than a damage class for most new players
  • Most players recommend to level as a damage discipline, then switch to healer when you are ready for group content
  • All three healer styles are not too hard to start healing with, just select a player and heal with a green ability
  • However Operative Heals has a second resource to manage called Upper Hand, which makes it slightly trickier to start with

Concealment for New Players

  •  Concealment is stabbing range, which means you must be very close to your enemy to attack, but you have a jump ability and roll to help you close the gap between you and your enemy
  •  This style is very mobile and you can easily run and jump around while fighting without any issues!
  •  Most abilities can simply be used, you only need to learn to activate a few of them
  •  Concealment is pretty easy to learn the basics of compared to other disciplines.

Lethality for New Players

  •  Lethality is a damage-over-time discipline which means you need to build up your attacks over time, layering them together, which makes it slightly harder to learn than burst discipline which do damage right away
  •  This style is very mobile and you can easily run and jump around while fighting without any issues!
  •  Most abilities can simply be used, you only need to learn to activate a few of them
  •  Lethality takes slightly longer to learn than other disciplines, but is easier to get really good at compared to many other disciplines

Cool Abilities

  •   Medicine focuses heavily on healing-over-time. Medicine excels at group healing.
  • Kolto Waves, large group heal
  • Kolto Probe, heals your target over time and can be used on any number of targets
  • Recuperative Nanotech, heals your target and additional targets nearby
  • Stealth, to sneak past enemies, the only healer with stealth available
  •  Infiltrate, group stealth (optional)
  •  Debilitate, short stun (optional)
  • Scamper, roll forwards quickly
  •  Holotraverse, jump to an enemy (optional)
  •  Flash Bang, group stun/distraction (optional)

Cool Abilities

  •  The Concealment style focuses on knifing enemies, big or small. It’s a fast and fluid discipline.
  • Stealth, to sneak past enemies, the only healer with stealth available
  •  Infiltrate, group stealth (optional)
  •  Debilitate, short stun (optional)
  • Scamper, roll forwards quickly
  •  Holotraverse, jump to an enemy (optional)
  •  Flash Bang, group stun/distraction (optional)

Cool Abilities

  • Stealth, to sneak past enemies, the only healer with stealth available
  •  Infiltrate, group stealth (optional)
  •  Debilitate, short stun (optional)
  • Scamper, roll forwards quickly
  •  Holotraverse, jump to an enemy (optional)
  •  Flash Bang, group stun/distraction (optional)

Sniper

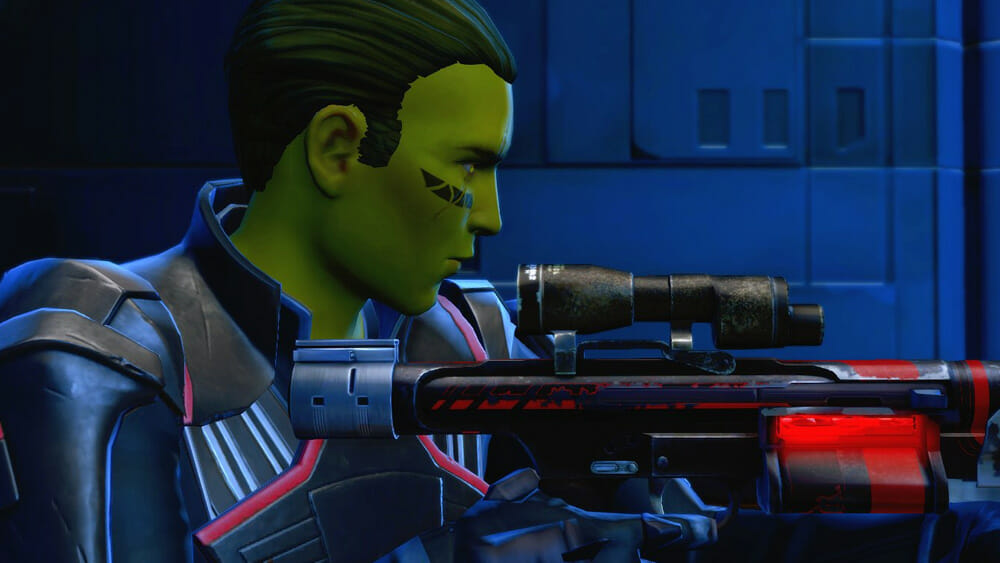
Identified as the most elite sharpshooters in the galaxy, Snipers use their extensive training to eliminate sensitive targets and turn the tide of battle in the Empire’s favor.

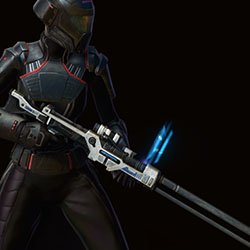
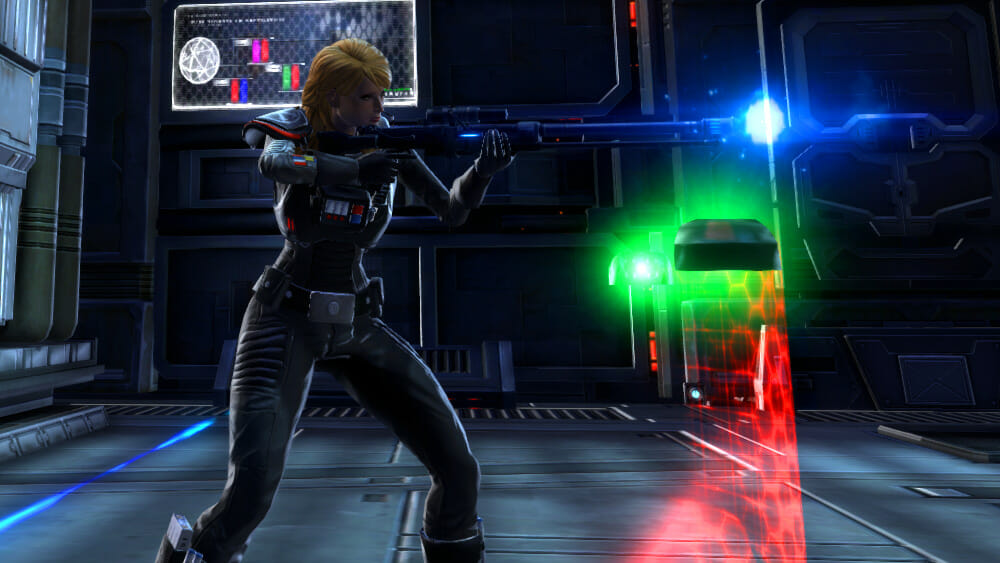
The Sniper is the only class that can wield a Sniper Rifle, and can switch between three different Disciplines: Marksmanship, Engineering, and Virulence. The Sniper acts as a Damage role in combat.

Marksmanship

One perfect shot has the potential to change everything, and no one is more precise than the marksmanship Sniper. From the safety of cover, the Marksmanship Sniper ambushes the enemy and follows up with an encore of penetrating blasts that make extra sure the Sniper’s job is done.

Engineering

Technology – and its application in deploying advanced weaponry – sets the Engineering Sniper apart from the rest. A variety of probes at their disposal allows the Engineering Sniper to attack from a distance with explosions, electrical jolts, and waves of destructive plasma designed to eliminate any target.

Virulence

Some Agents prefer a less direct method of eliminating a target, such as administering poison. Lethal toxins and all-consuming microbes are the domain of the walking biohazard known as the Virulence Sniper, who inflicts lethal shots and lobs corrosive grenades from a safe distance where they can witness the results of their handiwork.

  • Role: Damage
  • Type: Burst Damage
  • Weapon: Sniper Rifle
  • Distance: Long Range
  • Mirror: Gunslinger – Sharpshooter
  • Role: Damage
  • Type: Damage Over Time
  • Weapon: Sniper Rifle
  • Distance: Long Range
  • Mirror: Gunslinger – Saboteur
  • Role: Damage
  • Type: Damage Over Time
  • Weapon: Sniper Rifle
  • Distance: Long Range
  • Mirror: Gunslinger – Dirty Fighting
+ Read More
+ Read More
+ Read More

Marksmanship for New Players

  • Marksmanship has you take cover and not move. Cover makes Marksmanship a very difficult class for newer gamers to learn, as many fights require moving around – but you can ignore the cover mechanic while learning Marksmanship if you want as all but one ability can still be used out of cover.
  •  Marksmanship is long range – if you can handle the cover mechanic, you can hit targets very, very far away compared to most classes which makes it easier to find targets to hit than short-range classes.
  • Marksmanship is the simplest of the three Sniper disciplines – using a very basic move set, you can get away with using only five abilities if you aren’t worried about doing max damage.
  •  I was originally intimidated by the number of abilities Marksmanship had, but found it very easy and intuitive to play once I read a guide and it felt there was less to memorize than many other disciplines.
  • I was originally intimidated by the number of abilities Marksmanship had, but found it very easy and intuitive to play once I read a guide and it felt there was less to memorize than many other disciplines.

Engineering for New Players

  • Engineering requires that you take cover and not move for many of your abilities to work well. Cover makes Engi a very difficult class for newer gamers to learn, as many fights require moving around.
  • Engineering is long range – if you can handle the cover mechanic, you can hit targets very, very far away compared to most classes which makes it easier to find targets to hit than short-range classes.
  • When I was learning Engi, I found it was easy to learn the basics of, but harder to fully learn than the other two Gunslinger disciplines.

Virulence for New Players

  • Virulence requires that you take cover and not move for many of your abilities to work. Cover makes Marksmanship a very difficult class for newer gamers to learn, as many fights require moving around – but you can ignore the cover mechanic while learning Virulence if you want as all but one ability can still be used out of cover.
  •   Virulence is long range – if you can handle the cover mechanic, you can hit targets very, very far away compared to most classes which makes it easier to find targets to hit than short-range classes.
  •  If you are able to watch your debuff timers, this discipline is decently easy to learn with a guide.

Cool Abilities

  • Marksmanship focuses on long range pistol attacks, taking advantage of a free attack available after every main attack, and taking advantage of their large number of buffs.
  • Entrench, become immoveable
  • Covered Escape, roll and go into cover
  • Cover Pulse, knock everyone away from you while in cover
  •  Ballistic Shield, large group shield (optional)
  •  Orbital Strike, your ship attacks for you (optional)

Cool Abilities

  • Entrench, become immoveable
  • Covered Escape, roll and go into cover
  •  Ballistic Shield, large group shield (optional)
  • Cover Pulse, knock everyone away from you while in cover
  •  Orbital Strike, your ship attacks for you (optional)
  •  Flash Bang, group stun/distraction (optional)

Cool Abilities

  • Virulence focuses on making sure you have your Corrosive Dart and Corrosive Grenade debuffs on your current target before using Cull, a channeled ability that is your weakest attack on its own, but generating the biggest hits you can do if supported by your Damage over Time abilities at the right time.
  • Entrench, become immoveable
  • Covered Escape, roll and go into cover
  • Cover Pulse, knock everyone away from you while in cover
  •  Ballistic Shield, large group shield (optional)
  •  Orbital Strike, your ship attacks for you (optional)
  •  Flash Bang, group stun/distraction (optional)

Ventures

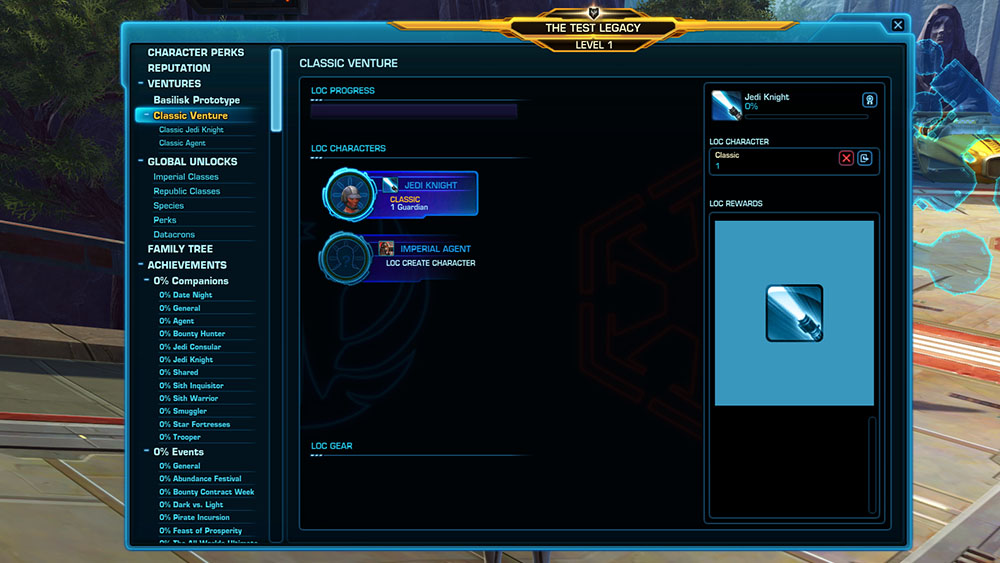
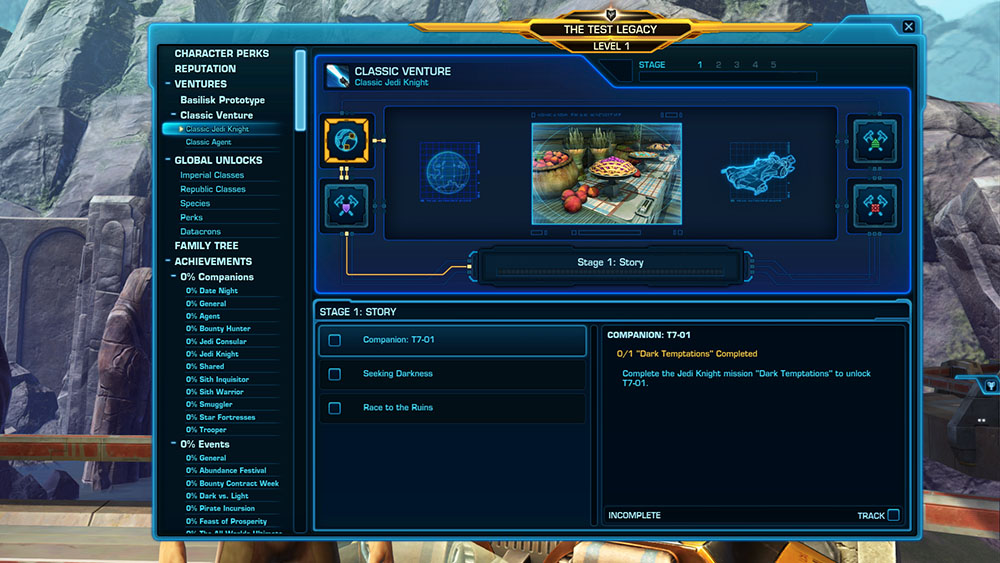
Once you have created your Classic Venture character, you can open your Legacy Panel (N key on your keyboard by default), and select your new character in Classic Ventures, which will be on the menu on the left under Ventures.

After selecting your character, you can then see the objectives to complete!

Gold Enemies

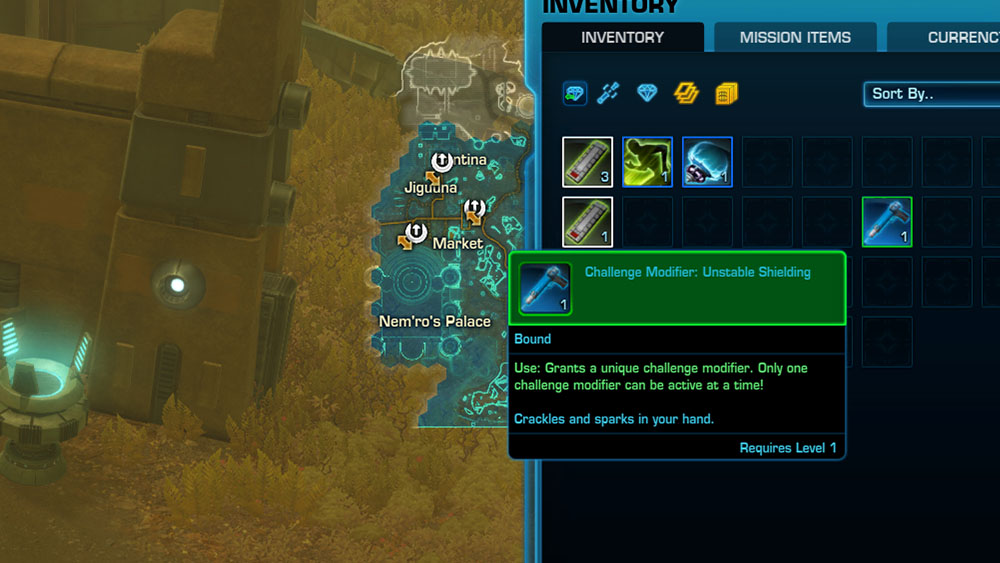
As you play your venture character, keep your eyes open for unique glowing gold enemies scattered around the map. All enemies have a chance of dropping special venture-only items, but golden glowing enemies have a higher chance of giving you special buffs, venture currency, or challenge items.

Venture Buffs

While playing, keep an eye on your inventory! In addition to the normal gear, credits, or other randomized loot you would get from enemies, you can also get venture-specific items to use on your venture character. These include challenge items, grenades, and treasure finding gear. See the Classic Venture Items Buffs, Boosts, and Grenade Preview on the PTS (Public Test Server) guide to see what they do.

Classic Venture Items Buffs, Boosts, and Grenade Preview on the PTS (Public Test Server)


Objectives

The Imperial Agent’s venture objectives will send you to complete some interesting additional objectives that you might not see if all you were doing was your main class story, and the first section focuses on exploring Hutta and Dromund Kaas.

IMPORTANT NOTE! The objectives below are very much IN-PROGRESS, are projected objectives, and may not be correct or what comes out on live in the 8.0 expansion. Some are in testing on the Public Test Server, and some are not. Some objectives may be added later, and others may be removed or changed. The Public Test Server system also uses leftover categories, icons, and reward points from the previous venture – so you may see some placeholders or un-named sections and categories.

Set 1
Category 1

  • Cleaning Up the Mess: Complete the Imperial Agent story mission “Cleaning Up the Mess” on Dromund Kaas.
  • Leaving Hutta: Complete the Imperial Agent story mission “Leaving Hutta” on Hutta.
  • Stage 1: Story: Complete all Stage 1 Story Objectives.
  • Companion: Kaliyo Djannis: Complete the Imperial Agent mission “The New Truth” to unlock Kaliyo Djannis.

Category 2

  • Stage 1: Exploration: Complete all Stage 1 Exploration Objectives.
  • Dromund Kaas Dynamic Encounters: Complete 20 Dynamic Encounters on Dromund Kaas.
  • Hutta Dynamic Encounters: Complete 10 Dynamic Encounters on Hutta.
  • Exploring Dromund Kaas: Discover the folllowing points of interest on Dromund Kaas: the Sith Sanctum in Kaas City and the Monument inside the Dark Temple.
  • Exploring the Imperial Fleet: Explore the following points of interest on the Imperial Fleet: the Command Deck Bridge of The White Nova and the Imperial Museum on The Ziost Shadow.
  • Exploring Hutta: Explore the following points of interest on Hutta: the Cantina in Nem’ro’s Palace and the interior of Fa’athra’s Palace.

Category 3

  • Stage 1: Combat: Complete all Stage 1 Combat Objectives.
  • Black Talon Venturer: Complete the Flashpoint “The Black Talon” on any difficulty.
  • Fa’athra Forces in Jiguuna: Defeat 25 Fa’athra Forces in Jiguuna on Hutta.
  • Fa’athra Droids on Hutta: Defeat 25 Fa’athra Droids on Hutta.
  • Droids in Kaas City Expansion: Defeat Glitched Labor Droids, Haywire Precision Droids, and Damaged Welding Droids in Kaas City Expansion District on Dromund Kaas.
  • Hostiles in Lord Grathan’s Estate: Defeat Grathan Guardsman, Grathan Apprentice, and Grathan Patrol Droids in Lord Grathan’s Estate on Dromund Kaas.
  • Mandalorians on the Initiate’s Path: Defeat Mandalorian Greenhorns and Mandalorian Mercenaries in the Initiate’s Path on Dromund Kaas.
  • The Possessed on the Dark Temple Approach: Defeat Possessed Workers and Possessed Foremen in the Dark Temple Approach on Dromund Kaas.

Category 4

  • Stage 1: General: Complete all Stage 1 General Objectives.
  • Learning Crew Skills: Learn and use any Crew Skill.
  • Gathering Skills: Harvest 50 gathering nodes of any type.
  • [any weapon]:
  • Gear Up: Rating 50: Equip items of rating 50 or higher in the Head, Chest, Legs, and Weapon slots.

Set 1 Meta

  • Stage 1: Complete all Stage 1 Objectives.

Set 2
Category 1

  • The Fall of House Cortess: Complete the Imperial Agent story mission “The Fall of House Cortess” on Alderaan.
  • Destroy the Enemy: Complete the Imperial Agent story mission “Destroy the Enemy” on Balmorra.
  • Liquidation: Complete the Imperial Agent story mission “Liquidation” on Nar Shaddaa.
  • The Assassin’s Fortress: Complete the Imperial Agent story mission “The Assassin’s Fortress” on Tatooine.
  • Stage 2: Story: Complete all Stage 2 Story Objectives.

Category 2

  • Stage 2: Exploration: Complete all Stage 2 Exploration Objectives.
  • Tatooine Dynamic Encounters: Complete 25 Dynamic Encounters on Tatooine.
  • Exploring Alderaan: Discover the following points of interest on Alderaan: the Datacron by the Damaged Lift in the Sunny Vale of the Juran Mountains and Supreme Commander Nayel’s location in the Holo Archives in Castle Panteer.
  • Exploring Balmorra: Discoverthe following Points of Interest on Balmorra: the Corrupted Fields in the Sundari Flatlands and Level 2 of the Balmorran Arms Factory.
  • Exploring Nar Shaddaa: Discover the following points of interest on Nar Shaddaa: the Gaming Floor of the Star Cluster Casino and the Location of Holowan Labs Security Overseer in the Network Security District.
  • Exploring Tatooine: Discover the following points of interest on Tatooine: the Sarlacc Pit in the Dune Sea and Kortawa the Hunt Master’s location in the Severin Mesa Windfarms in Jundland.
  • Alderaan Planetary Arc: Complete the Planetary Arc on Alderaan, which begins with the mission “An Iron Fist.”
  • Balmorra Planetary Arc: Complete the Planetary Arc on Balmorra, which begins with the mission “Operation Breaking Point.”
  • Nar Shaddaa Planetary Arc: Complete the Planetary Arc on Nar Shaddaa, which begins with the mission “A Crushing Blow.”
  • Tatooine Planetary Arc: Complete the Planetary Arc on Tatooine, which begins with the mission “Expedition into the Unknown.”

Category 3

  • Stage 2: Combat: Complete all Stage 2 Combat Objectives.
  • Colicoids in Farnell Research Facility: Defeat 50 Colicoids around the Farnell Research Facility in Bugtown.
  • Republic Foes in the Upper Industrial Sector: Defeat 50 Republic Forces in the Upper Industrial Sector.
  • Geonosians on Tatooine: Defeat 50 Geonosians on Tatooine.
  • Wildlife on Alderaan: Defeat 50 Manka Cats, Vorn Tigers, or Kath Hounds on Alderaan.
  • Space Combat Missions: Complete 2 Space Combat Missions.

Category 4

  • Companion Item Gifting: Gift 10 Items to any of your Companions.
  • Stage 2: General: Complete all Stage 2 General Objectives.
  • Item Crafting: Use Crew Skills to craft any 10 items.
  • Gear Up: Rating 85: Equip items of rating 85 or higher in the Head, Chest, Legs, and Weapon slots.
  • Junk Disposal: Sell Junk via your Companion 5 times.

Set 2 Meta

  • Stage 2: Complete all Stage 2 Objectives.

Set 3
Category 1

  • Saganu’s Parting Words: Complete the Imperial Agent class mission “Saganu’s Parting Words” on Hoth.
  • The Mind Trap: Complete the Imperial Agent class mission “The Mind Trap” on Quesh.
  • Thieves and Liars: Complete the Imperial Agent class mission “Thieves and Liars” on Taris.
  • Stage 3: Story: Complete all Stage 3 Story Objectives.

Category 2

  • Stage 3: Exploration: Complete all Stage 3 Exploration Objectives.
  • Hoth Dynamic Encounters: Complete 25 Dynamic Encounters on Hoth.
  • Exploring Hoth: Discover the following points of interest on Hoth: Zakxon Gewchi’s Hidden Camp in the Tauntaun Ridge of Icefall Plains and the Nerf Datapad in the Drossrock Mountains of Glacial Fissure.
  • Exploring Quesh: Discover the following points of interest on Quesh: the Datacron in the Three Families War Camp and the Datacron in the Republic Mining Camp.
  • Exploring Taris: Discover the folllowing points of interest on Taris: the location of the Flesh-Eating Rakghoul inside Dynamet General Hospital and Jedi Master Berr’s location inside the Olaris Reclamation Base of the Republic Resettlement Zone.
  • Hoth Planetary Arc: Complete the Planetary Arc on Hoth, which starts with the mission “The Last Warm Breath.”
  • Quesh Planetary Arc: Complete the Planetary Arc on Quesh, which begins with the mission “Quesh Inoculation.”
  • Taris Planetary Arc: Complete the Planetary Arc on Taris, which begins with the mission “Dominating Taris.”

Category 3

  • Stage 3: Combat: Complete all Stage 3 Combat Objectives.
  • Boarding Party Venturer: Complete the Flashpoint “Boarding Party” on any difficulty.
  • Foundry Venturer: Complete the Flashpoint “The Foundry” on any difficulty.
  • Republic Foes in the Brell Sediment: Defeat 50 Republic Forces along the Western Shore in The Brell Sediment on Taris.
  • Wildlife on Quesh: Defeat 25 Havraps, Lobels, or Trinthan Prowlers on Quesh.
  • Wampas in the Big Sink: Defeat 25 Wampas in the Big Sink of the Clabburn Tundra on Hoth.

Category 4

  • Stage 3: General: Complete all Stage 3 General Objectives.
  • Accumulating Wealth: Earn 50,000 credits.
  • Improving Crew Skills: Gain ranks in any Crew Skill.
  • Gear Up: Rating 115: Equip items of rating 115 or higher in the Head, Chest, Legs, and Weapon slots.
  • Crew Skill Missions: Complete 10 Crew Skill Missions with your Companions.

Set 3 Meta

  • Stage 3: Complete all Stage 3 Objectives.

Set 4
Category 1

  • Heist: Complete the Imperial Agent class mission “Heist” on Belsavis.
  • Armageddon: Complete the Imperial Agent class mission “Armageddon” on Corellia.
  • The Prophecy of the Shining Man: Complete the Imperial Agent class mission “The Prophecy of the Shining Man” on Voss.
  • Stage 4: Story: Complete all Stage 4 Story Objectives.

Category 2

  • Stage 4: Exploration: Complete all Stage 4 Exploration Objectives.
  • Exploring Belsavis: Explore the following Points of Interest on Belsavis: the Lavaflow Traverse in The Tomb and the Lost Cavern in the High Security Section.
  • Exploring Corellia: Discover the following points of interest on Corellia: the Datacron inside Port Pevaria in the Government District and Skrall’s location in Containment Hills of Axial Park.
  • Exploring Voss: Discover the following points of interest on Voss: the Tower of Prophecy in Seeker’s Hill and the Gormak Chief Bruiser’s location on Fest Otur Island in the Pelath-Ri Marches.
  • Belsavis Planetary Arc: Complete the Planetary Arc on Belsavis, which begins with the mission “Riot on Belsavis.”
  • Corellia Planetary Arc: Complete the Planetary Arc on Corellia, which begins with the mission “Corporate Warfare.”
  • Voss Planetary Arc: Complete the Planetary Arc on Voss, which begins with the mission “Keeping Up Appearances.”

Category 3

  • Stage 4: Combat: Complete all Stage 4 Combat Objectives.
  • Directive Seven Venturer: Complete the Flashpoint “Directive Seven” on any difficulty mode.
  • Gamorreans in the High Security Section: Defeat 50 Gamorrean Forces in the Tusker Glade of the High Security Section on Belsavis.
  • Gormak Forces on Voss: Defeat 100 Gormak Forces on Voss.
  • Czerka Forces on Corellia: Defeat 100 Czerka Forces on Corellia.
  • More Space Combat Missions: Complete 2 Space Combat Missions.

Category 4

  • Stage 4: General: Complete all Stage 4 General Objectives.
  • Daily Login Rewards: Log in on three days and claim daily login rewards.
  • Gear Up: Rating 150: Equip items of rating 150 or higher in the Head, Chest, Legs, and Weapon slots.
  • Home Decorating: Collect and place a Decoration in your Stronghold.
  • House Party: Visit another player’s Stronghold.

Set 4 Meta

  • Stage 4: Complete all Stage 4 Objectives.

Set 5
Category 1

  • Stage 5: Story: Complete all Stage 5 Story Objectives.
  • Black Hole Crisis: Complete the mission “[WEEKLY] Black Hole Crisis.”
  • Section X Crisis: Complete the mission “[WEEKLY] Section X Crisis.”
  • Ilum Planetary Arc: Complete the Planetary Arc on Ilum, which begins with the mission “First Strike.”

Category 2

  • Stage 5: Exploration: Complete all Stage 5 Exploration Objectives.
  • Ilum Dynamic Encounters: Complete 25 Dynamic Encounters on Ilum.
  • Exploring The Black Hole: Discover the following points of interest in The Black Hole: the Communication Tower in the Administration District and the HyperMatter Engineering Facility.
  • Exploring Ilum: Discover the following points of interest on Ilum: the Gree Sphere in The Circle of the Western Ice Shelf and the White Adegan Crystal in the Western Jedi Ruins of the Eastern Ice Shelf.
  • Exploring Section X: Discover the following points of interest in Section X: The Fatality’s Cargo Deck and the Inner Sanctum of the Aurora Cannon Facility.

Category 3

  • Stage 5: Combat: Complete all Stage 5 Combat Objectives.
  • False Emperor Venturer: Complete the Flashpoint “The False Emperor” on any difficulty mode.
  • Battle of Ilum Venturer: Complete the Flashpoint “The Battle of Ilum” on any difficulty mode.
  • Republic Foes in the Northern Jedi Ruins: Defeat 50 Republic Forces in the Northern Jedi Ruins of the Eastern Ice Shelf on Ilum.
  • Torvix Gang in The Black Hole: Defeat 100 Torvix Gang Forces in The Black Hole.
  • Dread Guard Forces in Section X: Defeat 50 Dread Guard Forces in Section X.

Category 4

  • Stage 5: General: Complete all Stage 5 General Objectives.
  • Conquesting Champion: Earn Conquest Points by completing Conquest objectives.
  • Event Participant: Complete one of the listed Conquest objectives during an event. Bounty Contracts: License to Hunt // Feast of Prosperity: Hutts-treme Epicure // Relics of the Gree: Critical Missions // Life Day: Come Here, You Big Lug! // Nar Nightlife: Graced by the Emperor // Rakghoul Resurgence: Critical Missions // Abundance Festival: Egg Hunt // Swoop Rally: Course Completion // Dantooine: Daily Missions (Pirate Incursion)
  • Gear Up: Rating 170: Equip items of rating 170 or higher in the Head, Chest, Legs, and Weapon slots.
  • Personal Conquests: Complete any Personal Conquest.

Set 5 Meta

  • Stage 5: Complete all Stage 5 Objectives.

Rewards

At the moment, the developers have not revealed what the new rewards will be, and they are not on the Public Test Server. The developers have said there will be 16 unique sets of rewards, 1 for each class for each venture type (Classic and Expert), plus overarching meta rewards for completing everything.

We do also know that there will be something called Expert Gear Unlocks – but we know very little about these yet except they will be powerful gear upgrades to help us get through the more difficult venture tasks.

Thank you...

Thank you to these players who have submitted cool screenshots of their Imperial Agent characters:

@saoirse_ie (Main Image & Operative), @MagSulDeruyter (Marksmanship), @MagSulDeruyter (Virulence), @kivurikardok (Operative), @Darth_Amarth (Medicine), @JacksonM95 (Engineering), @BeardMan_Roy (Sniper), @M3KON_ (Combat), @M3KON_ (Armor & Weapons), @loreleif, Swtorista (Concealment), Swtorista (Lethality), Swtorista (companions)

Thank you to these players who have submitted cool screenshots of their Trooper characters:

@Failtasmagoria (Main Image), @ravendas2_0 (blue armor red hair), Pathrik I think (aqua glow), @OurManOnEarth (Species), @agentcupholder (Gunnery), @phyreblade (Combat Medic), @agentcupholder (Story), @PanagiotisLial1 (Commando), @DBSaitre (Assault Specialist), @tomlewookie (Plasmatech), @Caelvin_Dulany (Vanguard), Swtorista (Shield Specialist), @tomlewookie (Armor & Weapons), @adsinmalgusland (Combat), @phyreblade (Companions)

Thank you to these players who have submitted cool screenshots of their Smuggler characters:

@AlexDGeslin (Gunslinger), @rebelrealcanon (Ruffian), @Kayeri (Scoundrel & Main Image), @adsinmalgusland (Story), @phyreblade (Sawbones), @Nathswtor (Saboteur), @PequeClonSW (Dirty Fighting), @MagSulDeruyter (Scrapper), @WardenVakarian (Species), @gh0uldude (Combat), @gh0uldude (Armor & Weapons), Swtorista (Sharpshooter), @MagSulDeruyter (Nar Shaddaa), Swtorista (Companions)

Thank you to these players who have submitted cool screenshots of their Bounty Hunter characters:

@M3KON_ (Main Image), @adsinmalgusland (Species), @ShintarCommando (Advanced Prototype), @rebelrealcanon (Combat), @Kayeri (Powertech), @DHGamerMR (Armor & Weapons), @JamieD1138 (Innovative Ordnance), @phyreblade (Bodyguard), @SkyKard (Shield Tech), @GatoHacker (Story),  @Nyethux (Purotech), Swtorista (Arsenal), Swtorista (Mercenary), Swtorista (Companions)

Thank you to these players who helped look over the summaries for their favorite tech disciplines:

@Eksys, @ASadiablo, @CT7056, PatrikOfHavoc, Daghdha, Aflixion Starr, @TodayinTor, @DumaarShay, @BinaryNine, @Duccisan, @gh0uldude, @Kagetheorc, @Encurez, @zer0_pe,

Thank you to Zahk for writing the initial round of 5-button rotations, Merlyn for providing first-look feedback, and Mark Biggs for giving a final lookover of the rotations.

  And finally thank you to Zahk who helped type up all the 1,000+ abilities in the game for each class so we could make the summaries and the basic class guides for each discipline, and helped with testing and formatting for this page!

Learn Your Class
Combat StyleDisciplineRoleDisciplineCombat Style
SentinelWatchman DOT DamageAnnihilationMarauder
Combat Burst DamageCarnage
Concentration Burst DamageFury
GuardianDefenseTankImmortalJuggernaut
Vigilance DOT (AOE) DamageVengeance
Focus Burst DamageRage
ShadowKinetic CombatTankDarkness
Assassin
Infiltration Burst DamageDeception
Serenity DOT DamageHatred
SageSeer HealerCorruptionSorcerer
Telekinetics Burst DamageLightning
Balance DOT DamageMadness
VanguardShield SpecialistTankShield
Tech
Powertech
Plasmatech DOT DamagePyrotech
Tactics
Burst DamageAdvanced Prototype
CommandoCombat Medic HealerBodyguardMercenary
Gunnery Burst DamageArsenal
Assault Specialist DOT DamageInnovative Ordnance
ScoundrelSawbones HealerMedicineOperative
Scrapper Burst DamageConcealment
Ruffian DOT DamageLethality
GunslingerSharpshooter Burst DamageMarksmanshipSniper
Saboteur DOT DamageEngineering
Dirty Fighting DOT DamageVirulence
Learn Your Mirror
Combat StyleDisciplineRoleDisciplineCombat Style
VanguardShield SpecialistTankShield
Tech
Powertech
Plasmatech DamagePyrotech
Tactics
DamageAdvanced Prototype
CommandoCombat Medic HealerBodyguardMercenary
Gunnery DamageArsenal
Assault Specialist DamageInnovative Ordnance
ScoundrelSawbones HealerMedicineOperative
Scrapper DamageConcealment
Ruffian DamageLethality
GunslingerSharpshooter DamageMarksmanshipSniper
Saboteur DamageEngineering
Dirty Fighting DamageVirulence
SentinelWatchman DamageAnnihilationMarauder
Combat DamageCarnage
Concentration DamageFury
GuardianDefenseTankImmortalJuggernaut
Vigilance DamageVengeance
Focus DamageRage
ShadowKinetic CombatTankDarkness
Assassin
Infiltration DamageDeception
Serenity DamageHatred
SageSeer HealerCorruptionSorcerer
Telekinetics DamageLightning
Balance DamageMadness