






















 Defense
 Vigilance
 Seer
Seer





 How to Craft
 Choose a Crew Skill
 Armormech
 Armstech
 Artifice
 Biochem
 Cybertech
 Synthweaving
 How to Craft Fast
 Gathering Guide
 Rare Materials Guide
 White Materials Guide
 Jawa Junk
 Augments
 Medpacs, Stims and Adrenals
 Synthweaving Crafting Tree




 Crafted Decorations
 Crafted Mounts
 Crafted Dyes
 Crafted Crystals
 Events Calendar
 Galactic Seasons
 PvP Seasons
 Bounty Event
 Double XP Event
 Feast of Prosperity
 Gree Event
 Life Day
 Nightlife Event
 Pirate Incursion Event
 Rakghoul Event
 Spring Abundance Festival
 Swoop Event
 Accessibility HubAll Accessibility guides and info
 DeafPlaying while deaf or hearing-impaired
 BlindPlaying while visually impaired or with low vision
 ColorblindPlaying with colorblindness and settings options
 AnxietyPlaying with general anxiety or social anxiety


 Jedi Knight
 Jedi Consular
 Trooper
 Smuggler
 Sith Warrior
 Sith Inquisitor
 Bounty Hunter
 Imperial Agent
 Bounty Hunter
 Imperial Agent
 Jedi
Jedi Jedi Consular
 Jedi Knight
 Sith
Sith Sith Inquisitor
 Sith Warrior
 Smuggler
 Trooper
 Legacy Gear
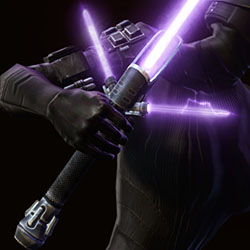 Lightsabers
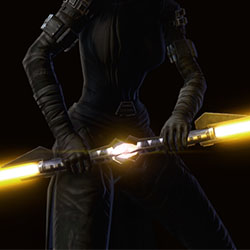 Double-Bladed Lightsabers
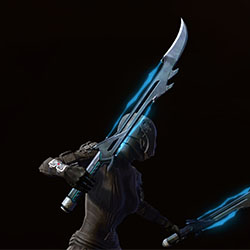 Vibroswords
 Double-Bladed Vibroswords
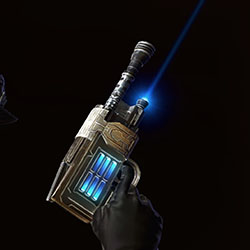 Blaster Pistols
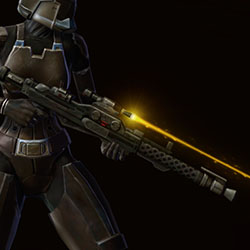 Blaster Rifles
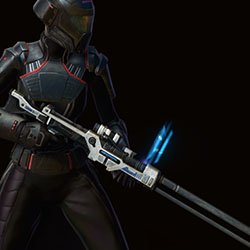 Sniper Rifles
 Blaster Cannons

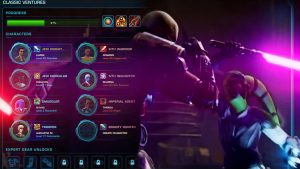
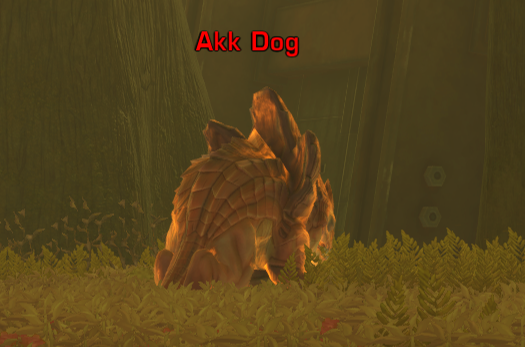
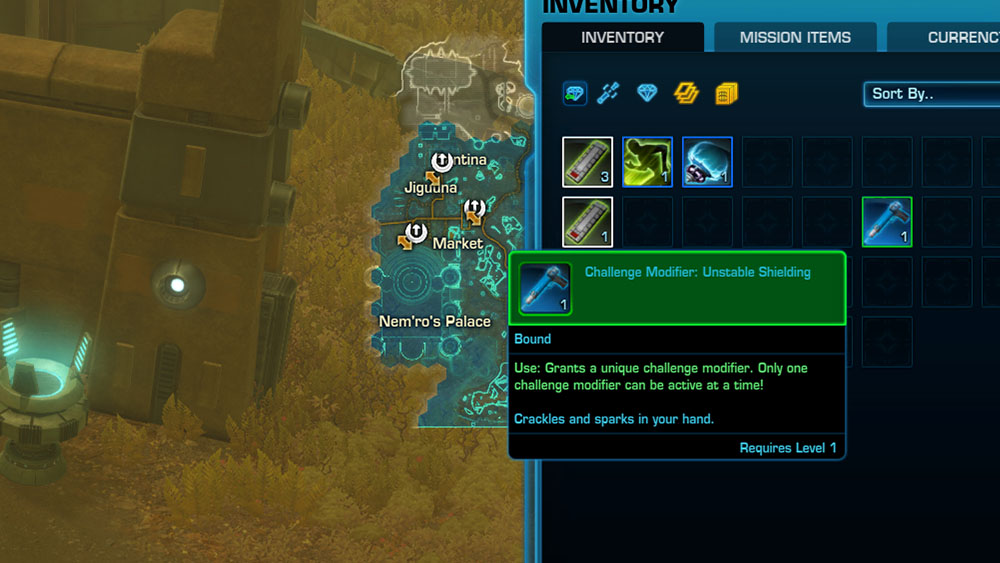
The Jedi Knight Classic Venture in Star Wars: The Old Republic is a fun, challenging, long-term way of playing the game and exploring all its facets while levelling up a brand new Jedi Knight from level 1 on Tython, all the way up to level 50 on Ilum. You’ll be expected to fight, explore, gear up, and hunt down unique foes, all while taking extra damage during fights and levelling up at a pace that’s more in line with levelling up at the launch of the game. This mode also introduces a bunch of new special items you’ll pick up off of glowing golden enemies that will give you special boosts or temporary challenges as you play in Classic mode, and of course has unique rewards just for the Jedi Knight.
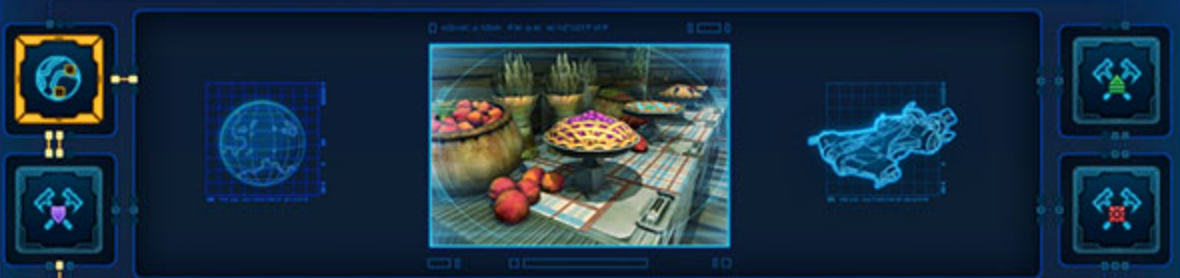
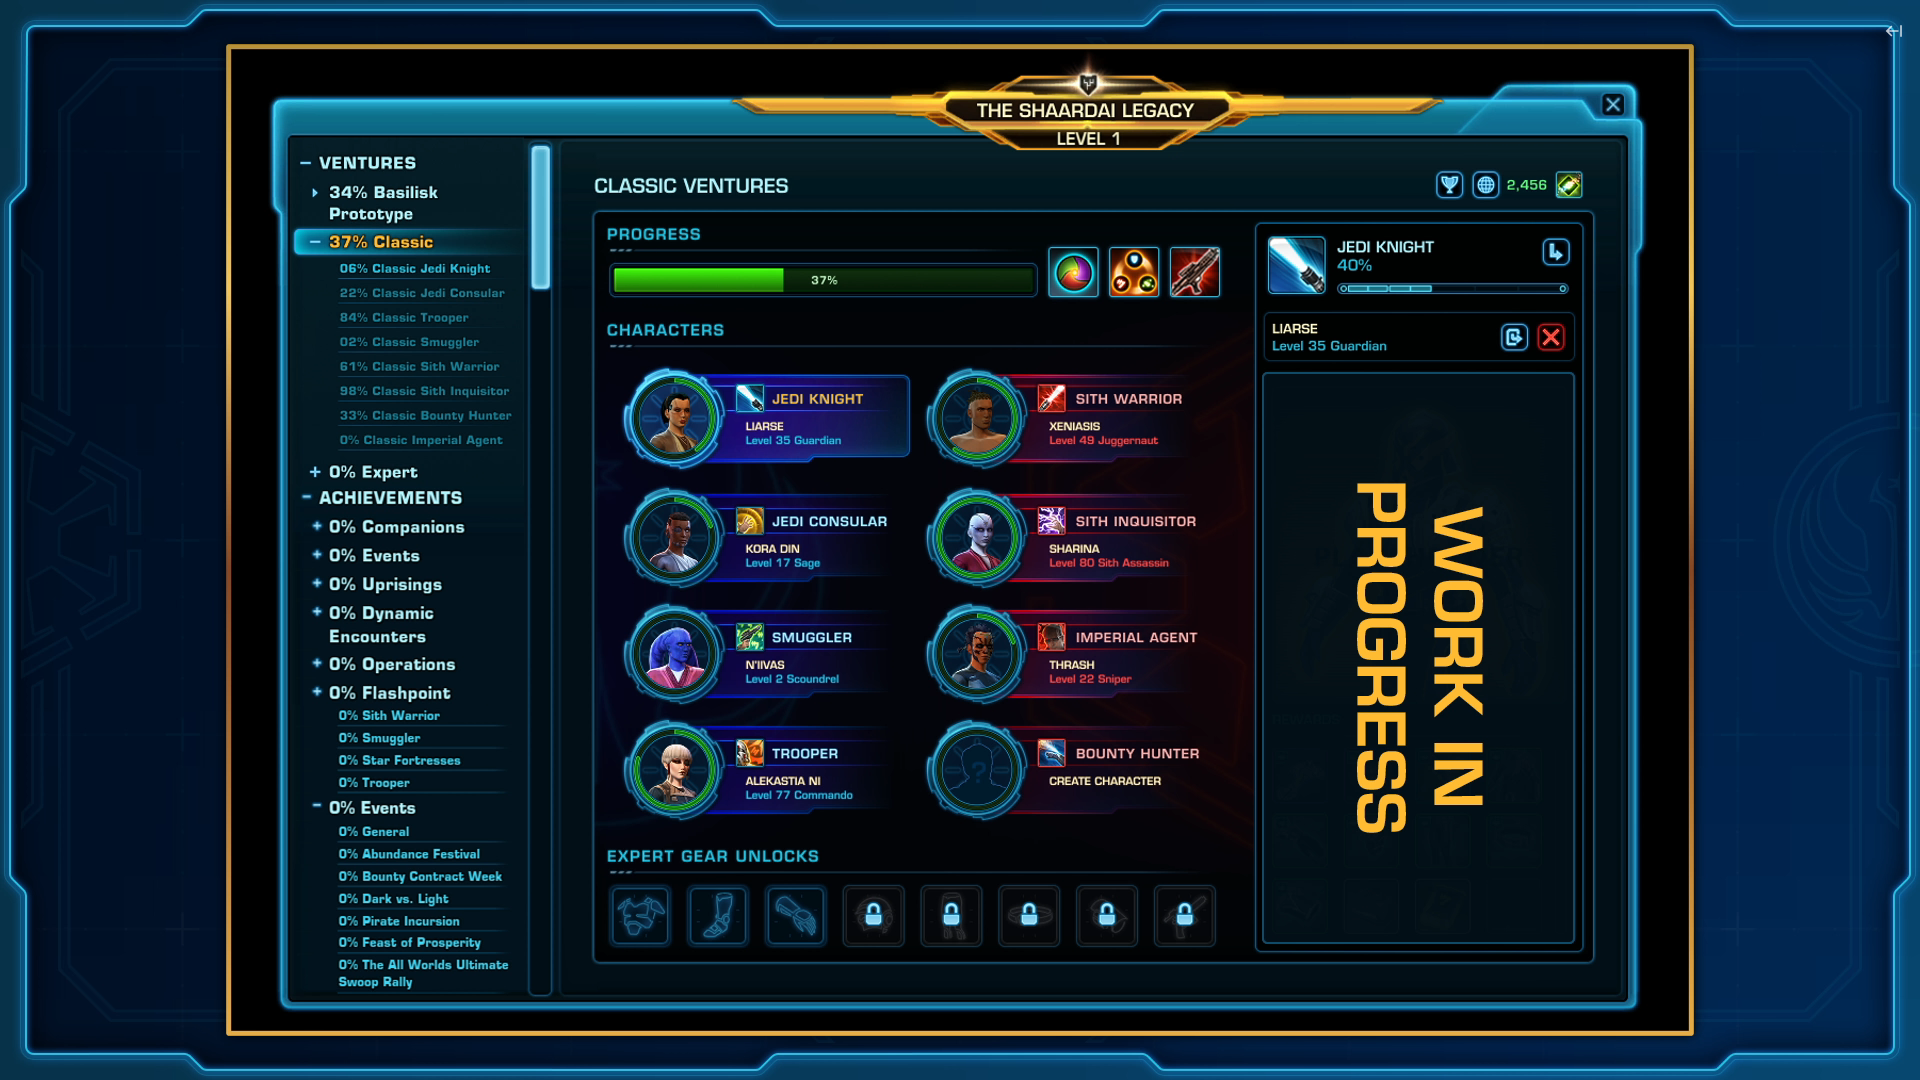
All of this information is from the Public Test Server. There is a good chance much of it may change before the Classic Ventures system is released in 8.0 which the developers are aiming to release at the end of 2026! Many of the screenshots are also from the unfinished Public Test Server – you can see many unfinished graphics, labels, and objectives there. My favorite is the pie image placeholders.
How to Start
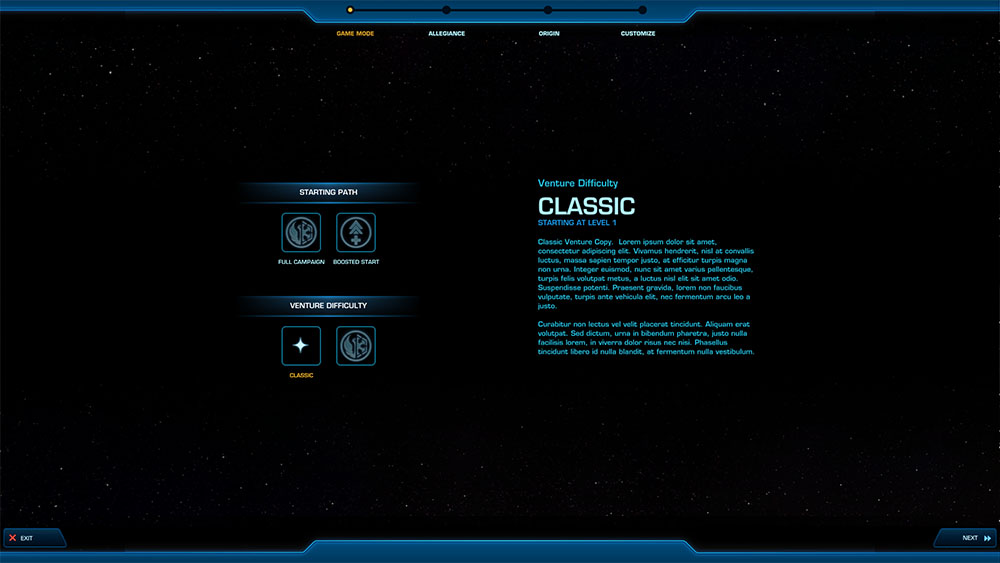
To start a new Classic Venture, choose Classic when you go to create a character (rather than the Full Campaign, which is what you would pick for a normal new character.)
Ventures are only available to subscribers, and that includes the Jedi Knight Classic Venture. Free-to-play players will not be able to start venture characters, and preferred players will not be able to continue playing any venture characters they have made until they re-subscribe.
Choose a Combat Style

When you go to create a Classic Venture Jedi Knight, you will notice that you only have two options for your Combat Style – the Guardian or the Sentinel. In the normal game, you have a lot more options, but these were the two options available at the launch of the game, and during a Classic Venture, you’ll only be able to pick between these two styles. This means you can not play a Jedi Knight as a Sage, Shadow, Sorcerer, Assassin, Juggernaut, or Marauder while playing a classic venture.
 Questions or comments? Feel free to send me a message on Twitter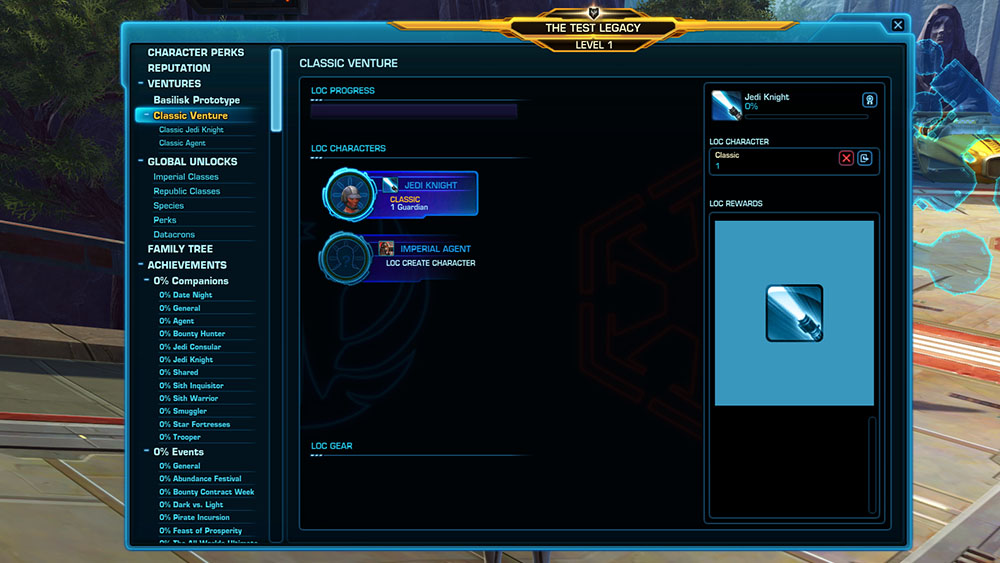

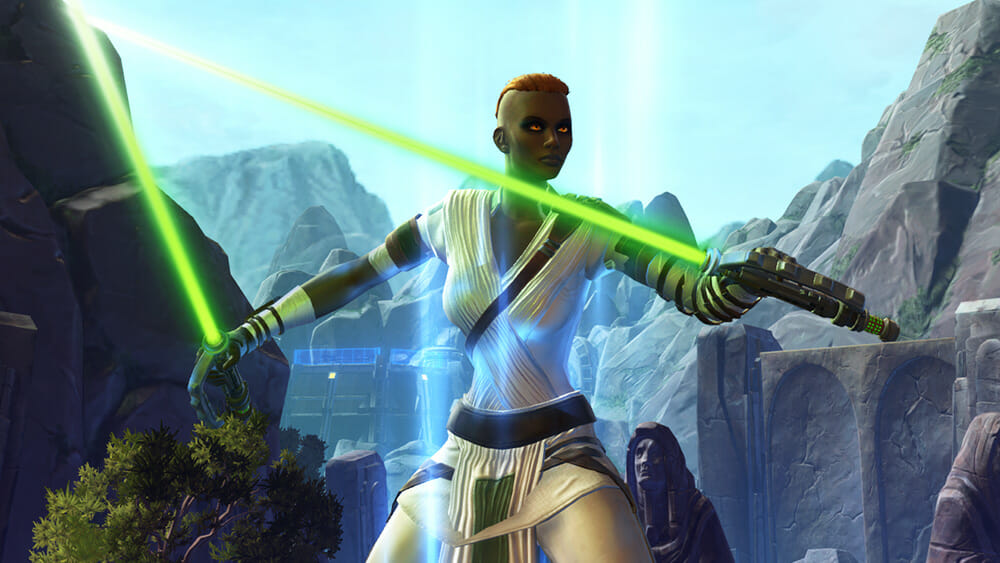
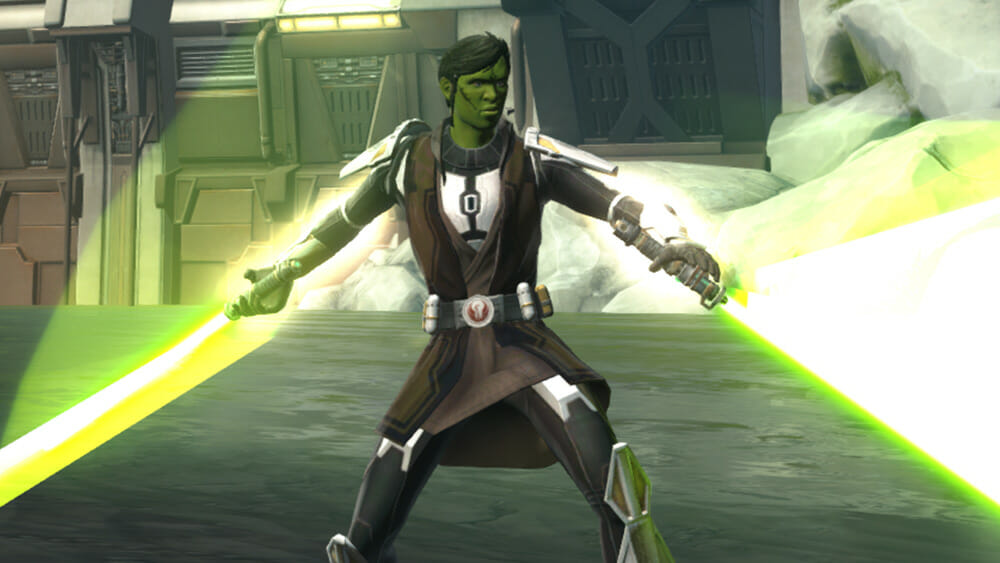

 Type: Damage Over Time
 Weapon: Double Lightsabers
 Distance: Melee Range
 Mirror: Marauder- Annihilation
 Type: Burst Damage
 Sentinels start without any Focus, which is their energy pool for attacks. This might make them harder to learn compared to other classes that start with a full bar of energy, as you need to learn how to build your Focus up before you can use some of your other abilities. It’s easy to build Focus, but you can’t button mash.
 Watchman is melee range. That means you must be very close to your enemy to attack, which can be harder for new players to get used to. You get a jump ability to help you get into combat quicker and can throw your double lightsabers if you get too far away.
 This style is very mobile and you can easily run and jump around while fighting without any issues!
 Of the three Sentinel disciplines, I found Watchman to be the easiest to learn.
 Sentinels start without any Focus, which is their energy pool for attacks. This might make them harder to learn compared to other classes that start with a full bar of energy, as you need to learn how to build your Focus up before you can use some of your other abilities. It’s easy to build Focus, but you can’t button mash. Combat is especially tight with Focus when playing at a high-end.
 Combat’s style is melee range. That means you must be very close to your enemy to attack, which can be harder for new players to get used to. You get a jump ability to help you get into combat quicker and can throw your double lightsabers if you get too far away.
 This style is very mobile and you can easily run and jump around while fighting without any issues!
 Combat is the most interesting of the three Sentinel disciplines, as it can be very easy to play or very complicated to play depending on how deep you want to dive into it. It’s also one of the few classes that you really, really must first earn and obtain two pieces of high-level equipment before you can play it smoothly, which makes it less accessible than the other two Sentinel disciplines. However, once you have those two gear pieces, if you can memorize a tight 19-ability rotation, even newer players can do incredibly high damage. I highly recommend looking up a guide while learning this class at a high level.
 Sentinels start without any Focus, which is their energy pool for attacks. This might make them harder to learn compared to other classes that start with a full bar of energy, as you need to learn how to build your Focus up before you can use some of your other abilities. It’s easy to build Focus, but you can’t button mash.
 This style is very mobile and you can easily run and jump around while fighting without any issues!
 Of the three Sentinel disciplines, I found Concentration to be the hardest to learn, as their need to gain Focus is the most difficult to manage of the three. Luckily, there’s an 11-ability rotation you can memorize that will walk you through the difficulty of managing your Focus! I highly recommend looking up a guide while learning this class at a high level.
 The Watchman Discipline is based on two DOTs (Damage over time).
 Force Melt, use the Force to melt the enemy, causing damage over time.
 Cauterize, attack the enemy and cause additional burning damage over time.
 Force Camouflage, a temporary stealth for protection and sneaking past enemies.
 Force Leap, jump to an enemy, and you get it at level 1!
 Blade Blitz, rush forward quickly with your lightsaber (optional).
 Twin Saber Throw, throw both your lightsabers at a far away enemy.
 Force Sweep, smash the ground with your lightsabers and hit all enemies around you.
 Clashing Blast, throw a powerful burst of Force.
 Zealous Leap, short-range jump to an enemy and uses both lightsabers to immobilize and deal damage to the enemy.
 Focused Burst, push a strong burst of force at the enemy.
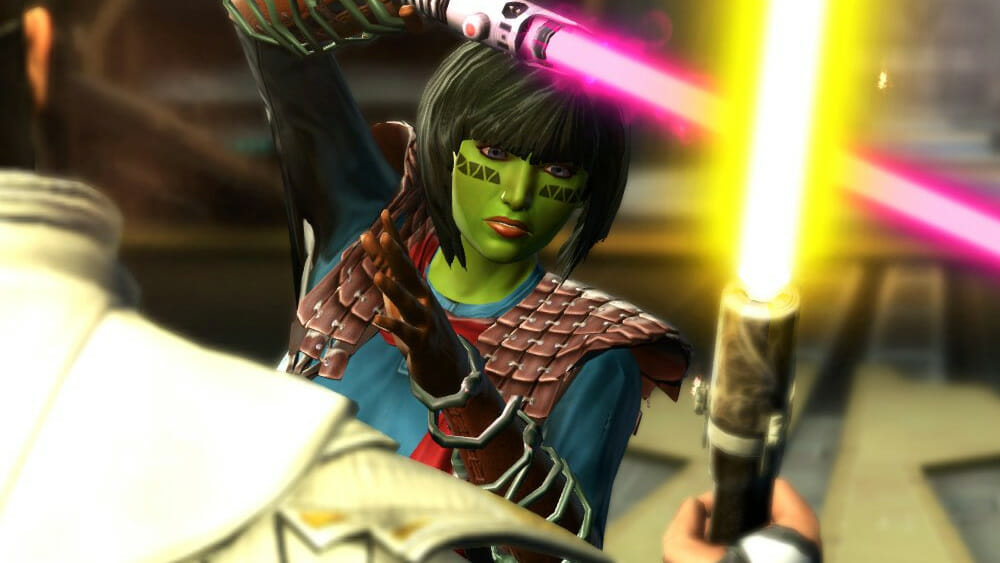


 Weapon: Single Lightsaber
 Mirror: Juggernaut – Immortal
 This style is very mobile and you can easily run and jump around while fighting without any issues!
 Guardians start without any Focus, which is their energy pool for attacks. This makes them a bit harder to learn compared to other classes that start with a full bar of energy, as you need to learn how to build your Focus up before you can use some of your other abilities.
 I recently started playing Vigilance and with the help of a guide I found it fun and easy to play once I understood how it worked! Vigilance is a great combination of memorization plus a bit of improvisation. I didn’t find it too hard to learn, but you’ll need to use about 10 abilities to get it to flow well.
 Vigilance is perfect for defeating clusters of enemies, easily taking out groups of 3 or more with its burns and ground smash.
 Defense is a tank style, which means it does less damage, but can stay alive more easily.
 Most players recommend to level as a damage style, then switch to tank when you are ready for group content.
 In group content, tanks are expected to take a unique leadership role, not just do damage, which can be challenging for new players.
 Defense is the most melee-focused tank which can be difficult for new players, but it is not the hardest tank to learn.
 Focus is melee range. That means you must be very close to your enemy to attack, which can be harder for new players to get used to, but you have three jump abilities and a dash to help you close the gap between you and your enemy.
 This style is very mobile and you can easily run and jump around while fighting without any issues!
 Focus is more for huge single target damage compared to its sister discipline Vigilance.
 Vigilance is all about front-loading your heaviest hitters, then using your filler abilities for a while.
 It’s also is about maintaining your Focus, and learning how to keep it up. Once you’ve learned your Focus-earning abilities it’s a lot of fun and very fast!
 Guardian Leap, leap to a friend.
 Enure, heal yourself temporarily to survive.
 Force Push, push an enemy backwards or off a ledge.
 Saber Throw, throw your lightsaber at a far away enemy.
 Awe, blind all enemies around you (optional).
 Guardians have many small and large-scale defensive abilities to keep them alive.
 Hilt Smash, bash an enemy with your lightsaber to gain threat.
 Challenging Call, causes enemies to focus on you.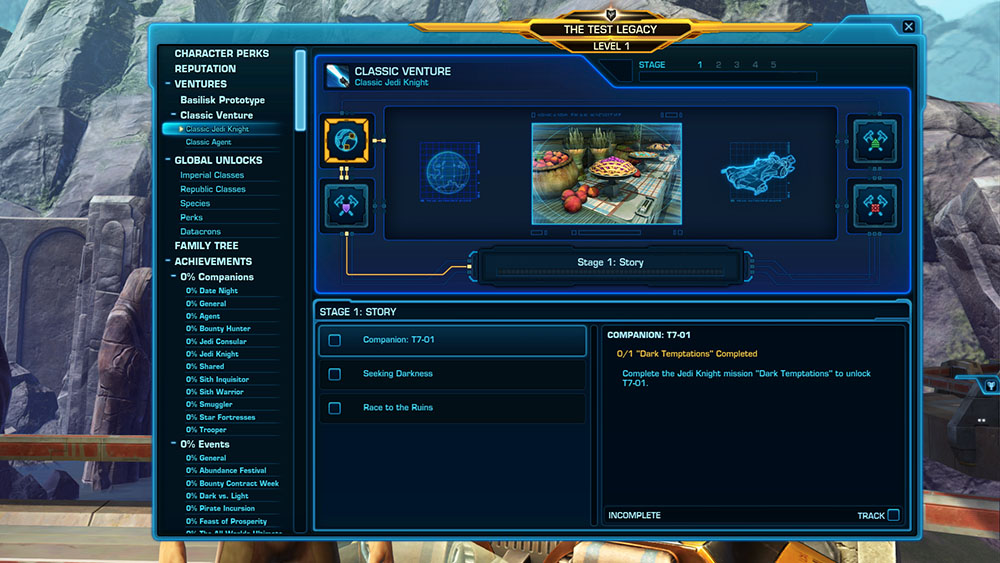



 And finally thank you to Zahk who helped type up all the 1,000+ abilities in the game for each class so we could make the summaries and the basic class guides for each discipline, and helped with testing and formatting for this page!
 Sentinel
 Marauder
 Guardian
 Juggernaut
 Shadow
 Assassin
 Sage
Sage
 Sorcerer
 Vanguard
 Powertech
 Commando
 Mercenary


 Sniper

 Discord
  Email swtorista@gmail.com
 Bluesky @swtorista.com
 Reddit /u/swtorista
 Twitch Swtorista
 Youtube
 Patreon
 Twitter @swtorista