






























 Defense
 Vigilance
 Seer






 How to Craft
 Choose a Crew Skill
 Armormech
 Armstech
 Artifice
 Biochem
 Cybertech
 Synthweaving

 How to Craft Fast
 Gathering Guide
 Rare Materials Guide
 White Materials Guide
 Jawa Junk

 Augments
 Medpacs, Stims and Adrenals

 Synthweaving Crafting Tree





 Crafted Decorations
 Crafted Mounts
 Crafted Dyes
 Crafted Crystals

 Events Calendar
 Galactic Seasons
 PvP Seasons
 Bounty Event
 Double XP Event
 Feast of Prosperity
 Gree Event
 Life Day
 Nightlife Event
 Pirate Incursion Event
 Rakghoul Event
 Spring Abundance Festival
 Swoop Event
 Accessibility HubAll Accessibility guides and info
 DeafPlaying while deaf or hearing-impaired
 BlindPlaying while visually impaired or with low vision
 ColorblindPlaying with colorblindness and settings options
 AnxietyPlaying with general anxiety or social anxiety


 Jedi Knight
 Jedi Consular
 Trooper
 Smuggler
 Sith Warrior
 Sith Inquisitor
 Bounty Hunter
 Imperial Agent
 Jedi
 Sith
 Legacy Gear
 Lightsabers
 Double-Bladed Lightsabers
 Vibroswords
 Double-Bladed Vibroswords
 Blaster Pistols
 Blaster Rifles
 Sniper Rifles
 Blaster Cannons

Your companion’s influence level represents how good they are in battle, and how useful they are in crafting and gathering. Influence with your companion can be gained in a few different ways, and this guide will go over the different ways to rank up your companion and make them stronger!
Contents
How can I check my companion influence?
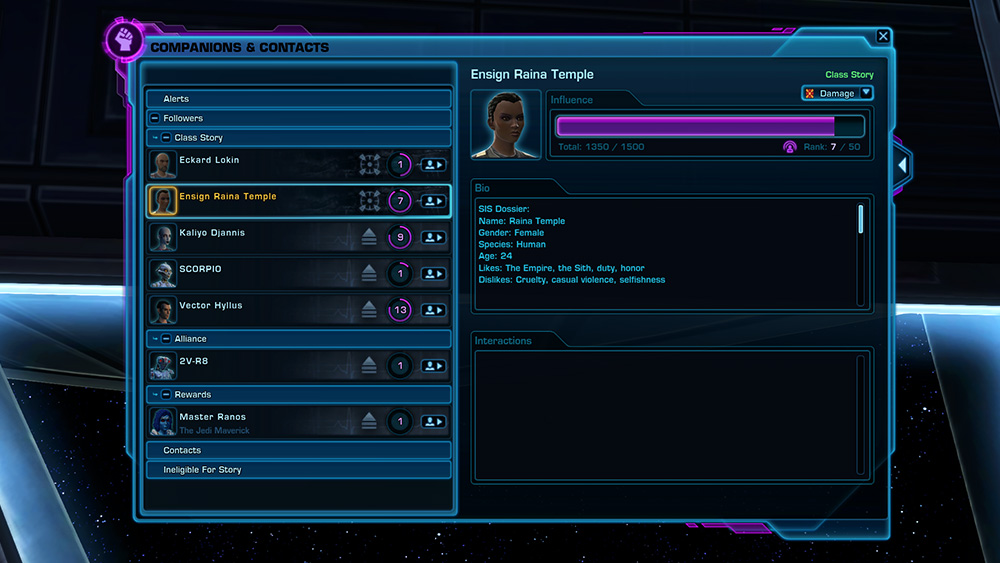
You can view all your companions and their influence levels by pressing the N key on your keyboard, or by going to the Companions and Contacts section of the menu.

Your companion’s influence level will show up in purple in a circle near their name on the list of companions.

You can also see your companion influence on the Crew Skills panel (B on your keyboard).

How to Gain Companion Influence

You can gain influence a few different ways including taking your companion along while questing, giving them gifts, sending them out on crew skills, or giving them a Commander’s Compendium.
Questing with Companions

When you play the story of the game, your companion will be out beside you. During cutscenes that have a conversation choice, your companion may approve of your decision, and this will gain them influence.

Not all conversations and companions are linked together to allow you to gain influence from them, for example the first flashpoint you run will only allow you to gain influence with your first companion you earn in your story.
Companion Gifts

Giving your companion gifts is the main way to raise your companion’s influence level. Each companion likes a different type of gift best, and there are hundreds of different gifts in the game.
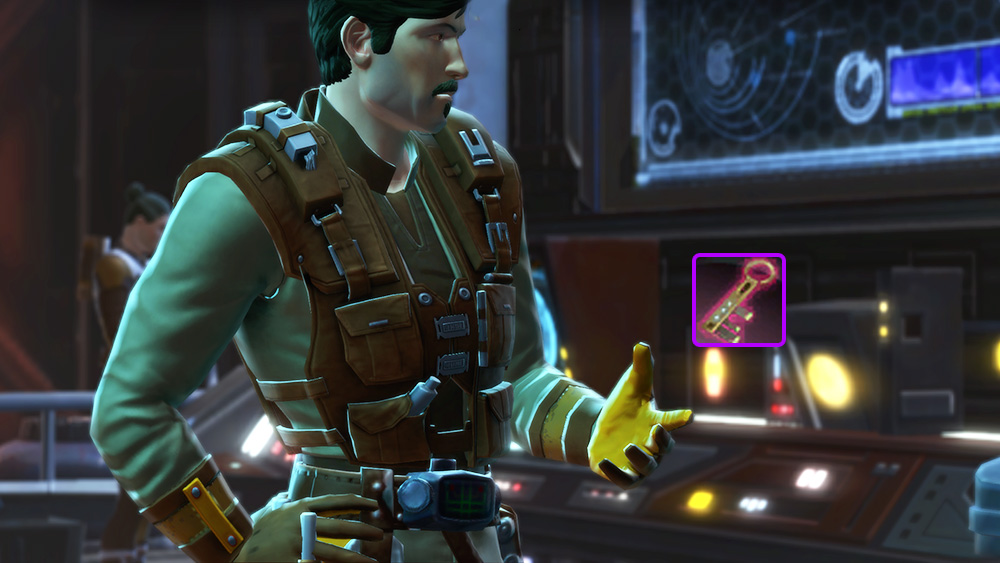
You can get companion gifts a bunch of different ways – from quest rewards, from treasure boxes, from gathering missions, gift vendors, and from the GTN.
 Jedi Consular
 Jedi Knight
 Trooper
 Smuggler
 Sith Warrior
 Sith Inquisitor
 Imperial Agent
 Bounty Hunter
Gathering Crew Skills

Sending out your companions to gather for you with Crew Skills missions is another great way to gain Influence.

For gathering missions, the higher rank the gathering mission is, the more influence you will get for your companion (but, of course, each mission takes longer). For example, my Rank 11 missions give my companion 280 Influence each but take an hour (and my Grade 1 missions give 28 Influence each but only take a minute).

At first, lower grade missions will always be more efficient, but as your companion gains influence and gets faster, you might want to swap over to higher grade missions, especially if you happen to also need any of those materials.

You do not get influence from crafting items.
Commander’s Compendium
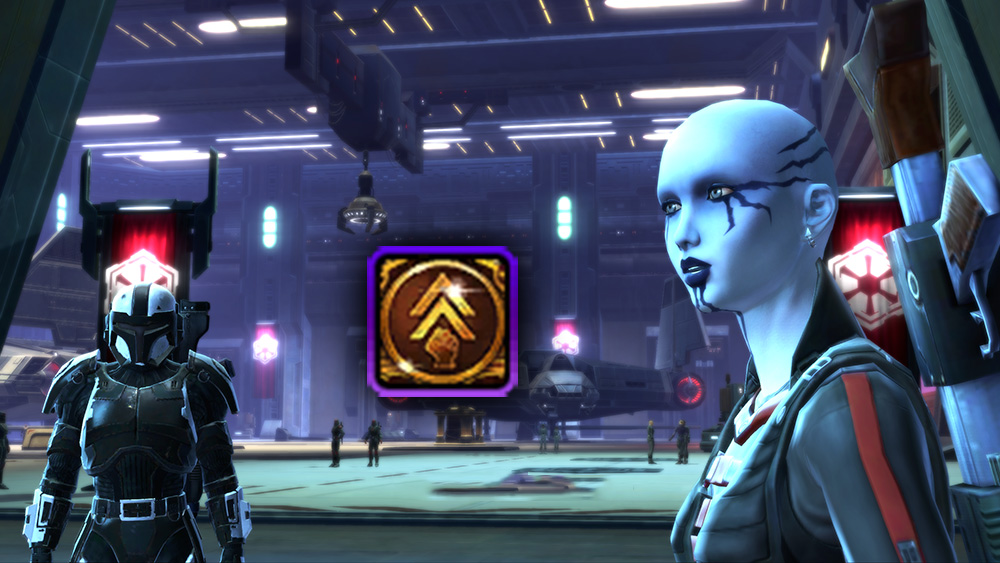
A Commander’s Compendium (sometimes known as a Companion Compendium) is the fastest way to get to Influence 50 and levels your companion to influence level 50 immediately, without using gifts. You can either get one in the Strongholds section of the Fleet for 3 Dark Projects plus 4.25 million credits from a droid named V1C-0RY, or buy them from the Cartel Market or with credits on the GTN.
Companion Influence in Combat

Your companion’s influence level is what affects their strength in combat. Their health, damage, and ability to heal all go up with a higher influence level.

If you have a companion with high influence level, you might be able to solo fights that were designed for a group, like heroic missions. You can take on some really tough enemies if you have a high influenced companion with you in battle. You can aim to get a level 50 influence companion if you want regular combat for quests like dailies or heroics to become easier, but it is not necessary, and many players just shoot for level 20 influence.

If you are taking on some of the hardest challenges in the game, for example Veteran and Master Mode Chapters, Eternal Championship achievements, or solo’ing group flashpoints, you will want to have at least one level 50 influence companion on your character, if not more than one to cover both ranged and melee. At influence level 50, a companion will have a 2500 Presence bonus, which makes them quite strong in combat.

In the past, companion gear would affect their combat abilities – but now it’s just cosmetic, and Influence is what determines how strong they are in battle.

Presence Stat

Another statistic that affects your companion’s combat skill is Presence, which is earned by your character. You can earn Presence by unlocking the human species by leveling to 50 on a human character or buying the unlock, a +10 permanent legacy presence bonus for each companion you finish companion conversations with, from Datacrons, and a few other ways. Unlike many other stats in the game, Presence has no real limit, so it can be fun to beef up your presence on your gear for low-level content.
Companion Influence in Crafting

Influence also increases their success at crew skills. It makes them craft and gather faster, as well as makes them more likely to get rare materials when they go gathering, or have a higher chance to craft an extra item or an augmented item when crafting.

Crafting Time
A companion’s influence determines how long it takes them to craft an item, and the higher their influence level, the faster they can craft individual items. For example, my companion with Rank 1 influences takes 3 minutes to craft this equipment item, and my Rank 50 companion takes less than 1 minute. This difference gets even higher when it comes to high-crafting-level items – for example, an item that takes an hour to craft might takes a little as 15 minutes on a Rank 50 companion.

Gathering Time
A companion’s influence also determines how long it takes them to gather items, and the higher their influence level, the faster they return from their missions. For example, my companion with Rank 1 influences takes 53 minutes to gather items for this Underworld Trading mission, while my Rank 50 companion only takes 13 minutes.

Crafting Critical
The higher your companion’s influence is, the higher their critical chance at craft is as well. When companions craft, they have a small chance of crafting double of the item, or of crafting an equipment piece with a built-in augment.

Critically crafting an item is incredibly useful when creating component pieces or augments.
 vs
Legacy of Crafting

The Legacy of Crafting legacy perk allows you to increase your crew skills crafting critical chance by up to 3%. These are not directly related to your companion influence level, but will affect the time or crit chance of your crew skills.

To open your Legacy Panel, go to the main menu at the top, roll over the icon of a person, and choose “Legacy”. The default key to open the Legacy Window is “Y” on your keyboard. Then go to Character Perks on the left.

Legacy of Crafting I: 50,000 Credits and Legacy Level 2 or 100 CC, per Server – Increases the chance of an augmented result while crafting by 1%.

Legacy of Crafting II: 100,000 Credits and Legacy Level 5 or 100 CC, per Server – Increases the chance of an augmented result while crafting by 1%. This increase is cumulative with previous augment result increases.

Legacy of Crafting III: 200,000 Credits and Legacy Level 8 or 100 CC, per Server- Increases the chance of an augmented result while crafting by 1%. This increase is cumulative with previous augment result increases.
Flagship Perk: Fortune Set Bonus

If your guild has a Flagship, they may enable the Fortune Set Bonus which increases Time efficiency and Critical rate for all Crew Skills by 2%. This is not directly related to your companion influence level, but will affect the time or crit chance of your crew skills.
 Fortune Set Bonus: Increases critical chance by 5%. This effect is not applied in PvP or Master Mode Operations. In addition, increases Time efficiency and Critical rate for all Crew Skills by 2%.
Flagship Perks for Crew Skills and Crafting

If your guild has a Flagship, they may enable one or multiple of these Flagship perks that boost crafting or gathering time or crit. These are not directly related to your companion influence level, but will affect the time or crit chance of your crew skills.

- Perk Name: Professional Training
- Set Bonus: Fortune
- Description: Increases Critical rate for all Crew Skills by 5% for 1 hour.
- Guild Level Required: 1 (Tier I)
- Length: 2 Weeks
- Cost: 52
 Guild Commendations + No Reinforcement Module +900,000 Credits
- Available: Forward Command Room during Cycle A, Forward Command Room during Cycle B, Forward Command Room during Cycle C, Forward Command Room during Cycle D, Forward Command Room during Cycle E
- Perk Name: Professional Efficacy
- Set Bonus: Fortune
- Description: Increases Time efficiency for all Professions by 5% for 1 hour.
- Guild Level Required: 1 (Tier I)
- Length: 2 Weeks
- Cost: 50 Guild Commendations + No Reinforcement Module +750,000 Credits
- Available: Forward Command Room during Cycle C

- Perk Name: Gathering Efficiency I
- Set Bonus: Zeal
- Description: Increases Time efficiency for all Gathering skills by 3%
- Guild Level Required: 1 (Tier I)
- Length: 2 Weeks
- Cost: 50 Guild Commendations + No Reinforcement Module +900,000 Credits
- Available: Docking Bay during Cycle A, Docking Bay during Cycle B, Docking Bay during Cycle C, Docking Bay during Cycle D, Docking Bay during Cycle E
- Perk Name: Gathering Efficiency II
- Set Bonus: Zeal
- Description: Increases Time efficiency for all Gathering skills by 5%
- Guild Level Required: 12 (Tier II)
- Length: 2 Weeks
- Cost: 52 Guild Commendations + No Reinforcement Module +1,250,000 Credits
- Available: Bridge during Cycle A
- Perk Name: Gathering Efficiency III
- Set Bonus: Zeal
- Description: Increases Time efficiency for all Gathering skills by 7%
- Guild Level Required: 32 (Tier III)
- Length: 2 Weeks
- Cost: 35 Guild Commendations + No Reinforcement Module +1,500,000 Credits
- Available: Docking Bay during Cycle A

- Perk Name: Efficient Missions I
- Set Bonus: Zeal
- Description: Increases Time efficiency for all Mission skills by 3%.
- Guild Level Required: 1 (Tier I)
- Length: 2 Weeks
- Cost: 55 Guild Commendations + No Reinforcement Module +900,000 Credits
- Available: Docking Bay during Cycle A, Docking Bay during Cycle B, Docking Bay during Cycle C, Docking Bay during Cycle D, Docking Bay during Cycle E
- Perk Name: Efficient Missions II
- Set Bonus: Zeal
- Description: Increases Time efficiency for all Mission skills by 5%.
- Guild Level Required: 12 (Tier II)
- Length: 2 Weeks
- Cost: 50 Guild Commendations + No Reinforcement Module +1,250,000 Credits
- Available: Docking Bay during Cycle B, and Docking Bay during Cycle E
- Perk Name: Efficient Missions III
- Set Bonus: Zeal
- Description: Increases Time efficiency for all Mission skills by 7%.
- Guild Level Required: 32 (Tier III)
- Length: 2 Weeks
- Cost: 55 Guild Commendations + No Reinforcement Module +1,500,000 Credits
- Available: Bridge during Cycle A
 Questions or comments? Feel free to send me a message on Twitter




 Discord
 Email swtorista@gmail.com
 Bluesky @swtorista.com
 Reddit /u/swtorista
 Twitch Swtorista
 Youtube
 Patreon
 Twitter @swtorista