













 Defense
 Vigilance
 Seer
Seer



 How to Craft
 Choose a Crew Skill
 Armormech
 Armstech
 Artifice
 Biochem
 Cybertech
 Synthweaving
 How to Craft Fast
 Gathering Guide
 Rare Materials Guide
 White Materials Guide
 Jawa Junk
 Augments
 Medpacs, Stims and Adrenals
 Synthweaving Crafting Tree




 Crafted Decorations
 Crafted Mounts
 Crafted Dyes
 Crafted Crystals
 Events Calendar
 Galactic Seasons
 PvP Seasons
 Bounty Event
 Double XP Event
 Feast of Prosperity
 Gree Event
 Life Day
 Nightlife Event
 Pirate Incursion Event
 Rakghoul Event
 Spring Abundance Festival
 Swoop Event
 Accessibility HubAll Accessibility guides and info
 DeafPlaying while deaf or hearing-impaired
 BlindPlaying while visually impaired or with low vision
 ColorblindPlaying with colorblindness and settings options
 AnxietyPlaying with general anxiety or social anxiety


 Jedi Knight
 Jedi Consular
 Trooper
 Smuggler
 Sith Warrior
 Sith Inquisitor
 Bounty Hunter
 Imperial Agent
 Bounty Hunter
 Imperial Agent
 Jedi
Jedi Jedi Consular
 Jedi Knight
 Sith
Sith Sith Inquisitor
 Sith Warrior
 Smuggler
 Trooper
 Legacy Gear
 Lightsabers
 Double-Bladed Lightsabers
 Vibroswords
 Double-Bladed Vibroswords
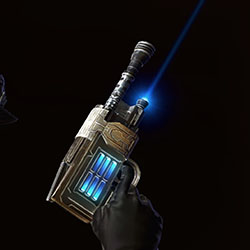 Blaster Pistols
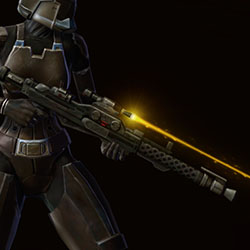 Blaster Rifles
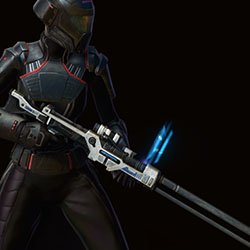 Sniper Rifles
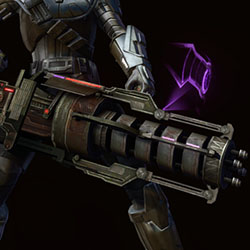 Blaster Cannons
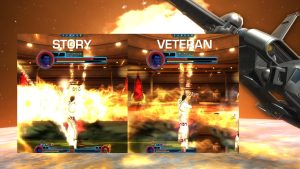
The first boss for the new operation Children of Nul is now on the Public Test Server! (PTS) This boss is available for testing in Story and Veteran, in 8-man mode. This boss has many mechanics, and relies on all raids members paying attention and handling their mechanics – it is not an “easy” story mode at the moment on the PTS.
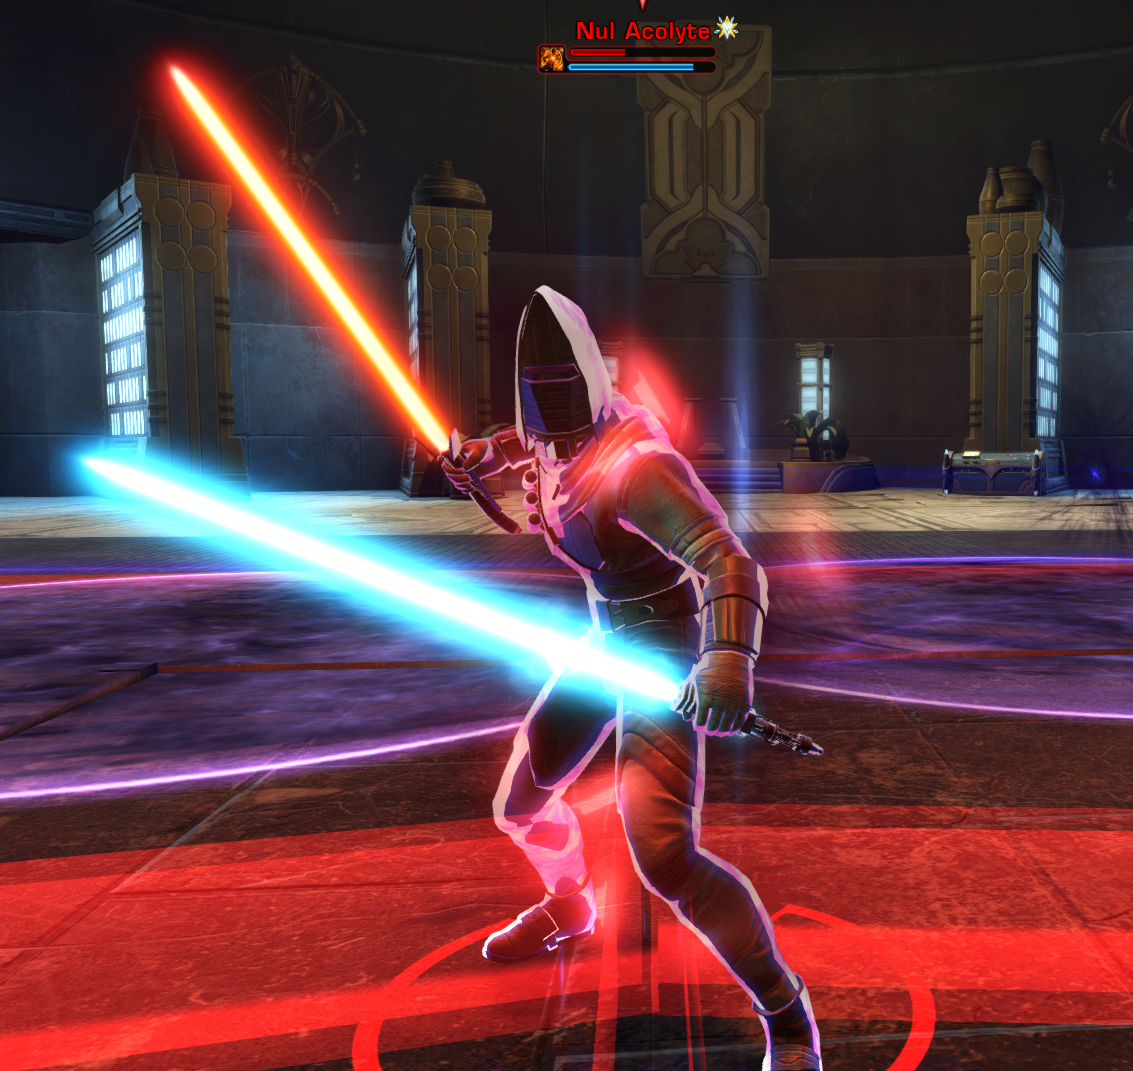
If you test the new boss, leave feedback on the Nul Acolyte Boss fight on the forum thread here.
Contents
M4R-TN
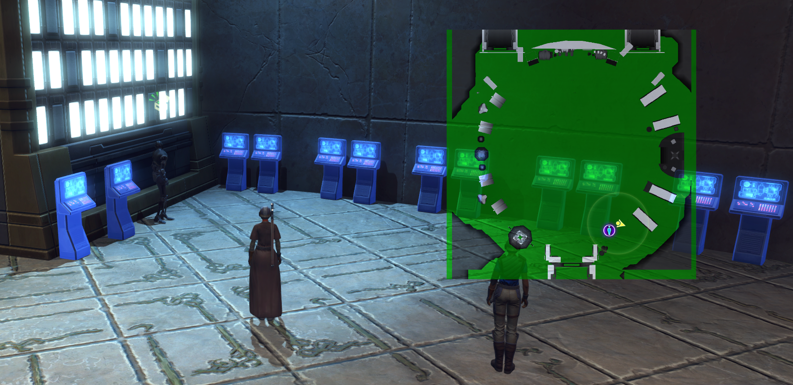
A new droid has been placed in the boss room for the Nul Acolyte encounter. This helpful droid can be used to change parameters of the fight and balance it on the fly for players who are struggling or needing to test certain parts and mechanics of the fight by increased or decreased increments. Here’s the forum explanation of how to use M4R-TN effectively:
Players can use M4R-TN, the Operations Observer to adjust the difficulty of the Nul Acolyte encounter.
M4R-TN has consoles that increase or decrease specific encounter values, such as boss health, boss damage, and add health or damage. When the encounter starts, M4R-TN applies the selected modifiers to the boss and relevant adds. Your selected settings persist between pulls, so you do not need to reapply them after every wipe or boss reset. To clear all settings, use the Reset M4R-TN console.
Use the Increase consoles to make parts of the fight harder, and the Decrease consoles to make parts of the fight easier. Each click adjusts that setting by one charge.
If you already have positive charges and use the Decrease console, it will remove positive charges first. Once the setting reaches zero, additional Decrease clicks will begin applying negative charges. The same works in reverse.
For example, if you click Increase Nul Acolyte Health three times, M4R-TN stores +3 Increase Nul Acolyte Health. If you then click Decrease Nul Acolyte Health three times, the modifier returns to zero. A fourth click applies +1 Decrease Nul Acolyte Health.
These tools are intended to let players experiment with different difficulty settings and help us gather better balance feedback on the encounter. Healing M4R-TN doesn’t do anything.
These adjustments will be shown as buffs/debuffs on the boss when applied.
Story Mode
This fight is very chaotic with many mechanics and visual animations.
Venn Diagram
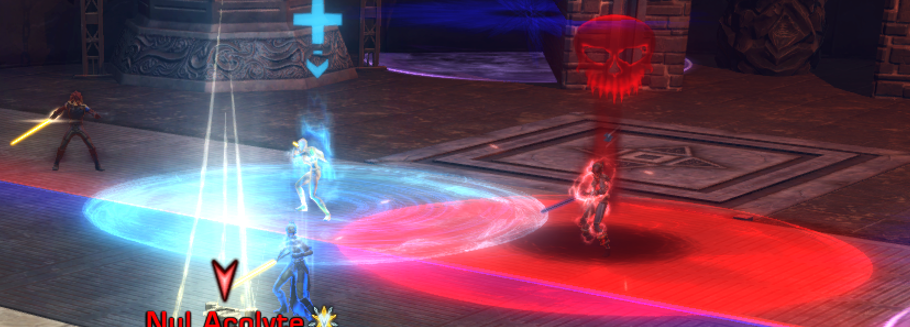
When the boss does his ability literally named ‘Venn Diagram’, two players will be randomly selected to receive a red circle and blue circle. They should come together and overlap their two circles in the middle. Then, a third, different player should run in between them.
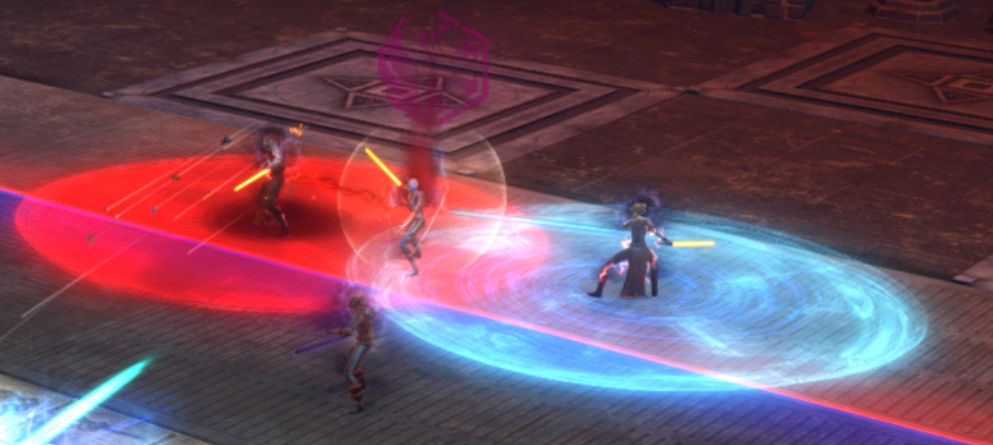
When done successfully, the middle player will get a purple icon.
Manifested Light and Dark Echoes
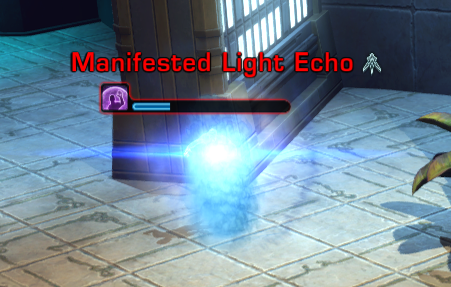
There will be some floating men around the room. Keep your eyes open for them. They can be stunned, pushed and pulled. They attempt to cast “Light Empowerment” or “Dark Empowerment” on the boss, which will shield him. Stun them and/or kill them.
Notes: My team mate mentioned after a while they just kinda.. stop and disappear. I’m unsure if its a timer or if its after trying to cast the empowerment three times then despawn.
Latent Light and Dark Remnants
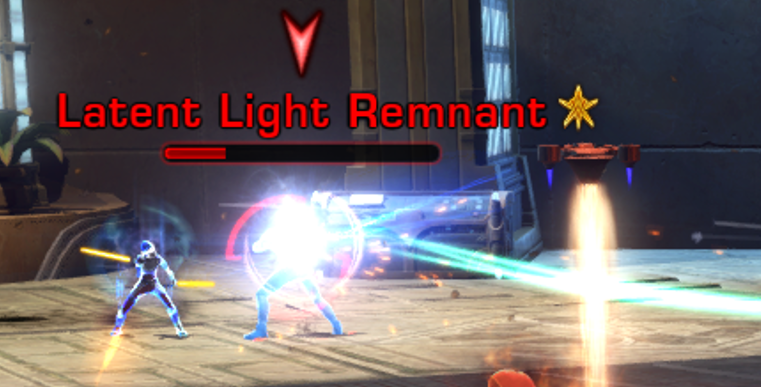
Aggressive enemies will spawn around the room casting big conal attacks to step out of. Keep your eyes open for them and kill them as soon as possible. If they are attacking you, maybe try turning them away from your group mates.
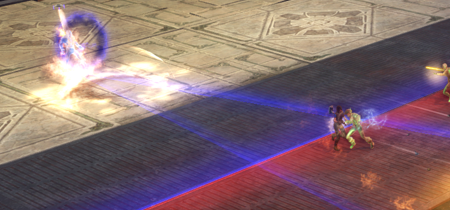
Light Side and Dark Side of Room
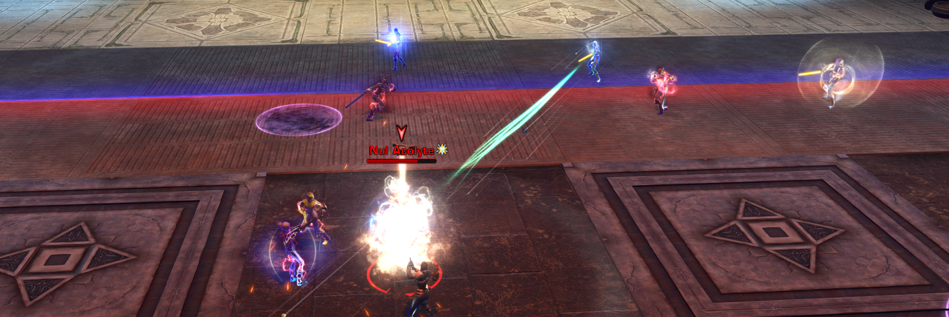
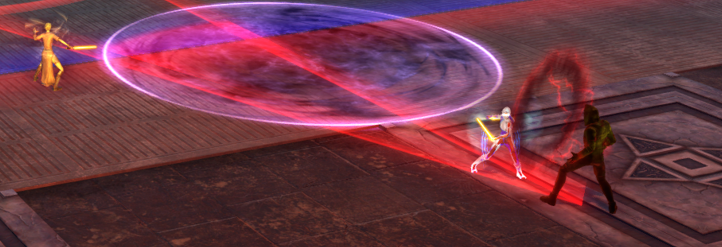
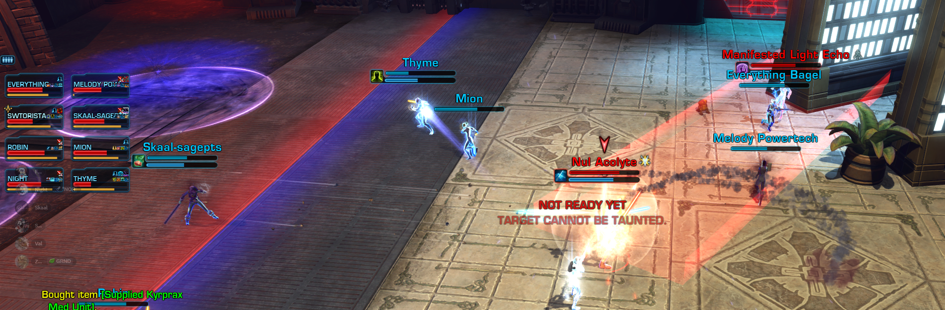
The room is divided into Dark (Red, creepy stuff on side of room, triangles on ground) and Light (Blue, holorecording bookshelves on side of room, flower symbol on ground).
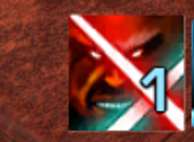
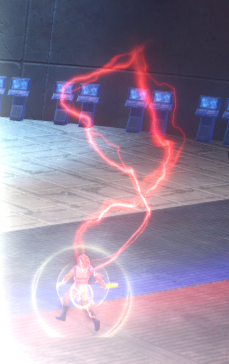
As you stand in the red side of the room, you will get stacks of the Tainted Shadow debuff, which makes you do more damage and receive more damage. If you get 5 or more stacks, you become Overloaded and start taking damage. You can clear this by going to the blue light side of the room. This Overloaded effect is also shown by an animation of red lightning crackling down on your character.
As you stand in the blue side of the room, you will get stacks of the Tainted Radiance debuff, which makes you do more damage and receive more healing. If you get 5 or more stacks, you become Overloaded and your damage towards the boss is massively reduced. You can clear this by going to the red dark side of the room.
Split Forces
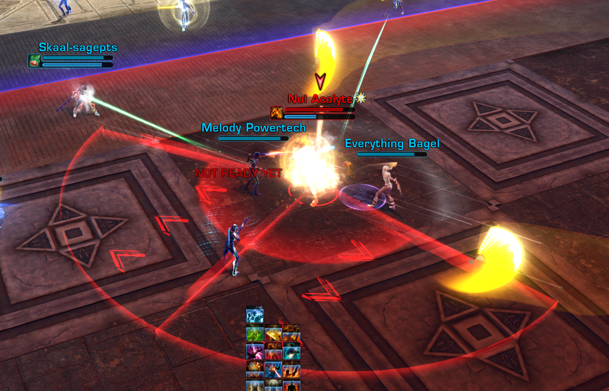
The half-circle with red arrows on the floor means you will be knocked back in that direction if you stand in it. Just walk out of it.
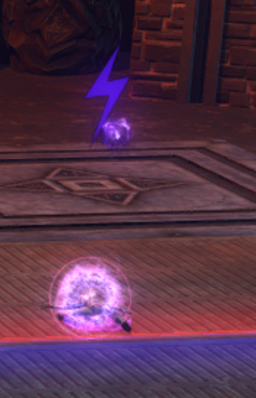
Freeze Tag and Purple Puddles
The boss will randomly select a player for Freeze Tag.

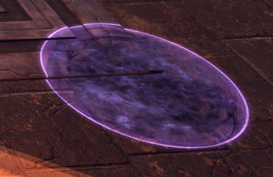
When unfrozen, you will drop a purple puddle. All players should avoid the purple puddle.
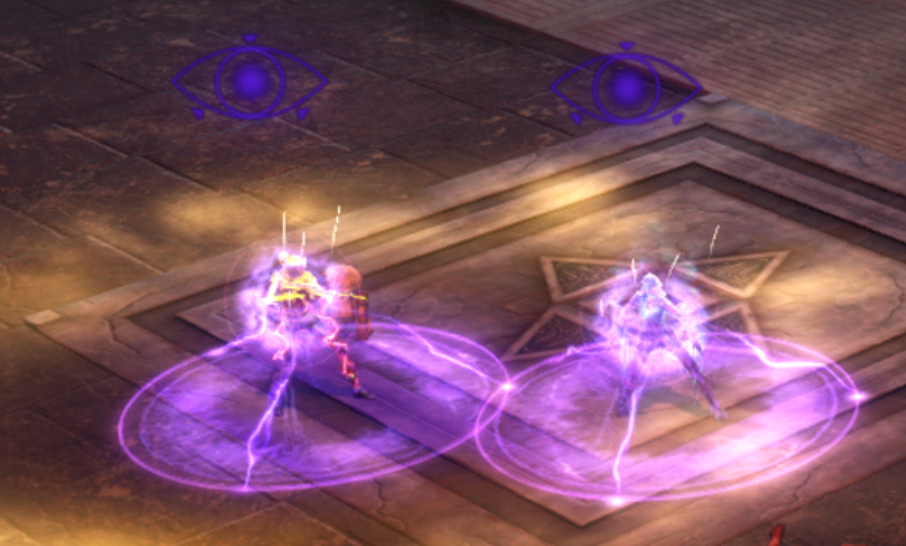
Notes: I don’t know exactly how this one works because it never goes on the tank LOL. Purple eyeball symbol? Purple lightning symbol? Heck if I know.
Tanking
I can’t imagine you’d need more than 1 tank for this fight in its current default balancing. The tank does very little in this fight.
The boss stands still and jumps around, you can’t really control him. If you run too far away he’ll pull you back to him as a tank.
Dual Saber Throw is aimed at a random player that isn’t the tank, and you can’t taunt during this time. (long red rectangle on floor) Others should step out.
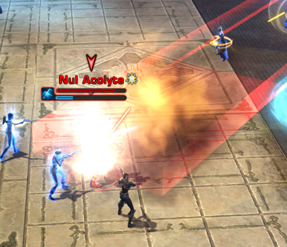
Deadly Dual Saber Throw is aimed at the tank. (long light orange rectangle on floor). Others should step ou and the tank should aim it away from the group.
Veteran Mode
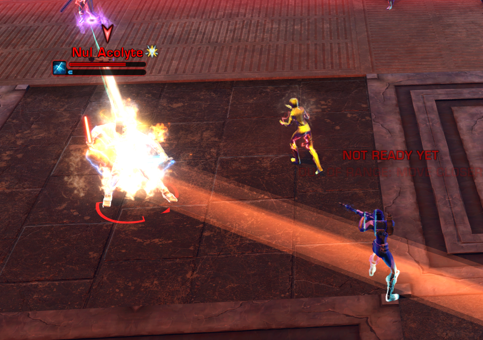
Veteran Mode is available for testing! I don’t have any guides of any sort though (yet). If it’s useful, here’s an amazing chart that player Night has done that shows how each buff and debuff is related in this fight.

Loot? No.
Nothing drops when you kill him on the PTS.
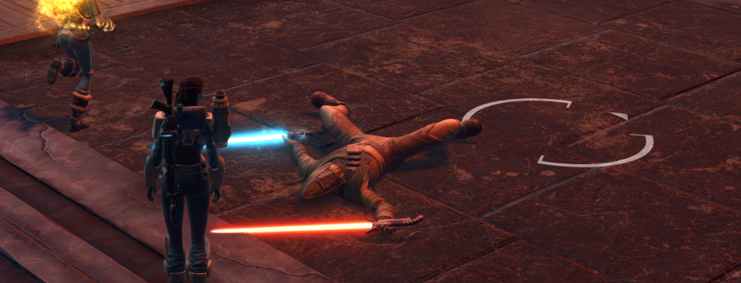
Thank you to Team Disco and Guests for helping me fight this boss on the PTS! Especially thank you to Val for his patience explaining what he knew of the fight.
 Questions or comments? Feel free to send me a message on Twitter


 Discord
  Email swtorista@gmail.com
 Bluesky @swtorista.com
 Reddit /u/swtorista
 Twitch Swtorista
 Youtube
 Patreon
 Twitter @swtorista