














 Defense
 Vigilance
 Seer





 How to Craft
 Choose a Crew Skill
 Armormech
 Armstech
 Artifice
 Biochem
 Cybertech
 Synthweaving

 Gathering Guide
 Rare Materials Guide
 White Materials Guide
 Jawa Junk

 Augments
 Medpacs, Stims and Adrenals

 Synthweaving Crafting Tree



 Crafted Decorations
 Crafted Mounts
 Crafted Dyes
 Crafted Crystals

 Events Calendar
 Galactic Seasons
 PvP Seasons
 Bounty Event
 Double XP Event
 Feast of Prosperity
 Gree Event
 Life Day
 Nightlife Event
 Pirate Incursion Event
 Rakghoul Event
 Spring Abundance Festival
 Swoop Event
 Accessibility HubAll Accessibility guides and info
 DeafPlaying while deaf or hearing-impaired
 BlindPlaying while visually impaired or with low vision
 ColorblindPlaying with colorblindness and settings options
 AnxietyPlaying with general anxiety or social anxiety


 Jedi Knight
 Jedi Consular
 Trooper
 Smuggler
 Sith Warrior
 Sith Inquisitor
 Bounty Hunter
 Imperial Agent
 Bounty Hunter
 Imperial Agent
 Jedi
 Jedi Consular
 Jedi Knight
 Sith
 Sith Inquisitor
 Sith Warrior
 Smuggler
 Trooper
 Legacy Gear
 Lightsabers
 Double-Bladed Lightsabers
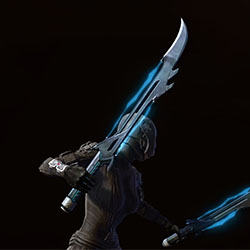 Vibroswords
 Double-Bladed Vibroswords
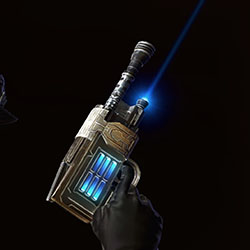 Blaster Pistols
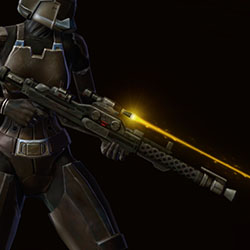 Blaster Rifles
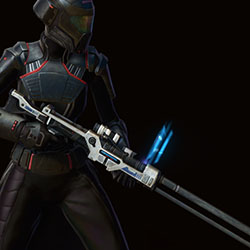 Sniper Rifles
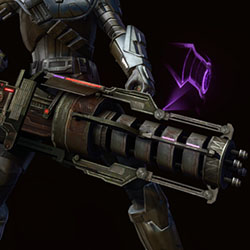 Blaster Cannons
In Star Wars: The Old Republic, being able to get around quickly can sometimes save you in more difficult fights, and can help you move quickly from enemy to enemy to defeat them before they can kill you.
Speed & Movement Abilities

There are all kinds of speed boosts or movement abilities depending on which class you play. Some are baked in to your class or combat style, while others are choices on your tree. Each one works a little differently and has its own quirks or additional benefits.
 Leap – A leap ability allows you to jump directly to a target.
 Speed Boost – A speed boost or buff simply makes you run faster.
 Teleport – A teleport allows you to choose a location, then teleport to it later.
- Force Speed - MovementLevel 15
-
 Phantom Stride - LeapLevel 60
-
 Obfuscating Speed - Optional Passive + Movement Level 64 Option Level 64
-
 Hold The Line - MovementLevel 39
-
 Propulsion Round - Optional Movement Level 68 Option Level 68
-
 Force Leap - Leap + InterruptLevel 1
-
 Guardian Leap - Friendly LeapLevel 39
- Focus
 Combat Focus - Buff + MovementLevel 15
- Focus
 Zealous Leap - LeapLevel 35
- Vigilance
 Leaping Strike - Optional Leap Level 39 Option Level 39
-
 Blade Blitz - Optional Movement Level 68 Option Level 68
-
 Hightail It - MovementLevel 60
-
 Hunker Down* - Defensive + Optional SpeedLevel 35
-
 Surrender - Detaunt + MovementLevel 23
-
 Hideout - Optional Teleport Level 68 Option Level 68
-
 Force Charge - Leap + InterruptLevel 1
-
 Intercede - Friendly LeapLevel 39
- Rage
 Enrage - Buff + MovementLevel 15
- Rage
 Obliterate - LeapLevel 35
- Vengeance
 Skewering Strike - Optional Leap Level 39 Option Level 39
-
 Mad Dash - Optional Movement Level 68 Option Level 68
-
 Force Camouflage - Temporary Stealth + MovementLevel 31
- Force Charge - Leap + InterruptLevel 1
- Carnage
 Driving Gore - Optional Attack + Leap Level 23 Option Level 23
- Fury Obliterate - LeapLevel 35
- Mad Dash - Optional Movement Level 68 Option Level 68
-
 Predation - Optional Operation Buff Movement Level 27 Option Level 27
-
 Hydraulic Overrides - MovementLevel 39
-
 Rocket Out - Optional Movement Level 68 Option Level 68
-
 Evasion* - Defensive + Cleanse + Optional SpeedLevel 23
-
 Exfiltrate - MovementLevel 60
-
 Holotraverse - Optional Movement Leap Level 68 Option Level 68
- Shield Tech Rising Phoenix - Leap + InterruptLevel 47
- Hydraulic Overrides - Optional Movement Level 68 Option Level 68
- Advanced Prototype + Pyrotech Jet Charge - Optional Leap + Interrupt Level 27 Option Level 27
-
 Benevolence* - Heal + Optional SpeedLevel 7
- Force Speed - MovementLevel 27
-
 Mental Alacrity* - Buff + Optional SpeedLevel 43
- Phase Walk - Optional Teleport Level 68 Option Level 68
- Dodge* - Defensive + Cleanse + Optional SpeedLevel 23
-
 Scamper - MovementLevel 60
-
 Trick Move - Optional Movement Leap Level 68 Option Level 68
-
 Force Camouflage - Temporary Stealth + MovementLevel 31
- Force Leap - Leap + InterruptLevel 1
- Combat
 Driving Lance - Optional Attack + Leap Level 23 Option Level 23
- Concentration Zealous Leap - LeapLevel 35
- Blade Blitz - Optional Movement Level 68 Option Level 68
-
 Transcendence - Optional Operation Buff Movement Level 27 Option Level 27
- Force Speed - MovementLevel 15
-
 Shadow Stride - LeapLevel 60
-
 Countermeasures - Detaunt + MovementLevel 23
-
 Covered Escape - MovementLevel 60
- Entrench* - Defensive + Optional SpeedLevel 35
- Hololocate - Optional Teleport Level 68 Option Level 68
-
 Dark Heal* - Heal + Optional SpeedLevel 7
-
 Force Speed - MovementLevel 27
-
 Polarity Shift* - Buff + Optional SpeedLevel 43
-
 Phase Walk - Optional Teleport Level 68 Option Level 68
- Shield Specialist
 Impact Charge - Leap + InterruptLevel 47
- Hold the Line - Optional Movement Level 68 Option Level 68
- Plasmatech + Tactics
 Storm - Optional Leap + Interrupt Level 27 Option Level 27
Pushes & Pulls
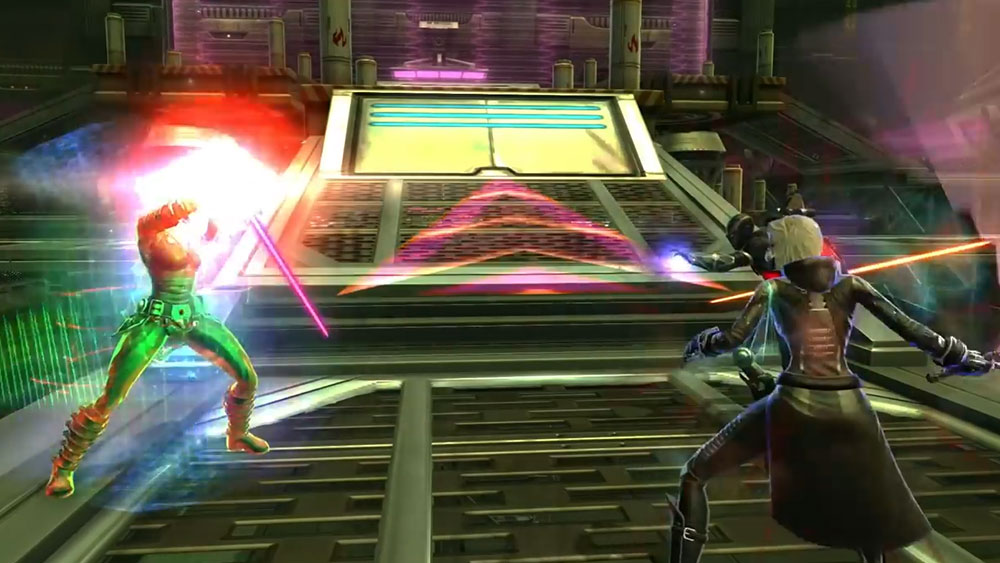
Pushing and pulling enemies is another way to “move” on the battlefield, either to bring the enemy to you and your group, or to push an enemy to a friend or even off a cliff.
 Enemies with a yellow debuff icon of a main’s portrait with wavy lines are enemies with Boss Immunity, which means they can not be stunned, pushed or pulled.
- Darkness
 Force Pull - PullLevel 60
-
 Overload - Optional Push Level 68 Option Level 68
-
 Concussion Charge - PushLevel 23
-
 Force Push - PushLevel 43
-
 Pulse Detonator - PushLevel 31
- Lay Low - Optional Passive + Knockback Level 51 Option Level 51
-
 Force Push - PushLevel 43
-
 Jet Boost - PushLevel 23
-
 Grapple - PullLevel 25
- Shield Tech Extraction Plan - Optional Pull Level 27 Option Level 27
-
 Force Wave - PushLevel 4
-
 Rescue - Friendly PullLevel 47
- Kinetic Combat Force Pull - PullLevel 60
- Force Wave - Optional Push Level 27 Option Level 27
- Cover Pulse - PushLevel 31
-
 Pillbox Sniper - Optional Passive + Knockback Level 51 Option Level 51
-
 Extrication - Friendly PullLevel 47
-
 Overload - PushLevel 4
- Harpoon - PullLevel 25
- Shield Specialist Extraction Plan - Optional Pull Level 27 Option Level 27
Solo

While speed boosts are not at all necessary for fighting normal enemies while playing things like your class story, they are a lot of fun to play with. Many players use them to quickly scamper through packs of enemies, or to get around faster inside in places like buildings and caves where you can’t use your speeder.
Flashpoints

While very few Flashpoint bosses require you to move quickly, many players use their movement abilities while running through flashpoints quickly in the Groupfinder or when playing with friends. It’s not uncommon to see players rushing ahead using Force Speed or their roll ability. Knowing your speed boost abilities and using them frequently between fights can help you keep up, in addition to mounting up when the Flashpoint allows you to.

In Master Mode flashpoints, the mechanics can actually hurt you – so make sure to get out of any of the nasty circles on the ground. While there’s no fight where speed boosts are expected, or any mechanics you really need to avoid by using a speed boost, it might be nice to know where yours is in a pickle.
Operations

In Operations, speed boosts and movement abilities are very useful, and if you want to be considered a good player, you’ll want to know what yours are and how they work. Operations are often mechanics heavy, and there’s a lot more “bad stuff” on the ground compared to Flashpoints.

Sometimes you’ll want to use your speed boosts to get out of something on the ground, but other times you’ll use it just to get in position for later, or to click a button or help a team mate at their location.

Much like operations, players will often use their speed boosts to get between bosses quickly, so make sure to use them between fights too.
PvP

Your speed boosts in PvP can be the difference between winning or losing a match. In Huttball especially, being able to leap to other players, or move unimpaired, can make you an ace at carrying the ball. For objective-based matches, moving between objective points quickly can save you crucial seconds when it comes to defending an objective under attack. In Arenas, if they can’t catch you – then they can’t hit you.
 Questions or comments? Feel free to send me a message on Twitter


 Discord
 Email swtorista@gmail.com
 Bluesky @swtorista.com
 Reddit /u/swtorista
 Twitch Swtorista
 Youtube
 Patreon
 Twitter @swtorista