


 How to Craft
 Choose a Crew Skill
 Armormech
 Armstech
 Artifice
 Biochem
 Cybertech
 Synthweaving

 Gathering Guide
 Rare Materials Guide
 White Materials Guide
 Jawa Junk
 Augments
 Medpacs, Stims and Adrenals
 Synthweaving Crafting Tree


 Crafted Decorations
 Crafted Mounts
 Crafted Dyes
 Crafted Crystals
 Events Calendar
 Galactic Seasons
 PvP Seasons
 Bounty Event
 Double XP Event
 Feast of Prosperity
 Gree Event
 Life Day
 Nightlife Event
 Pirate Incursion Event
 Rakghoul Event
 Spring Abundance Festival
 Swoop Event

 Jedi Knight
 Jedi Consular
 Trooper
 Smuggler
 Sith Warrior
 Sith Inquisitor
 Bounty Hunter
 Imperial Agent
 Bounty Hunter
 Imperial Agent
 Jedi Consular
 Jedi Knight
 Sith Inquisitor
 Sith Warrior
 Smuggler
 Trooper
 Legacy Gear
 Lightsabers
 Double-Bladed Lightsabers
 Vibroswords
 Double-Bladed Vibroswords
 Blaster Pistols
 Blaster Rifles
 Sniper Rifles
 Blaster Cannons

The subtitles in Star Wars: The Old Republic start off quite small by default, but you can make them bigger, as well as show all dialogue in the chat box.
Contents
Show Subtitles
Subtitles should be on by default, but if they are not, you can turn them on by pressing your ESC key, choose Preferences. You can also choose Preferences from the main menu, it’s part of the symbol with a cog in the menu.
In Preferences, choose User Interface from the menu on the left, and make sure “Display Subtitles for Conversations” is turned on.

Subtitle Settings
To adjust your subtitles, press your ESC key, choose Interface Editor. You can also choose Interface Editor from the main menu, it’s part of the symbol with a cog in the menu.
This will open the Interface Editor tool which allows you to adjust where things are on your screen and their scale.
To adjust subtitles, you first need to select “Conversation” from the dropdown in the middle of the settings. By default, “All” is selected.

The next step is to select the Subtitles. You will need to click a small, thin, long green box near the bottom of the screen. They will only show up if you’ve selected “Conversation” from the dropdown first.

Once the Subtitles box is selected, you can start adjusting your subtitles settings at the bottom of the bigger dark blue box in the center of the screen – it will have the words “Conversation Subtitles” above it.

1. Scale
The default scale for subtitles is “1”. You can drag the scale slide to the right to make subtitles bigger. You can make them up to 4 times bigger.
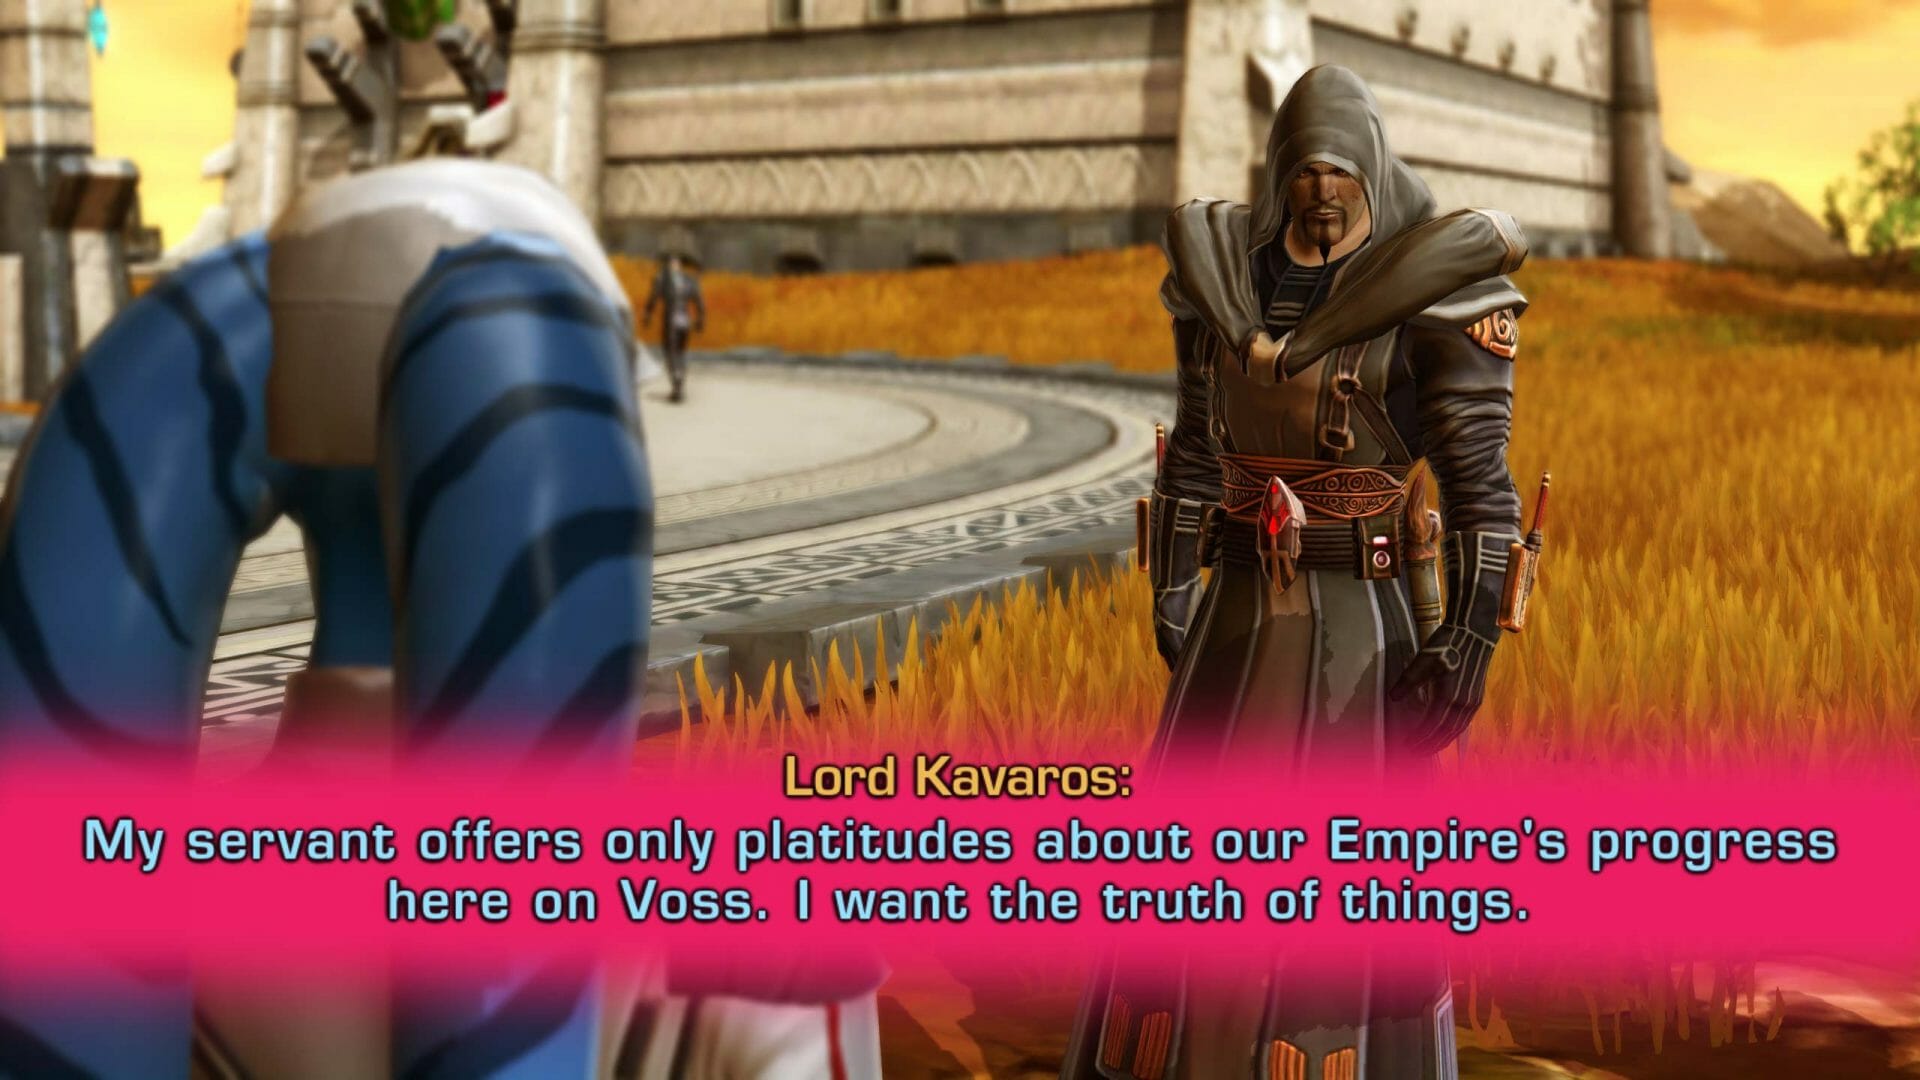
Here is what cutscenes subtitles look like by default on a 1920×1080 monitor at a scale of “1”:

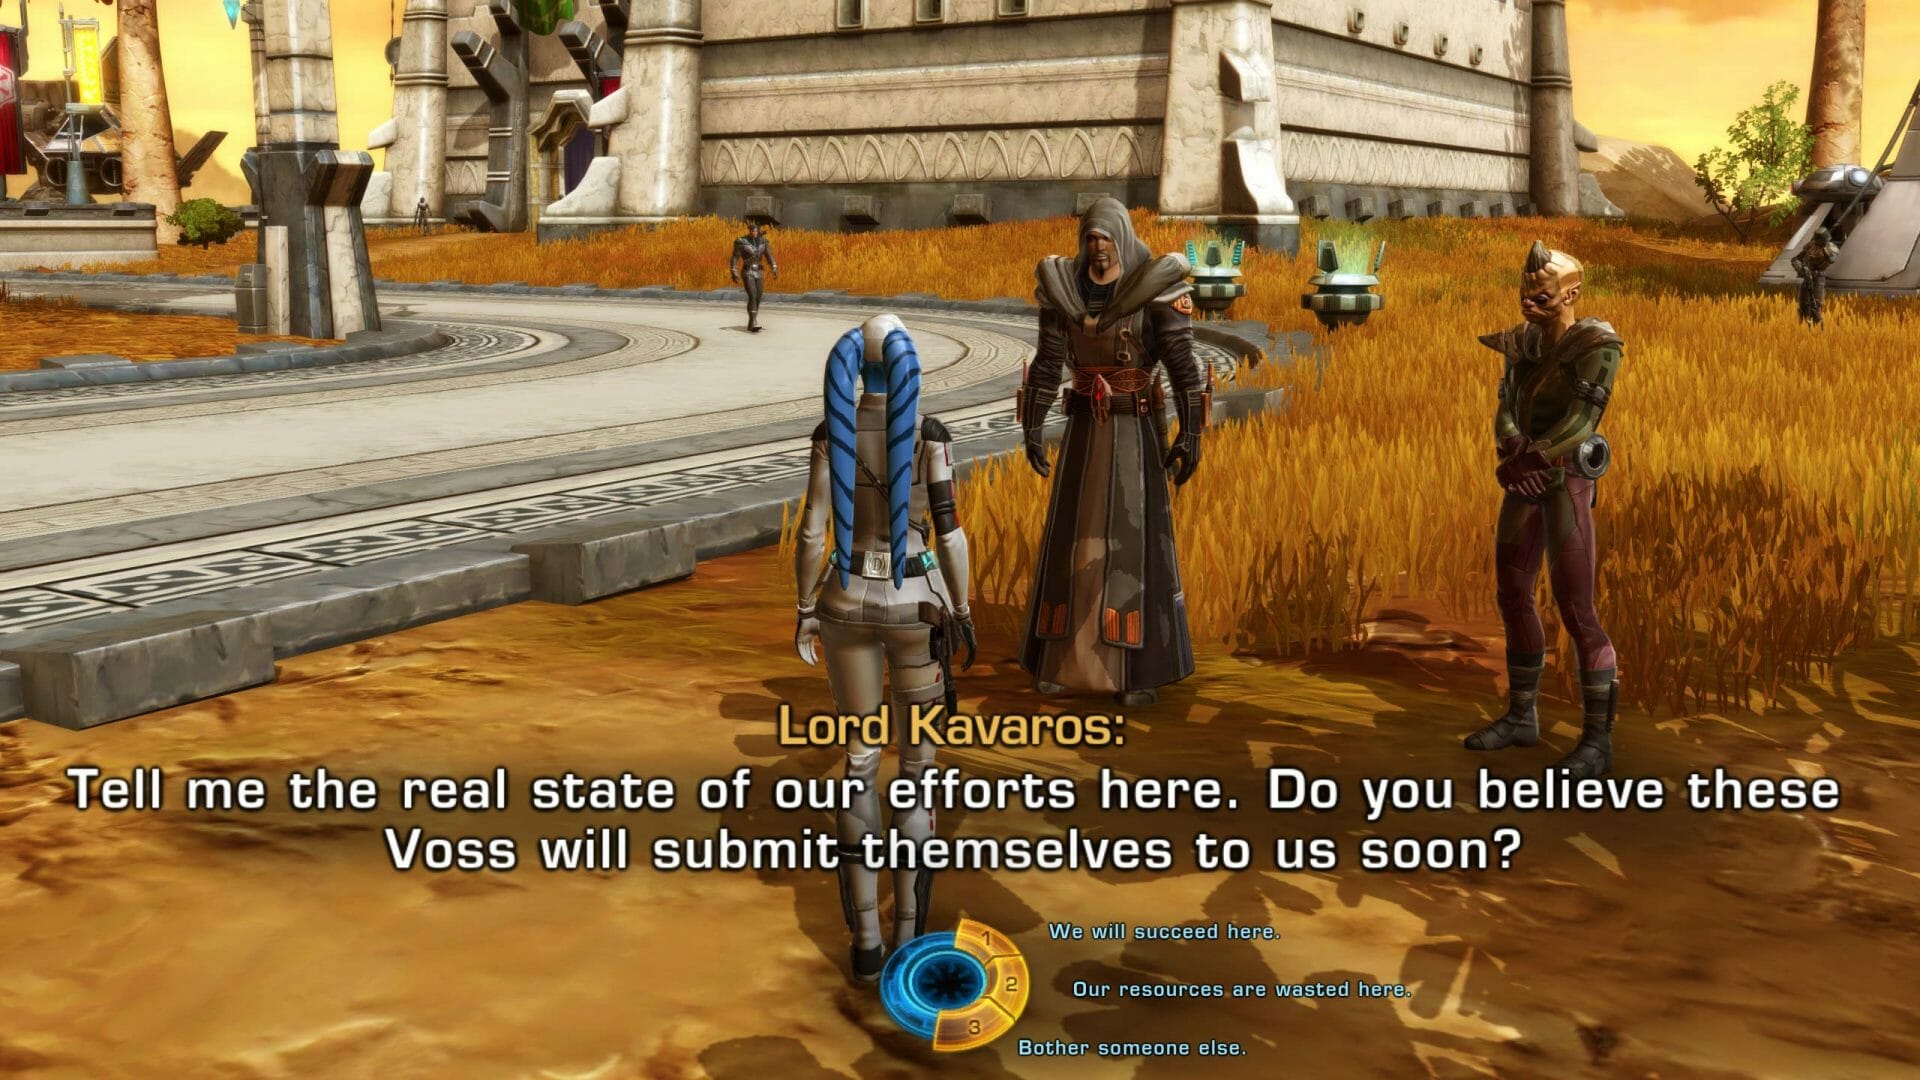
Here is what cutscenes subtitles look like on a 1920×1080 monitor at a scale of “4”:

Leave the “Alpha” at 100% so the subtitles are not transparent, and of course leave the “Enabled” button check to see subtitles.
2. Global Scale
In addition, you can adjust the “Global Scale” of your entire User Interface. This will adjust everything, not just the subtitles.
I do not recommend sliding it bigger than 1.35, with a realistic maximum of 1.6, as the bigger you make it, the more likely different parts of the game windows may be cut off.

Here is what my gameplay interface looks like by default on a 1920×1080 monitor at a scale of “1”:

Here is what my gameplay interface looks like by default on a 1920×1080 monitor at a scale of “1.35”, things fit pretty well still:
Here is what my gameplay interface looks like by default on a 1920×1080 monitor at a scale of “1.6”, I can’t even move my inventory over because it’s too large now:

If you adjust the Global Scale to be bigger, you may need to make the scale of the Subtitles smaller, or they will be cut off.

Simply lower the Conversation Subtitles scale until the box is small enough to fit the screen.
If you go all-out, with a Global Scale of 4, you can get a huge set of subtitles…

… but the game itself is nearly unplayable. However if you really need the text this big, you may be able to get through the base story of the game just by clicking what you can see.
3. Subtitles Background and Subtitles Color
You can add a background to your subtitles to make them easier to see, and adjust the color of both the background and the actual subtitles.
You will need to scroll down in the bottom center box to see the background and color settings.

Subtitles Background
To add a background to your subtitles, first drag the Alpha Background to 100%, as by default it is completely transparent at 0%.
You can drag the Alpha Background to the left to make it more transparent. If you want a good balance of having a darker background to make the text easier to read, and still being able to see the cutscene in the back, try Alpha Background 80%.
To turn the background off, put it back down to 0%.
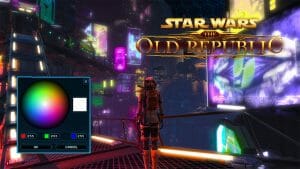
You can change the color of the subtitle background by clicking the little box to the left of the words “Background Color”. This will open a color wheel where you can select a color. The default color is black, which can be re-chosen by typing 0, 0, and 0 in the number boxes. You can make it any color you want by clicking and dragging your mouse around the color wheel. It will likely be easier to read if you choose a dark background.
Subtitles Color
You can change the color of the subtitles text by clicking the little box to the left of the words “Subtitle Color”. This will open a color wheel where you can select a color. The default color is white, which can be re-chosen by typing 255, 255, and 255 in the number boxes. You can make it any color you want by clicking and dragging your mouse around the color wheel. It will likely be easier to read if you choose a light color for the text.

It is not recommended to choose black text on a white background, as they shadows behind the text make it harder to read.

White text (255, 255, 255) on a black background (0, 0, 0) is recommended.

4. Move Subtitles
You can move the location of subtitles. To move subtitles, left-click, hold and drag the green subtitles box at the bottom of the screen, and drag it where you want to place it.
By default, they are on the bottom of the screen. You may find them easier to see at the top.

5. Subtitles Overlap
If you make your subtitles bigger and do not move them, you may notice they overlap with the Response Wheel.

You can move them to the top of the screen to most easily fix this issue.

Or you could drag them a little less than halfway up, near the center of the screen, so they are above the wheel. Make sure to also move the Conversation Reactions too if you do this.
6. Bigger Response Wheel
You can also adjust the size of the Response Wheel. You will need to click a blocky green box near the bottom of the screen. They will only show up if you’ve selected “Conversation” from the dropdown first.

Once selected, you can adjust the scale of the Response Wheel from “1” all the way up to “1.25”. The Reponse Wheel is also affected by the Global Scale.

Here is what my Response Wheel looks like by default on a 1920×1080 monitor at a scale of “1.25”:

You could also move the actual Response Wheel. It has a selectable green box near the bottom of the screen in the Interface Editor, which you can click and drag to move.

7. Subtitles in Chat
There is no way to “slow down” the cutscenes, but there is another solution so you can easily see what has been said in the dialogue of cutscenes, and this is by making the dialogue visible in your chat box.
The first step is to make sure your chat is open. Your chat may disappear by default or be minimized. If you can not see your chat at all, try pressing your ENTER key, as if you were going to type into chat. This will make the chat box show up, and from there you can press the tiny arrow on the top left of the chat box to keep it open.
By default, when you enter a cutscene, the dialogue is actually saved into the “Other” tab on your chat panel, and you can see it show up in the “Other” tab as the characters speak in the cutscenes. The difference is that unlike the subtitles, the chat dialogue will not disappear once the next scene in the story starts. If you scroll up in the chat, the chat bar will even pause and stop scrolling, so you can take your time to read it. That way, any time there is a pause in the cutscene, for example where you can make a decision or when the cutscene ends, you can take your time to read the dialogue in the chat tab.
This “Other” tab is actually for multiple different types of information, and if you plan to use the chat box for reading cutscene subtitles, I recommend to make a chat tab dedicated just to subtitles. To do this, right-click on the “Other” chat tab, and choose “Create New Tab”.

You can name it whatever you want, but I recommend to name it something like “Cutscenes” or “Dialogue” so you remember what it is. Next, left click that new tab and choose “Chat Settings”. There will be a list of different things that can show up in this chat – you’ll want to uncheck them all except for “conversation” near the bottom of the list.

You can also choose what color you’d like the text to be by clicking the small colorful box on the left of the word “Conversation” – by default it is yellow, but you may want to change it to white for high contrast, the easiest way to do with is type in 255, 255, 255 into the number boxes which is the color code for white.

8. Chat Settings
If you want the background of the panel to show all the time and not just when you hover over it, press ESC on your keyboard, choose Preferences, choose Chat from the menu, and slide the Chat Panel Alpha up to 100%.

There is also another setting you may want to un-check called “Chat Panel Fade”, though unchecking it should do roughly the same thing as putting the Chat Panel Alpha to 100%.
![]()
Don’t forget to press OK on the bottom right to save.
If the giant chat panel is getting in the way of you clicking things behind it, there are two settings that might help in the same Chat preferences area.
![]()
If you check “Click-Through Chat” you will be able to click on things behind the chat, for example a quest giver or vendor.
If you check “Click-Through Chat Input”, you will be able to click on things behind the part of the chat where you would normally type into… so if you wanted to say hello in chat, you would not be able to click in the chat to, type, and instead would need to press ENTER on your keyboard to start typing.
![]()
9. Chat Font Size
To increase the font size of the chat, right click the chat tab, and from the menu, roll your mouse over the word “Font size” – don’t click on the words “Font Size” or it will close the menu. By default, the font size is 14, and you can bump it up all the way to 60.

If you are using a very large font size, I recommend to also drag the box that holds the chat text to be bigger. You can do this by hovering your mouse over the chat, then left click and drag the tiny triangular arrow located on the bottom right towards the bottom right of your screen.

You can drag this as big as you need to.
The second way to increase the size of the text in the chat window is through the Global Scale setting in the Interface Editor, covered earlier in this guide.
 Questions or comments? Feel free to send me a message on Twitter

 Discord
  Email swtorista@gmail.com
 Bluesky @swtorista.com
 Reddit /u/swtorista
 Twitch Swtorista
 Youtube
 Patreon
 Twitter @swtorista