


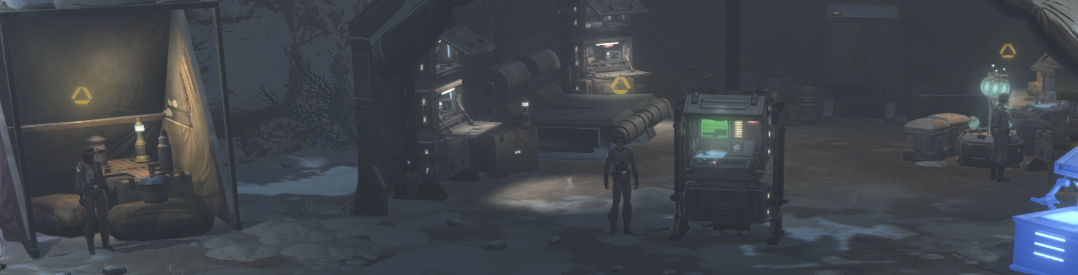
Wreckage on Dantooine is the main quest line for the Dantooine Crash Site and Dantooine Biome Dynamic Encounters area, which teaches you about the unique hazards of the crash site, and gives you a tour of the area. You will need to be level 80 for this quest.
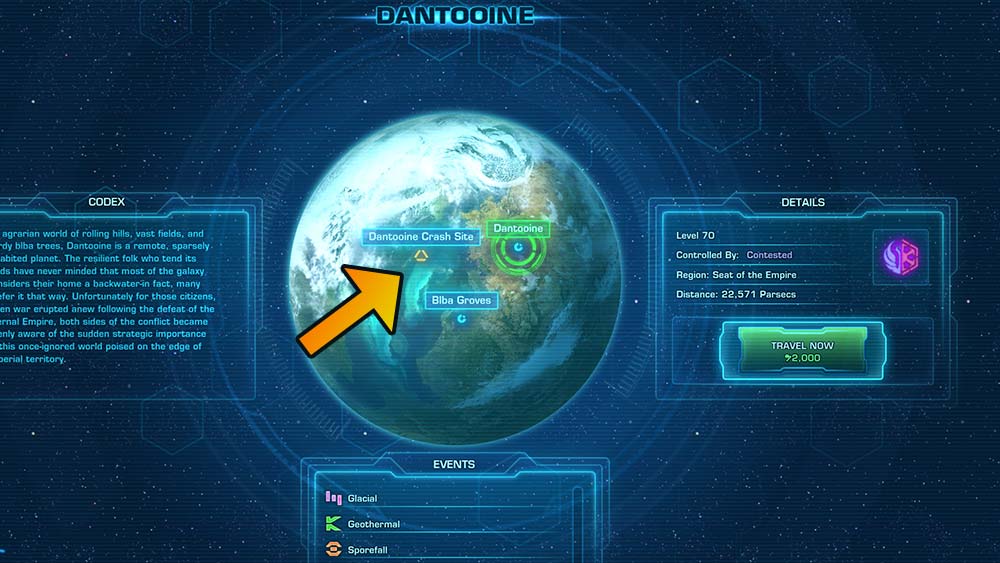
To start the Dantooine Biome quests, you do not need to speak to any questgiver – you just need to fly to the Dantooine Crash Site landing point of Dantooine. Don’t land on the normal part of Dantooine, or you won’t be able to find the biome quests and there’s no shuttle to the biomes from there. Once you land, walk forwards into the camp, and you’ll automatically get the quest Wreckage on Dantooine, which is the main quest line for the area. This is a long quest that leads you around the area and teaches you about how it works, and if you want to enter the final boss area, you’ll need to have progressed past all three biomes in this quest.
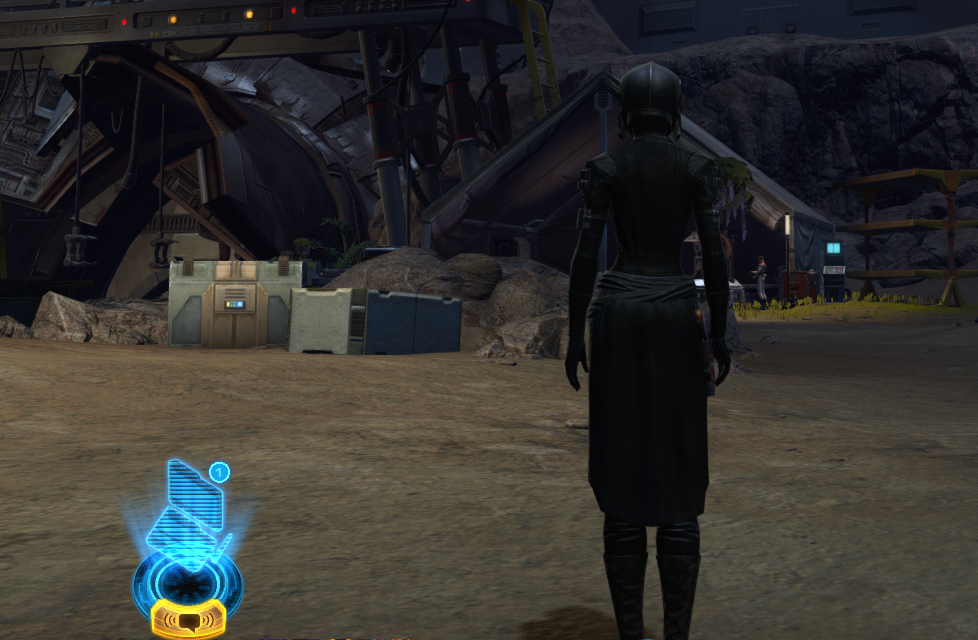
Most of these quests don’t have a questgiver you talk to – instead you just walk nearby, and the questgivers audio will start playing, or you can read it in your chat log. Walk over to the nearby Doctor Pordav, who will ask you to go help the forward camps, starting with travelling to the Glacial Trespass Camp.
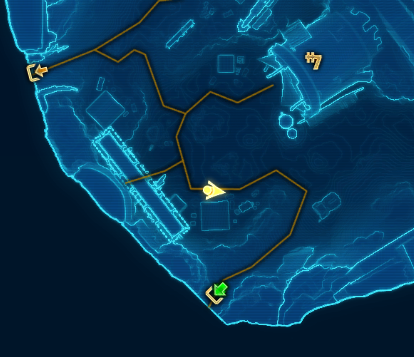
The map in this area can be a bit chaotic due to it being big with lots of tunnels, and having lots of Dynamic Encounters on the map also makes it confusing. Just do your best to follow the “green arrows” between the maps to find your next quest objective! When running between camps, save yourself some grief and don’t worry about completing any Dynamic Encounters until you reach the camp and picked up the quests there!
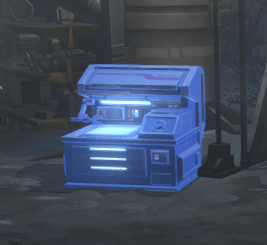
You will see these glowing blue workshop tables around the area called Hazard Mitigation Modules – if you are just starting, you can’t use any of their functionality yet, so don’t worry about them. They will become available later in the questline or when you rank up in reputation.
At each camp, once you walk near to it, you’ll see three questgivers. Once will give you a quest to scan things, one will give you a quest to use a pair of macrobinoculars, and one will ask you to do three Dynamic Encounters in the area.
BUG: Make sure to wait until the dialogue is finished, otherwise clicking the questgivers does nothing.
Glacial Encounters
This quest simply asks you to do any 3 Glacial Dynamic Encounters. You can complete these while making your way towards the other objectives.
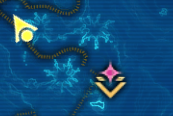
Glacial Dynamic Encounters are marked with a pink diamond on the map.
Dynamic Encounters on this planet are shared between everyone who participates, so just walk in to the area and the objectives will pop up and allow you to participate, even if you are not in a group. When one Dynamic Encounter on this planet is finished, another pops up somewhere else on the map.
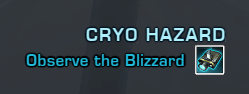
Cryo Hazard
This quest will teach you about the dangerous hazard in this area.
To scan things, walk over to the icon on the map of a scanning signal, and face the same direction as the signal is facing.
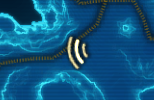
To use the scanner, left-click the scanner icon next your quest in the quest log, or right-click the scanners from the Mission Items tab of your inventory if you can’t see it in your quests.
Once the scanner is open, drag your mouse around until the center turns orange. Then left-click to zoom in and scan. Press ESC to exit.
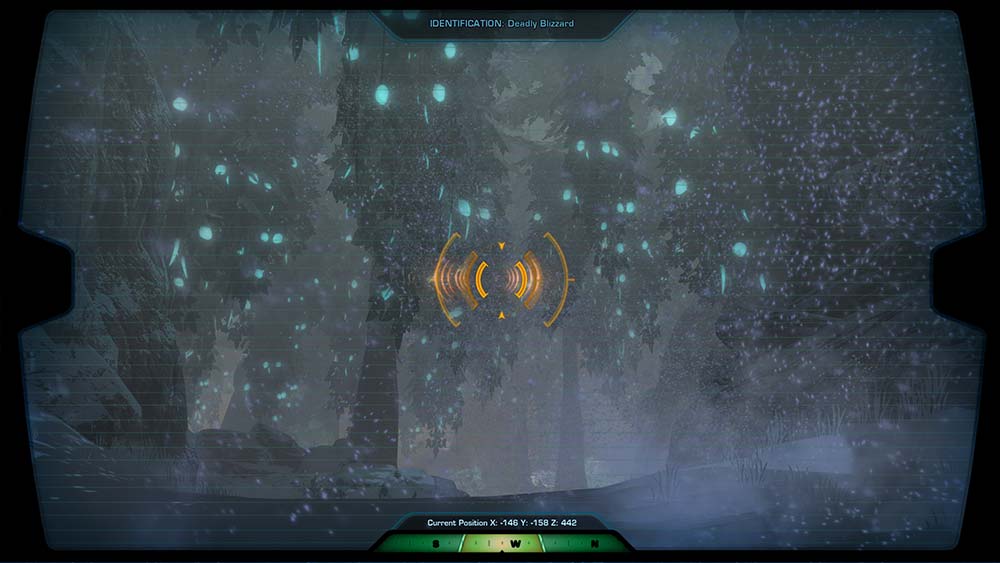
Next it will ask you to Enter the Blizzard and Take a Reading.
As soon as you walk forward towards the blizzard, you will start freezing! If you stop at any point, and aren’t moving, you will get stacks of freezing, and if you reach 10, you will die! Stay warm by moving around while questing in areas where you get these blue stacks in your debuff bar.
To take a reading, once you are inside the blizzard, you should receive a temporary ability on your temporary ability bar. Left-click it to take a reading.
Not showing up? Temporary abilities tend to be a bit finicky – if it doesn’t show up, walk in and out of the area where it is supposed to appear.
Cold, Hard Data
This quest will give you a small tour of the area.
To scan locations, walk over to the yellow triangles on your map filled in with green, and if there is none on the map, follow the green doorway arrows to the next map.

To scan, walk onto the location marked on the map, you should receive a temporary ability on your temporary ability bar. Left-click it to take a reading.
Not showing up? Temporary abilities tend to be a bit finicky – if it doesn’t show up, walk in and out of the area where it is supposed to appear.
- Scan Location Aurek
- Scan Location Besh
- Scan Location Cresh
It’s 10 PM! I’m going to bed, more info later but that should get you started! :) – Swtorista
Quest Chain
- Answer Your Personal Comlink
- 1: Find the Head Researcher
- 1: Travel to the Glacial Trespass Camp
- 1: Complete “Glacial Encounters”
- 2: Complete “Cryo Hazard”
- 3: Complete “Cold, Hard Data”
- 1: Upload Biome Data 7
- 1: Travel to the Geothermal Disruption Camp
- 1: Complete “Geothermal Encounters”
- 2: Complete “Toxic Runoff”
- 3: Complete “Stability Monitoring”
- 1: Upload Biome Data
- 1: Travel to the Sporefall Camp
- 1: Complete “Sporefall Encounters”
- 2: Complete “Spore Exposure”
- 3: Complete “A Few Observations”
- 1: Upload Biome Data
- 1: Answer Your Personal Comlink
- 1: Complete a Transition Encounter
- 2: Hint: Check Mission Log
- 1: Answer Your Personal Comlink
- 1: Explore the Base Camp
- 1: Answer Your Personal Comlink
- 1: Complete [MASTER 4] Orbital Core
- 1: Return to the Head Researcher
 Questions or comments? Feel free to send me a message on Twitter
 Bluesky @swtorista.com
 Discord
  Reddit /u/swtorista
 Email swtorista@gmail.com
 Twitch Swtorista
 Youtube
 Patreon
 Twitter @swtorista